The kitchen remodel is creeping along. We have discovered that even hiring out most of the project to the Lowe’s remodeling team does not mean that we can escape the fact that the last 10% of all remodeling projects seems to take 90% of the time. At this stage of the kitchen renovation, it is a joint venture of paid projects and DIY. We are playing a game of project ping-pong with Lowe’s. I serve the ball to them, and they complete their tasks. They lob it back over the net to us, and it is our turn to work. With this pattern firmly established, we all stay on task. Last week, when the ball was back on our side of the table, I completed the cement tile backsplash
* * *
Months ago, when Andy and I were considering a complete gut-renovation of the kitchen in BHH, I started to do some poking around on Pinterest and pinning favorites on our kitchen ideas board. I noticed a trend in most of my choices. I like decorative tile. That surprised me. Initially, I really only considered white subway tile. It is clean, classic, and easy to find. It would bridge the decorating gap between our 1800s home and a new modern kitchen. However, once I saw all of the beautiful tile choices available, I could not get the idea of something with a lot more punch than subway tile out of my head.
Of course, the question was, “Just how much punch?”
I have trouble with long-term monogamous commitments to color. (It’s not you, color, it’s me.) My favorite color changes on a regular basis. It is currently orange. Last year it was blue. Knowing this about myself, I began to explore all of the black, white and grey options. Some people think of these shades as the ho-hum neutrals. I think of them as the stable counterpart to capricious color-changing moods.
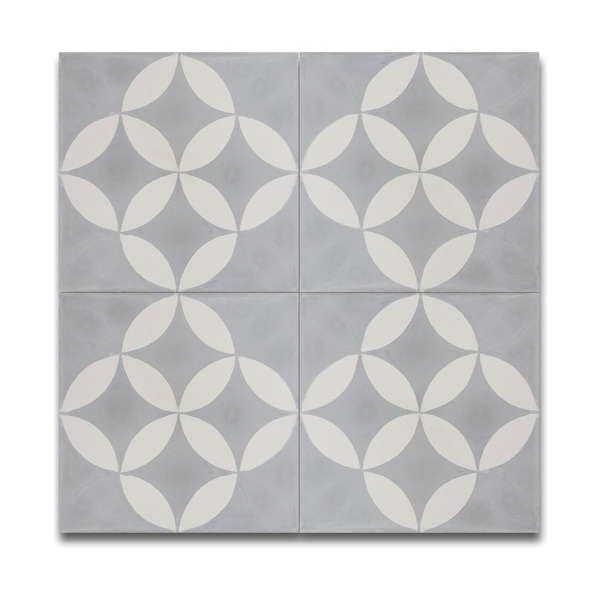
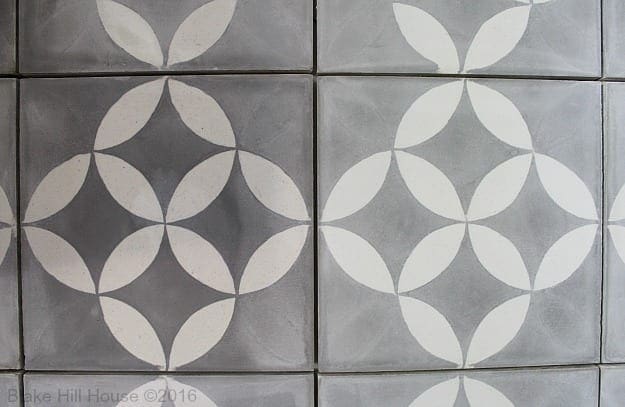
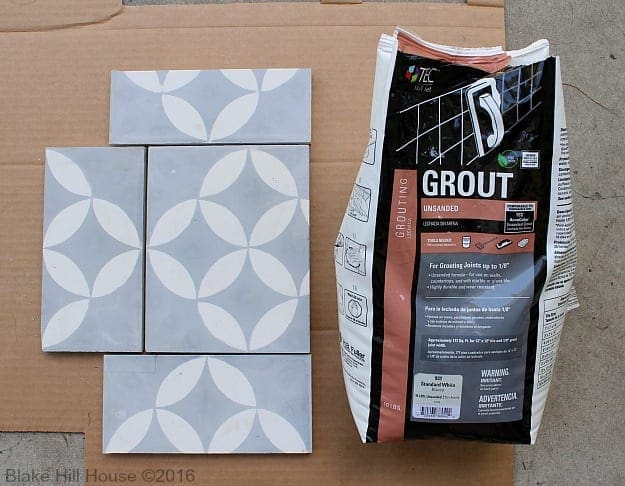
After a great deal of searching, I was sold on this encaustic cement tile from Overstock.com (What is Encaustic?):
(image source)
I loved the grey, eye-catching pattern. The fact that this tile is fair-trade and made in an environmentally friendly and resource-efficient manor sealed the deal. In less than ten days, eight very heavy boxes of tile arrived on our doorstep.
Getting Started
We chose a wall mount stainless steel range hood by AKDY to go over our stove. Before I started tiling, our contractor measured the space, ran the electricity and drew out the borders of the hood fan.
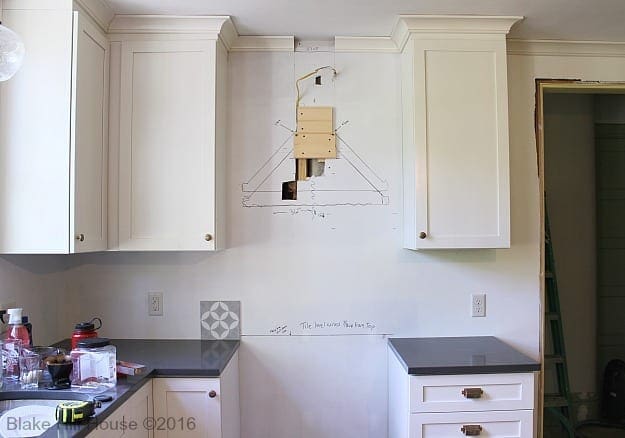
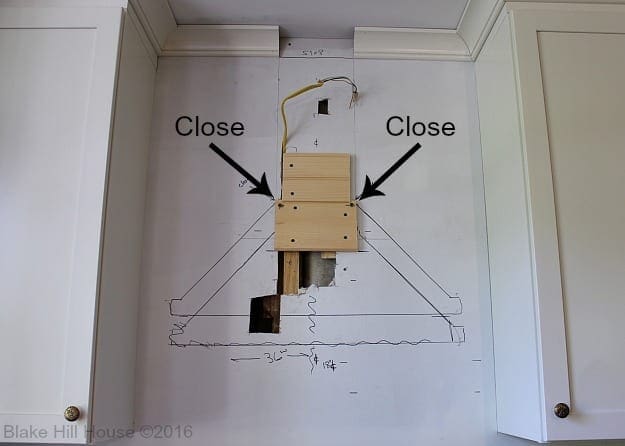
He also drew notes so I would know when I had to pay attention to details while I was laying the tile. For instance, the tile had to closely hug the mounting block where the slope of the hood fan started, or tall people would see the gap when they stood in the kitchen.
Another important note he left was where I was supposed to start laying the first row. The range we chose slides in and fits up snugly against the wall. I needed to account for that by starting the tile 7/8″ above the Silestone countertop. Otherwise, the range would not slide in all the way, and the mounting brackets would not set flush with the edge of the countertop. In other words, it would look like a bad DIY job.
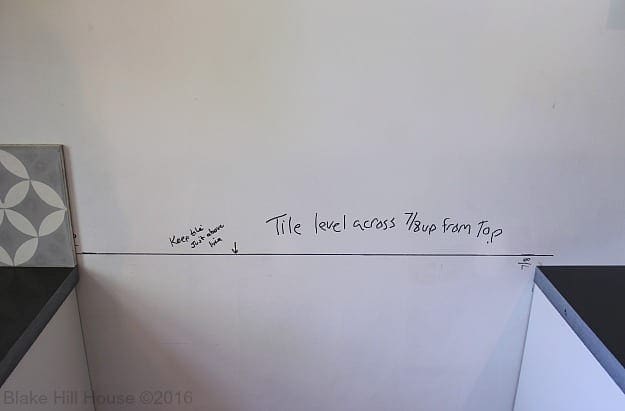
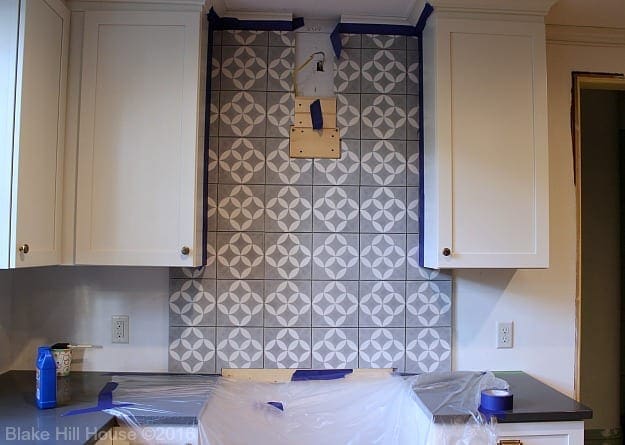
Using a level for accuracy, I screwed a piece of scrap wood to the wall to provide a proper temporary ledge for the first row of tile between the cabinets.
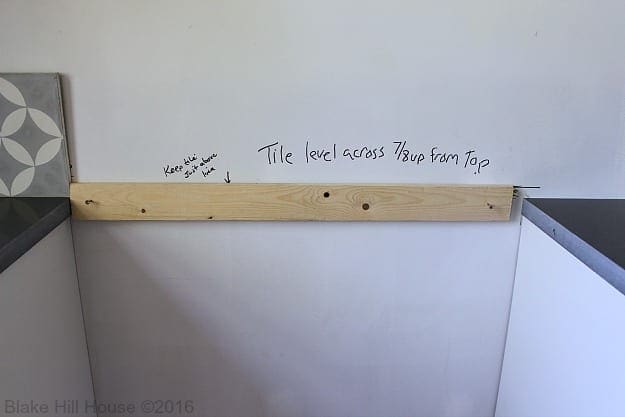
With the scrap wood in place, it was easy to do a dry run of the first couple of rows of tile.
Choosing and Practicing the Layout
Because I do not have a lot of experience tiling. Placing a few tiles without mortar was an important step. I centered the tile on the grout line instead of using a center tile so the pattern would not end up with half tiles on the on the left and right sides.
Using a tile saw, I made the first few cuts. (We rent most of our tools from a local rental company, but Home Depot rents a wide variety of tools for DIYers.) The key to getting the backsplash level vertically and horizontally was all riding on the first row. The shape of the opening for the stove required that I cut off the bottom of the first four tiles. Because the height was slightly off on the left and right side, I used scraps of cardboard to raise the tile on the left side the negligible amount necessary to make it perfectly level with the right side.
I used 1/8″ spacers and taped it all down with my favorite Frog Tape.
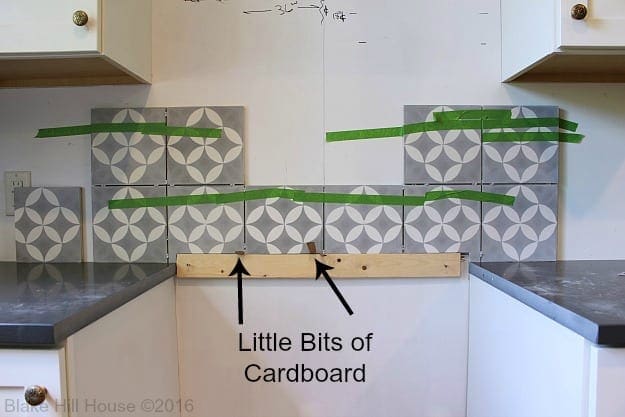
This is when I started having trouble with the tile saw. It would cut each tile almost all the way across, and then it would break off the last 1/4″ to 1/8″. After burning through three tiles, I made a quick call to the rental company. They sent someone over with a new blade. After a little trial and error, the project was back on track.
Setting the Tile
First, I mixed the mortar according to the instructions on the package. I chose mortar over mastic because honestly, that is what the guy at Lowe’s told me to do, but here is a handy link that discusses the difference between the two products.
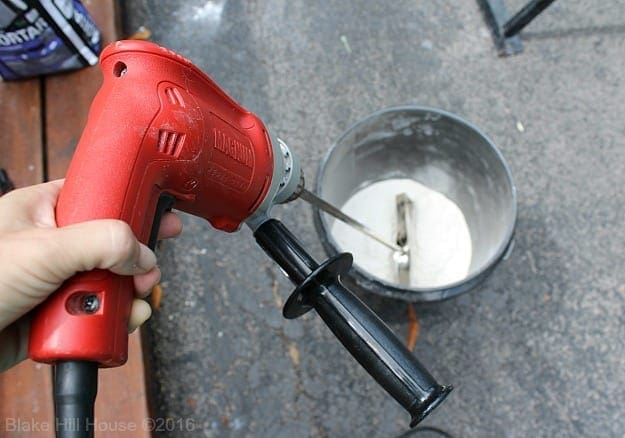
Side note: Using a blade attachment on your power drill makes the job of mixing mortar easy, but be careful. The first few times I tried to mix the mortar, the blade was so powerful that it spun the bucket and slammed it into my shins. In order to keep this from happening again, I wedged the bucket between the front steps and my sneakers. Even then, it took a lot of muscle to hold it in place.
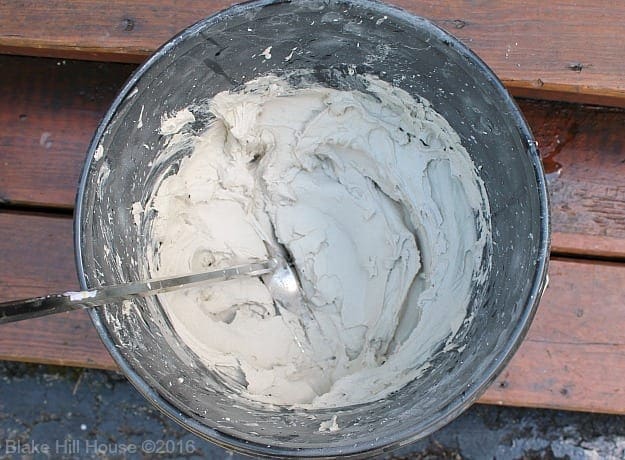
Next, I started setting tile row by row using the spacers in between the tiles. Using a level, I checked each vertical and horizontal row. Sometimes it was necessary to make slight modifications to height and angle. After making the small changes, I used Frog Tape to hold the tile in place if there was any slippage.
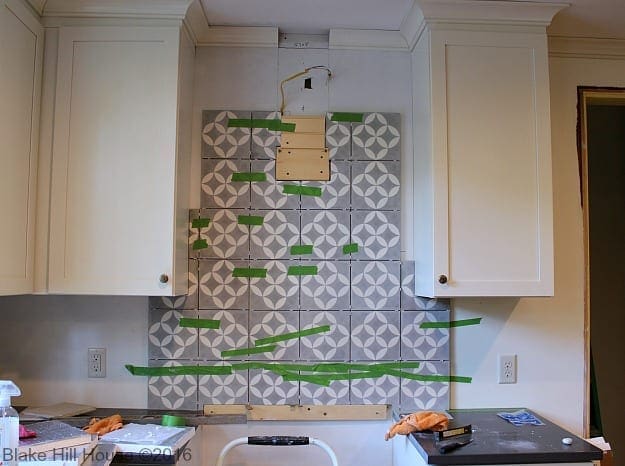
Making the cuts and setting each row took such a long time that I kept having to add more water to the mortar. Even though I had the bucket covered with a wet towel, it dried out quickly. The whole process came to a screeching halt every time I needed to attend to the mortar. I was really wishing for a tiling partner after a few hours into this project. Future tile jobs will be two-person jobs around here.
The l-shaped cuts were surprisingly easy. The cuts that gave me the most trouble were the rectangular slices up against the cabinets on both sides. I made many cutting errors during this phase, and burned through a lot of tile. Fortunately, I had around 20% extra to account for errors.
After over twelve hours, the last piece of tile was placed with little fanfare. Andy arrived home from work, and he asked me if I was happy with the cement tile. My answer was, “I don’t even know anymore.” True story.
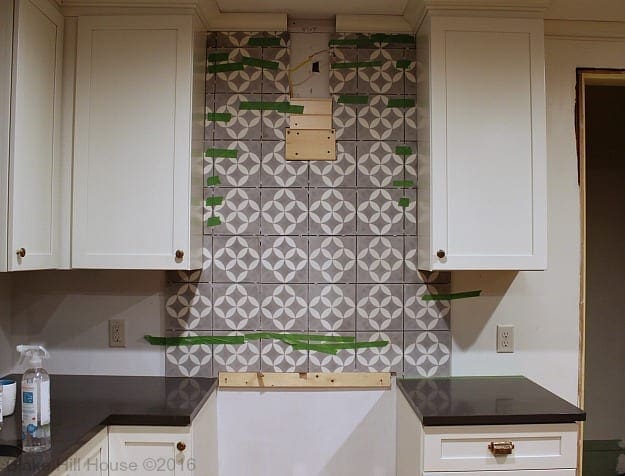
Once I had a good night’s sleep, I had my answer to Andy’s question. I love it.
Protecting Our Investment
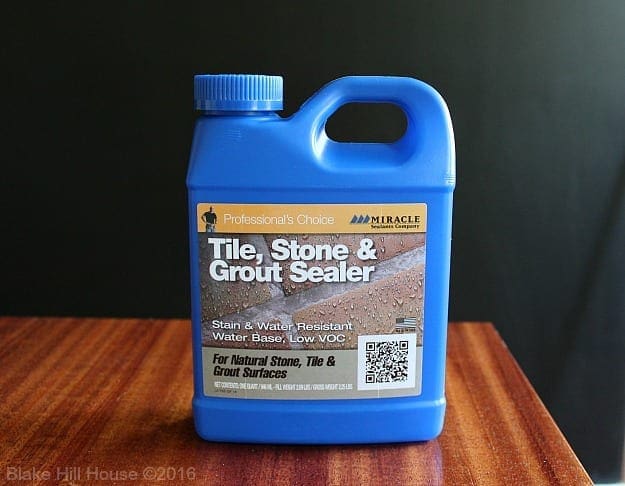
On the recommendation of the flooring guy at Lowe’s, I bought this sealer. He and I actually had a bit of a difference of opinion. He thought the cement tile was already sealed. I felt pretty certain that it was not. I am glad that I went with my gut because the cement tile backsplash sucked up the sealer like nobody’s business. It took four layers before the tile stopped soaking up the sealer like a desert reptile soaks up rain. (Novice tip: If you have unsealed tile, sealing it prior to grouting is important. The pigment in colored grout can stain unsealed tile.)
Grouting
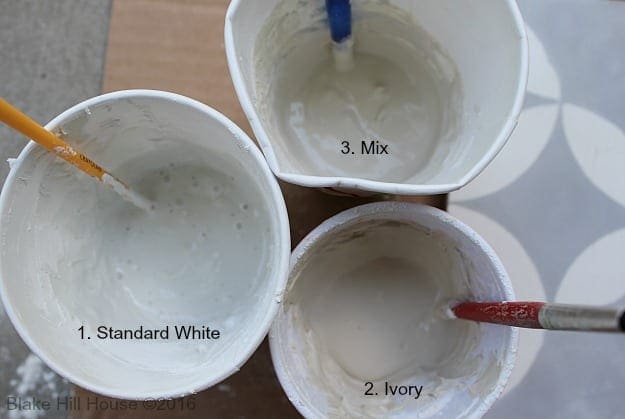
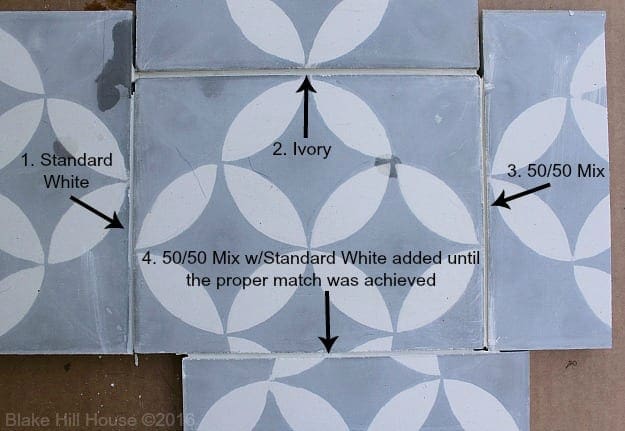
Grouting turned into a bit of an ordeal. Standard white was too white, and Ivory was too yellow. I decided to experiment and mix the two colors together.
I hot-glued some leftover tiles to cardboard to test the grout samples.
As I suspected, neither the straight white nor ivory was a proper match. The 50/50 mix was so close, but still too yellow. (Note: I mixed the powder together before adding the water.) Not being a type-A kind of person, I decided to keep throwing white powder into the mix until the color looked correct. This haphazard approach yielded good results.
With the color plan in place, I moved on to the big job of grouting the entire cement tile backsplash.
On the large scale, I started with the 50/50 powder mix and added more white powder to the mixed grout until the color matched the creamy white I needed. Then, I watched a quick YouTube grout tutorial to refresh my memory about how to apply it properly. My experience consists of tiling exactly one other time which hardly makes me a pro.
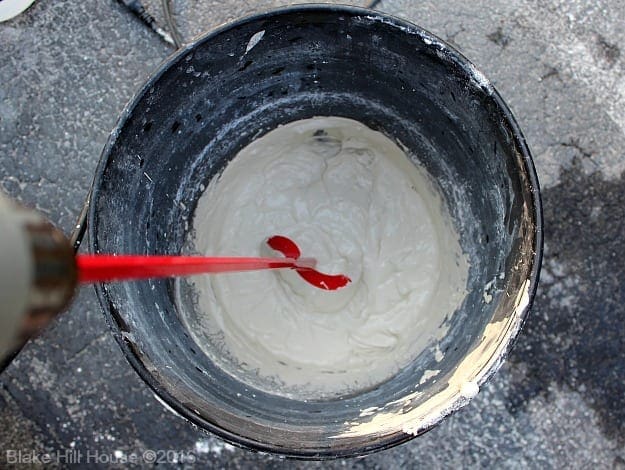
Using a grout float, I pressed the grout between the tiles and wiped off the excess with a sponge.
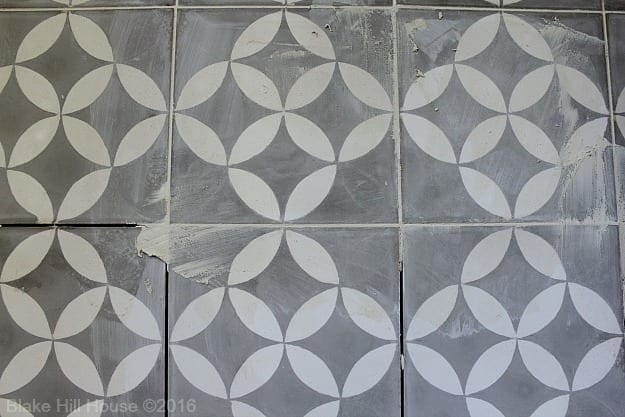
At this point, there was no turning back. The color seemed right on target, and the grout was “floating” just like it was supposed to. I felt like I was getting an A+ in following directions from a YouTube tutorial and the side of a grout bag.
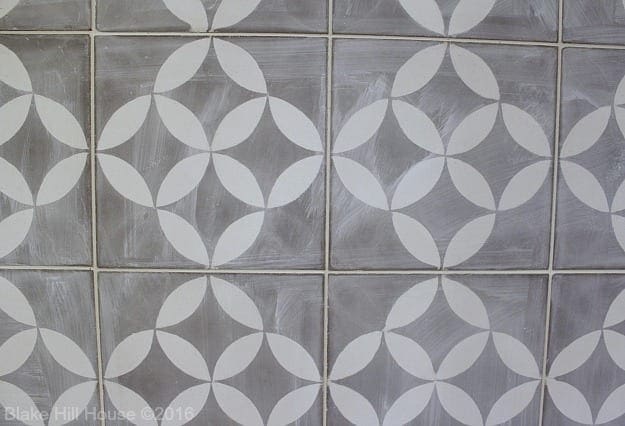
Once the grout was dry, and the haze was removed with a more thorough wiping, I applied two more coats of sealer to the tile and grout. The only thing left to do was to caulk between the cement tile backspash and the cabinets.
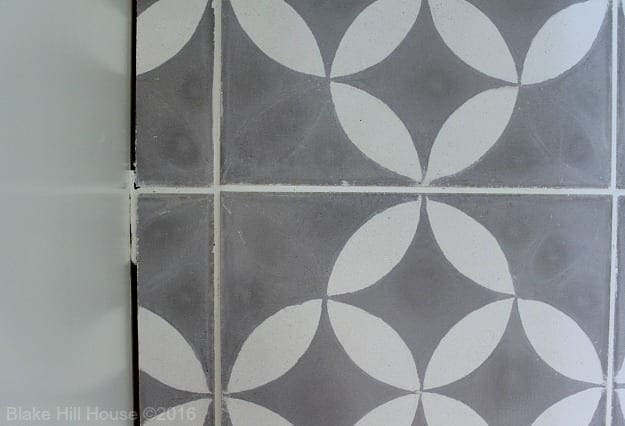
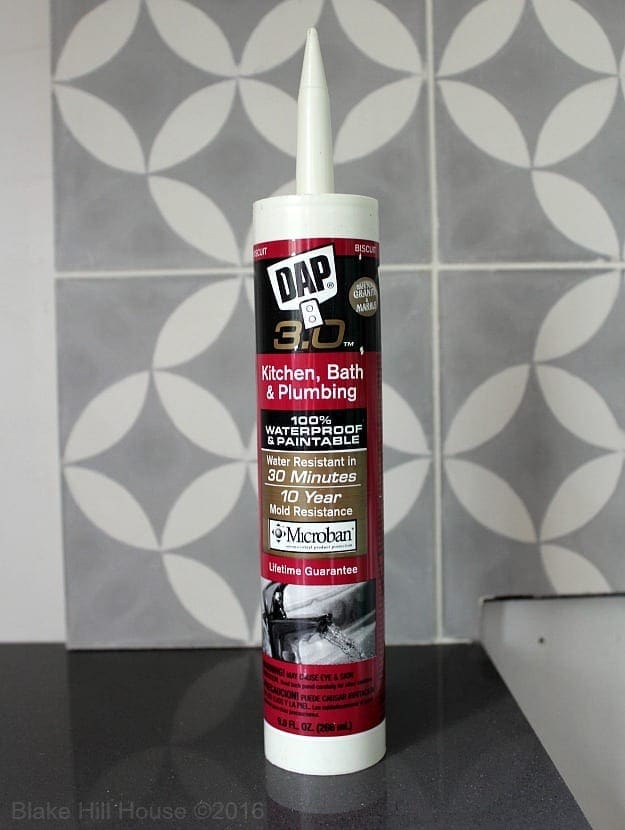
By a stroke of luck, the color Biscuit by Dap matched everything perfectly. I had been sweating that detail. Mixing a custom color of caulk seemed pretty impossible.
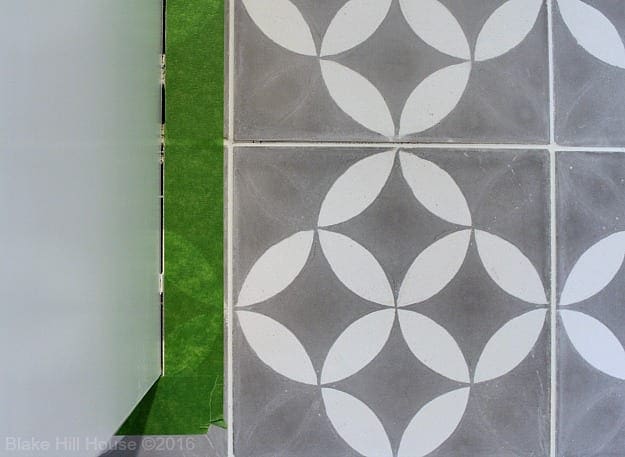
I used Frog Tape to prevent the caulk line from creeping over too far onto the tile. I wanted the caulk to be be as narrow as the grout lines and blend in seamlessly.
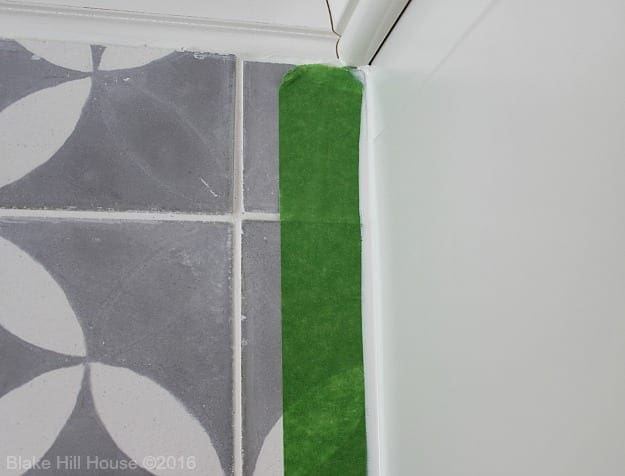
By applying a narrow line of caulk and smoothing it with a wet finger angled towards the tape, I got the look I was attempting. I carefully removed the tape while the caulk was still wet.
Wrap This Post Up Already – The Cement Tile Backsplash
I know this is the part you have been skimming this post waiting for. Our contractor came back and installed the stove and part of the hood fan. Unfortunately, the chimney of the hood fan was too long, so he took it back to his workshop to work on a creative solution.
I was so nervous that the stove would not fit properly under the tile that I could not even watch the install. Every now and then I would listen carefully to see if I could hear the contractor muttering profanities or something that would let me know it was not going well. I heard nothing and hoped for the best. It was a loooooong hour, but when it was over, we had a stove.
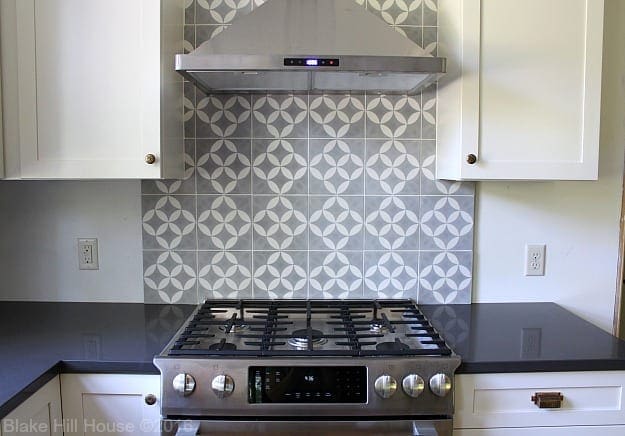
It fit perfectly. Whoosh went the sound of me exhaling after holding my breath for on and off for an hour.
Without the hood fan chimney, it looks like this:
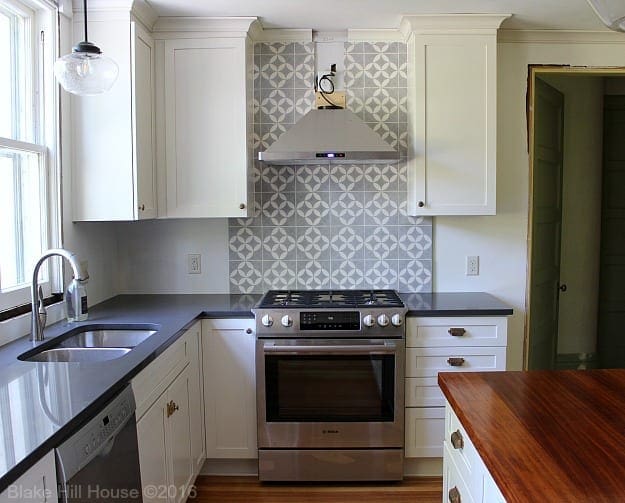
But if I scoot in tightly, we can all pretend that it is 100% complete.
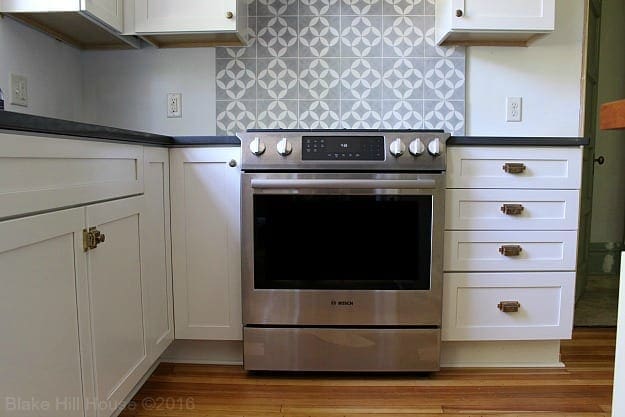
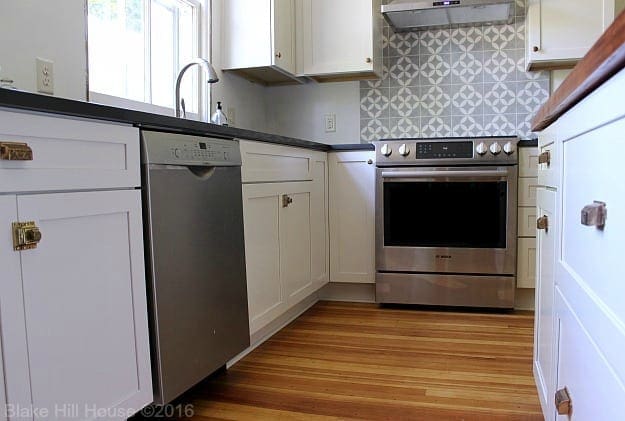
We are inching ever closer to the big reveal, but right now, we have a fully functioning kitchen. High fives all around. Thank you for hanging in there with us.

We originally purchased this tile at Overstock. It was sold out for several weeks, but as of today, it is back in stock. A very similar pattern and many others can also be found at Wayfair.
This post contains affiliate links.
If you just started reading here, you may get caught up with our entire Lowe’s kitchen project by reading these additional posts:
We are not being compensated by Lowe’s, but I am covering the entire process from concept to completion in order to help others who might be considering a Lowe’s project of their own.



28 Comments
Ame Jo
I am in awe of your tiling job. WOW! It looks absolutely wonderful! And that hardware continues looking amazing.
I went type A exactly one time while mixing a custom paint color for the upstairs at the old house. It was a big room and I knew it would take two gallons, so I actually measured the paint components. And it worked – I got two gallons of paint that exactly matched each other! (However, if I ever need to do that again, I’ll just use a five gallon bucket do the usual add-color-til-it-looks-good method.)
I can’t wait for the full reveal!
Stacy
Thank you, Ame. I’m picturing you mixing the paint that way, and it makes me laugh. 😀 I solved the possibility of having to mix up two batches of identical grout by making way more than I needed.
Devyn
Looks great! You were definitely smart to seal it before grouting.
When we were looking at cement tiles for our kitchen floor, I had major fear of color, even though we went with blue cabinets (which could be painted any other color). The cement tile floor being our biggest investment in our kitchen renovation, we went safe on color by going black and white (but bold on pattern) knowing it would never truly be out of style or clash with anything else in the room.
Stacy
Devyn, I just love your kitchen at Half Classic Six. Those blue cabinets are a commitment, but such a gorgeous one. The pattern on your floor is one that I looked at closely. I’ve also been meaning to tell you that I moved here from Central California too. We lived just outside of Sequoia National Park.
Becka
It really looks stunning! Also, no skimming on my part, I read every single word and I am not a DIYer. I am riveted by your home and you do such a fantastic job telling her story.
Stacy
Thank you, Becka. If you read that closely, that means you caught my typos. 😀 Thank you for reading too. I am glad that you are enjoying the blog. That makes me happy.
Julia at Home on 129 Acres
It looks great. I think the pattern feels a little bit traditional, so IMO it’s a great fit for BHH. You’re brave to tackle this on your own. I agree that tiling is a two-person job. What are you going to do with the backsplash in the other areas? (Apologies if you’ve mentioned this before… I obviously can’t remember).
Stacy
Thanks, Julia. I think it feels traditional too. Right now, I think I will just leave the backsplash painted rather than add anything else. I may change my mind down the road. The area behind the sink is actually too narrow for any sort of backsplash at all. There is a window right there, and the apron goes down within an inch or two of the countertop.
Cathy
looks so very nice! loving it.
I admit to having wayyy too many kitchen remuddle dreams lately and contemplating starting a blog of my one, called ‘Stacy Made Me Do It.’ What do you think? Catchy, eh?
Stacy
😀 I like the potential name of your blog. I’ll cheer you on.
Courtney @ Foxwood Forest
Woohoo! It looks so great! I know you must be happy to have that part finished. 🙂
Stacy
Thank you, Courtney. Yes, I am very relieved. 🙂
carolbaby
Wow! Looks amazing – I’m excited to see the final reveal.
That’s some mad skills!
Stacy
Thank you! 🙂
Kelly
So fun – wow, I admire you!! I’m sooooooo glad you decided against subway tile. I’m getting tired of seeing it everywhere, lol! Nice to see something else for a change. Kitchen is looking really beautiful.
Stacy
Thank you, Kelly. I’m glad we went a different way too. I’m growing a little tired of seeing subway tile too. It is still a classic superstar, though.
Stacey Keeling
That is gorgeous! I love that you did a contained space with the very special tile. So are you going to do something on the sides of it? Even if you don’t, I think the backsplash is amazing! The colors in the tile look so good with the counters and stainless steel. Great job!!
Stacy
Thank you, Stacey. Right now, I am not going to do anything else on the sides of it except for a piece of trim. I am still looking for just the right piece.
Linda W
I am working on a bath remodel and going to use a cement tile for the splash around the tub. Also was curious about the edge since that is a concern we have on ours. We are planning on having it slightly inset from the wall board by using the thinner cement board, but the front edges have me and the contractor concerned.
Stacy
Hi Linda,
This is a great question. I have not corrected our issue yet. However, after a lot of thought, I think I am going to use painted wood trim as edging. Unfortunately, cement tile does not come with finishing trim pieces. I wonder if the companies that make them will ever address that issue, especially now that this style of tile is so popular. I suppose it is really meant for the floor, but cement tile makes such a beautiful backsplash material.
If you or your contractor come up with a great solution, please let me know. I would love to share it with our readers. -Stacy
site
We’ve been stumbling around the internet and found your blog along the way.
We love your work! What a great corner of the internet 🙂
Stacy
Thank you! 🙂
Alison
Wondering if you have had any issues with your cement tile backsplash behind the range and oil splatters? Do you feel the sealer has worked? Have you resealed? Did the sealer add any sheen or did they remain matte?
Thanks!
Stacy
Hi Alison, Thank you for your question. So far, this tile has held up beautifully. There are a couple of dots here and there, but nothing very noticeable or unsightly. Also, I have not resealed it. The sealer added a negligible sheen to each tile. They feel less chalky and look less dry, but they certainly are not shiny. I would still describe them as matte.
I want to add that we do lay a cookie sheet up against the backsplash if we are using a lot of oil, but this is because I don’t like cleaning very much. 😀 Let me know if you have additional questions. I am happy to answer them.
Melanie O
Thanks for this post!!! It’s so informative and I absolutely LOVE the end result! What a great addition to an already gorgeous kitchen 🙂
Stacy
Thank you, Melanie!
CeCe
Did you have to seal these tiles before or after grout?
Stacy
Hi CeCe, I sealed them before and after. I sealed each tile until it no longer accepted any liquid. Then, I laid them and followed up with a sealer on everything.