Hello! I am visiting my mother in Missouri this week, and I’ve just discovered that I did not bring my laptop charger with me. This week’s post and next will be very brief unless I can figure out something. Apparently, not traveling for nearly two years has made me forget how to do it. Even so, I was excited to get on a plane again.
If you’re here for the first time, welcome! Here are some links to bring you up-to-date: Week One || Week Two || Week Three
This post contains affiliate links.
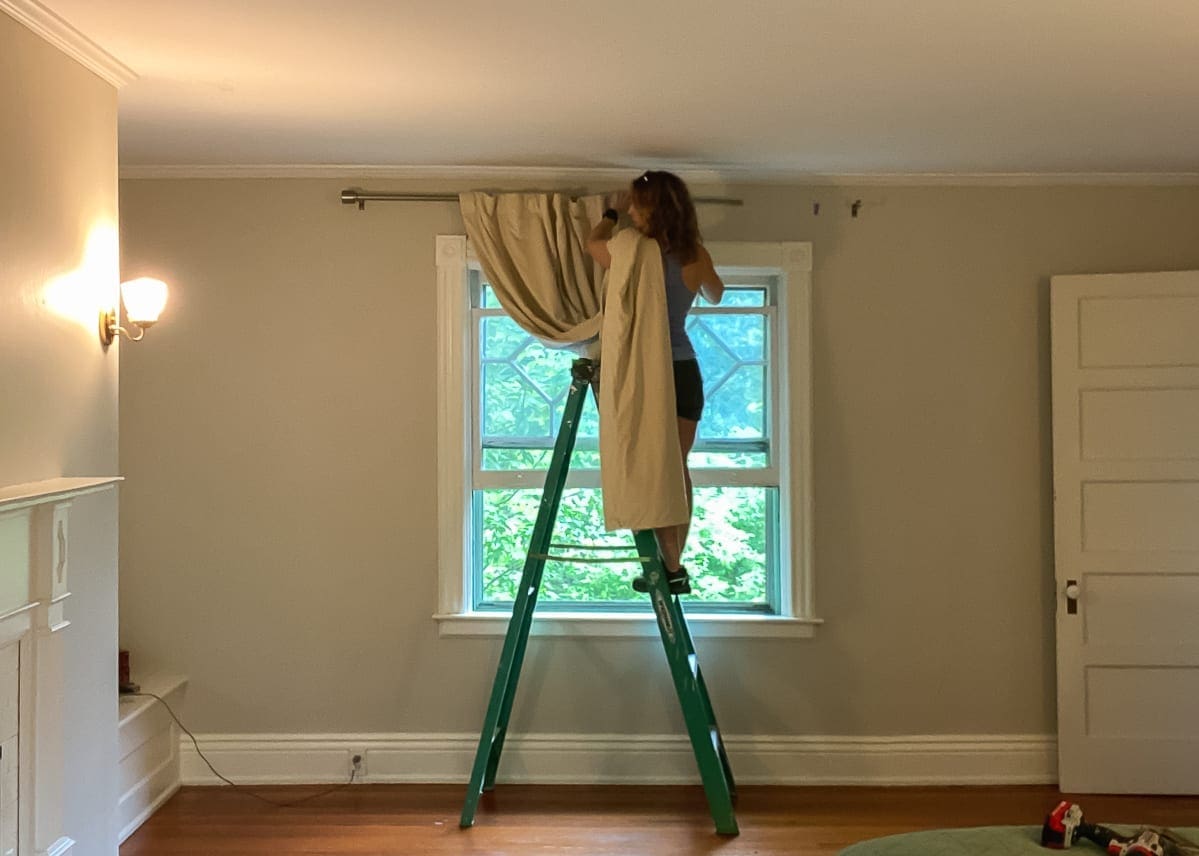
Last week, I shared photos of the blinds, but I ran out of time to hang the curtains. I pushed through to get that done before I left for Missouri.
For weeks, I’ve talked about French return curtain rods. They seemed like the perfect option for the complete darkness that Andy requested. Rather than finials, French Return rods curve at the ends and return directly to the wall. The curtains wrap all the way around as well, leaving no light gaps whatsoever. I fell in love with the brass rods from Ballard Designs, and I planned to buy some as soon as I marked the wall studs to determine what size I would need. However, when I did locate the studs, things got complicated.
The current fashion with curtains is to hang them high and wide. I am a fan of this approach because most of the window still shows when the curtains are open. You can get away with hanging rods between the studs in drywall as long as you use good strong plastic anchors with your screws. Sadly, plaster is a little more finicky. Outside of the studs, heavy curtain rods are more likely to pull the plaster away from the lath, and the screws won’t hold in plaster well outside of the studs. The curtains I bought are super soft velvet and heavy. So, it wasn’t even worth trying to hang the rods anywhere else except for the studs. That was a problem. The stud locations were not ideal.
In the photo below, you can see where I marked them. They are marked with red circles, and the black rectangles show the maximum width of each 50″ panel from the center. The inner studs were too close, and the outer ones were too far.

My curtain panels would not close in the middle if they also had to wrap around the French return rods and back to the wall too. To make matters worse, the studs on the opposite window weren’t close to being even, and the rod would have had to hang off-center.
So, always willing to pivot, I did. I picked up some regular heavy-duty metal rods from Lowe’s and abandoned the French return rod idea altogether. To make up for the off-kilter studs on the one window, I simply opened the rod up a little more on the right side to create the illusion of symmetry.

The new rods look terrific, and they work well too.

Since I hung the panels wide, no light leaks out the sides. There is some light leakage out the top, so I might add a shade after all, but overall, I am thrilled.
The pooling on the floor look is temporary. Unfortunately, The 50X96″ panels were sold out when I purchased my curtains, and I had to get the longer 108″ panels instead. Before the challenge ends, I will hem them, but for now, they are just fine. Maybe, the extra weight will help pull out some of the wrinkles in the meantime.

This bedroom is about to get a lot more interesting. Finally, it’s time to start bringing in the color via art, bedding, and accessories. I’m so ready.
Now, I’m off to try to figure out this laptop issue. Wish me luck!
Be sure to check out all of the other creative and beautiful One Room Challenge projects. The featured designers posted their week three updates Wednesday, and the other guest participants like me will be linking up their posts today.


2 Comments
Cristy Frank
It’s looking good Stacy! Can’t wait to see your next post and how your story board comes to life!
Stacy
Thank you, Cristy!