If you missed the other posts about the basement, you will find them here: The Basement Plan, Sorting and Tossing, and Trouble and Treasures.
I set aside the entire month of November to complete this project, but here it is, mid-month, and the basement is ready ahead of schedule. I could get used to this.
The initial organizing plan was a lot more elaborate (read: expensive), and it would have required additional work to execute. Originally, I wanted to build new shelves for paint, and I thought the entire space would look best if all of the shelving, existing and new, was painted white for visual continuity. After realizing that we would need to organize the basement on a tight budget, I stripped the project plan down to the basics, and I settled on a budget of $30 for supplies. The shelf idea was put on hold, and we will revisit the idea in the spring.
First, I need to be honest and say that this project came in at my budget of $30 because we already had most of what we needed on hand. I scavenged unused bins from upstairs, and I rearranged as necessary. If you want to do a similar project, and you do not have everything on hand, you may be able to improvise. Hopefully, what we chose to do will spark a thrifty idea for your own situation.
I will start today’s tour with the room at the bottom of the stairs. This room was initially our dumping ground. If something belonged in the basement, it was set down here first. Sometimes it made it back to its original home, and sometimes it did not. The junk was ours. The cabinets were already in the basement when we moved to BHH.
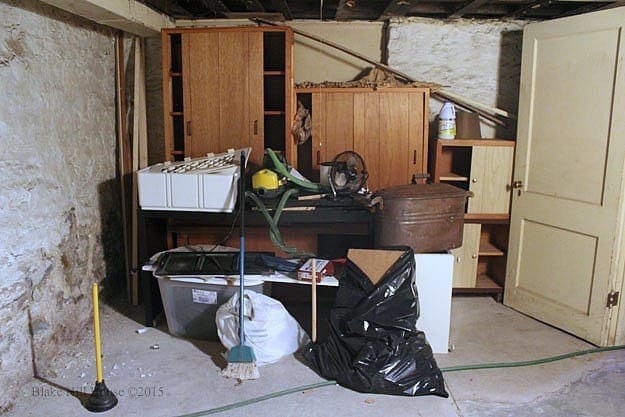
Originally, all of the paint and wall repair supplies were located in the workroom. However, during the clean-up, I realized that this would be the perfect area to store them instead. Moving those items out of the workroom freed up a lot of valuable storage space. This is where we intend to build new shelving. For now, the existing cabinets serve as paint storage.
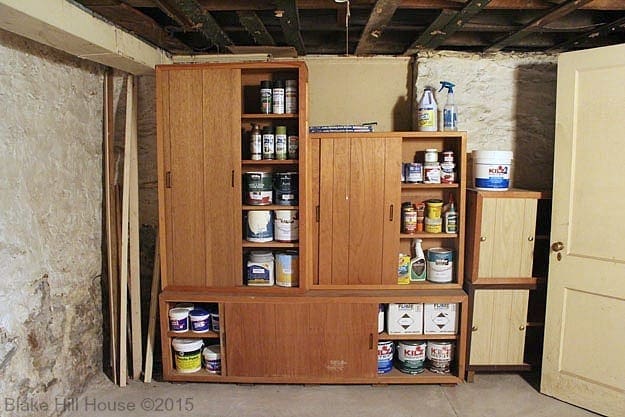
I would like to sell the cabinets at the yard sale in the spring. I hope someone will fall for these mid-century beauties. For now, the cabinets work well enough for our needs. I would prefer open shelving here because we would be able to see the foundation in case something is wrong, and rodents do not like to live behind open shelving.
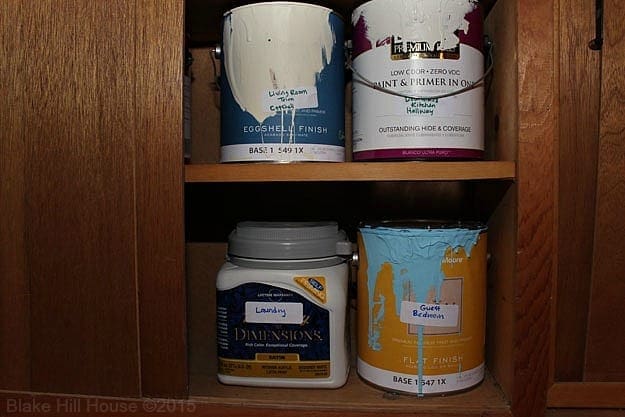
I used hand-written labels on the used paint cans. I wrote the room name on the label, so we can just grab the paint without trying to guess or remember which brand or color we used in which room. This is a useful tip if you use a lot of paint that is the same general color. In our case, we have several shades of white with varied sheens.
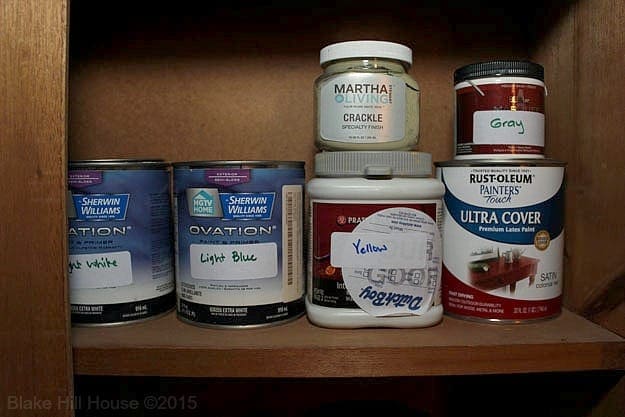
I put the paint that we really do not use on the other side of the cabinet. I labeled it with its general color. The lighting is bad in this room because the overhead fixture is broken. (It’s on the list.) Labeling it this way helps me narrow down a color without wasting time squinting at labels. I chose to keep this paint, despite the fact that it is not currently used, so we can shop at home first for future projects. I will not keep it forever, though. If space becomes tight, and it remains unused, I will pass this paint onto to someone else.
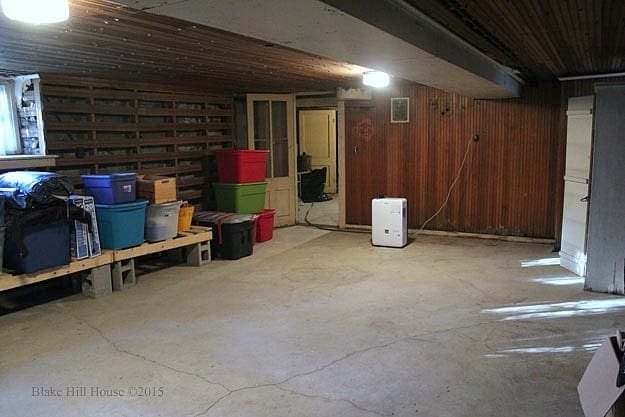
Next, I moved to the storage room. I did the least amount of actual work in the storage room. One of the original key objectives of this organizing project was to make a place for the yard sale, holiday and camping supplies. Most of that was already in this space, I just needed to sort it all. First, I went through every bin and decluttered the contents. I placed yard sale items on one side of the room.
On the other side of the room, I rearranged what was left. Decluttering freed up a few plastic bins. I filled some of them with the loose camping equipment, The holiday items were already stored in color-coded bins. I gave those bins a quick wipe, and that was all they needed. The remaining bins contain a very small amount of hand-me-down clothing and toys that the kids cannot part with at this time.

I lifted everything off the ground as much as possible in case of moisture. I used cinder blocks and pallets which we already owned. This is a very good economical option if you need to do the same thing in your storage space.
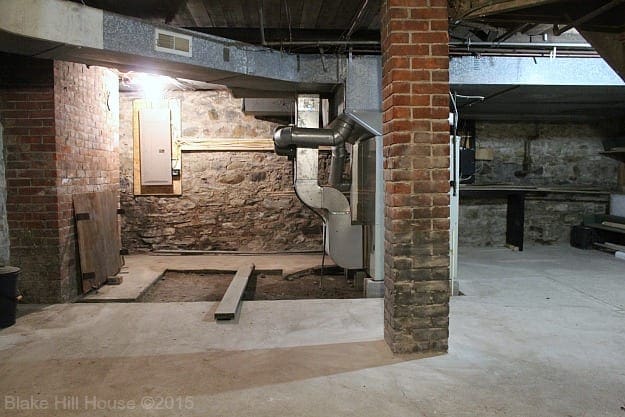
The next room to tackle was the furnace room. This room was generally in good condition, so it only required a thorough cleaning.

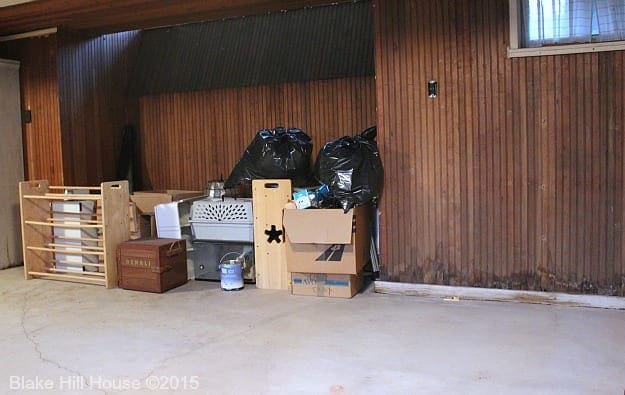
This room contained the leftover garbage after Dorothy’s move. I removed three large bags of trash that could not be recycled or reused. Then, I gave everything a good sweep. I had planned to use the shop vac, but it began to blow a lot of dust. We have asbestos in the basement, and I was uncomfortable with putting particulates in the air. I wore a mask while I was cleaning these dirty rooms, because I not sure if I was stirring up a hazardous situation. While this room was not difficult to organize, it was the filthiest and required the most physical labor. It took several hours to remove all of the garbage and sweep the floors.
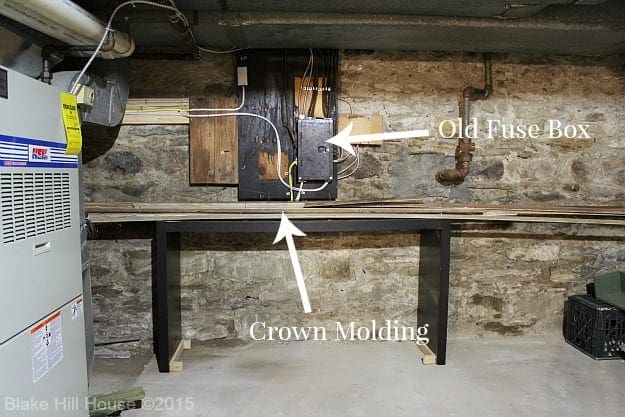
I moved all the trim and crown molding into this room. Previously, we stored it in the workroom. Fortunately, there were brackets on the wall already. I used them to hold as much as possible. Milk crates were perfect for supporting the largest and heaviest pieces.
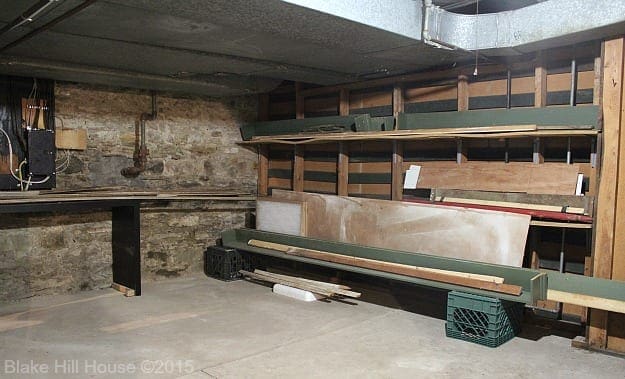
I really lowered the bar by using a broken IKEA unit to keep the crown molding off the damp floor. I scoured all of our spaces for something different, but I could not find a better alternative. (Side note: The black box on the wall is our old fuse box. It was 60 amp, which is way too small for modern living. Our current fuse box is 200 amp, and it has plenty of room for growth. )
The greatest amount of work took place in the aptly-named workroom.
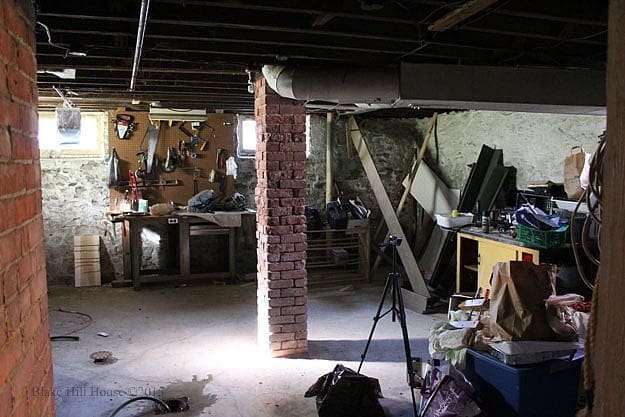
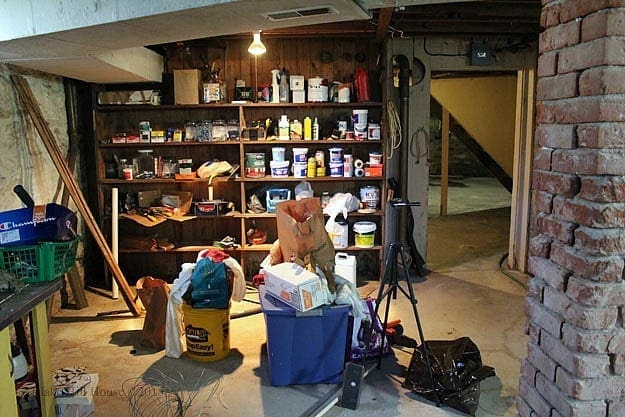
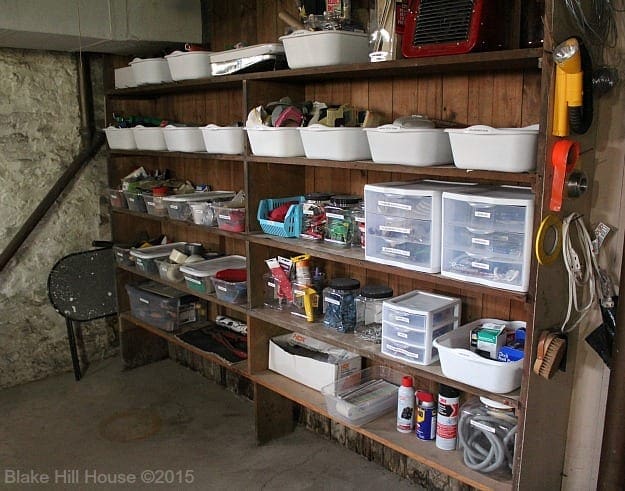
The first step was to sort like crazy. I filled two bags with garbage in this room, and I sorted out a small amount of chemical waste. Chemical waste requires special disposal, so I will check with the city to find a local disposal site. Once everything was sorted, it needed to be organized in an intuitive way. This is where I spent the $30. After I scavenged for bins upstairs, I headed to the dollar store for the remainder of the necessary bins. I spent $15 there. I needed one large, sturdy bin that I purchased at Lowes for $4.99.
I wanted to paint the existing shelves white, but I found that they were too coated with oily grime to bother. Instead, I lined them with brown painter’s paper which I already had on hand.
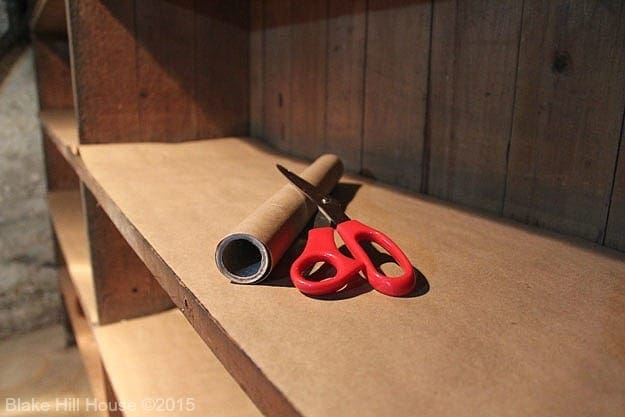
It was certainly not necessary to line the shelves, but I opted to do it to make them look a little nicer, keep the bottom of the bins cleaner, and make it easy to see if mice were running around on the shelves.
Once the shelves were lined, I started placing everything in bins, and I labeled the bins with painter’s tape and a Sharpie. I began to place the bins on the shelves, moving and rearranging bins and labels as necessary.
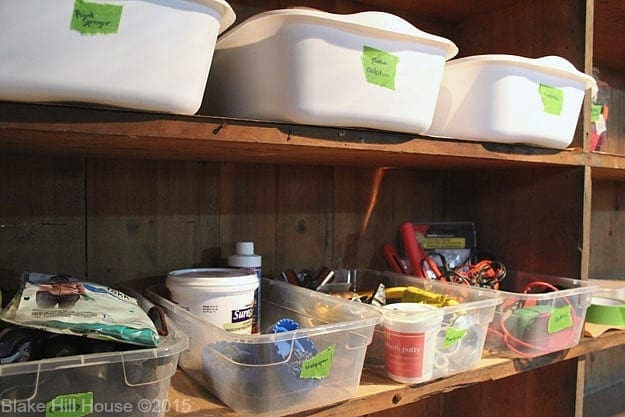
Some of the bins such as electrical supplies and gloves, ended up quite stuffed, but I did not move the contents to something larger. Once we use some of the supplies, there will be more room. The full bins serve as a good reminder for us to shop at home first before we head to the hardware store.
Once everything was in place, I used my label maker to make nicer labels. This is not a necessary step, and I encourage you not to get too mired in the details during your own project. The painter’s tape and your handwriting would work just as well. I chose to use the label maker because 1. I have one, and 2. Making labels is fun for my daughter.

My little helper put most of the labels on the bins for me. We used it as a spelling lesson for the day too. I’m all about working smarter not harder.
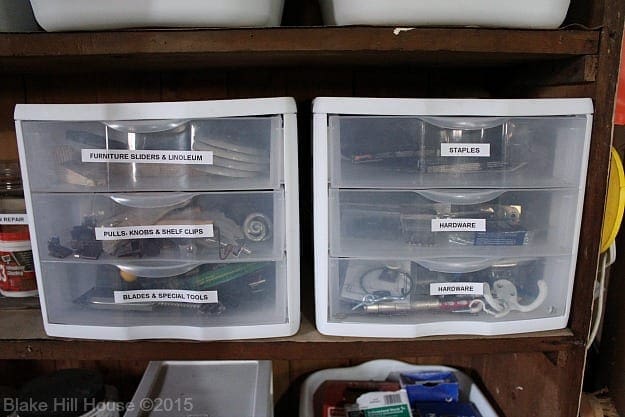
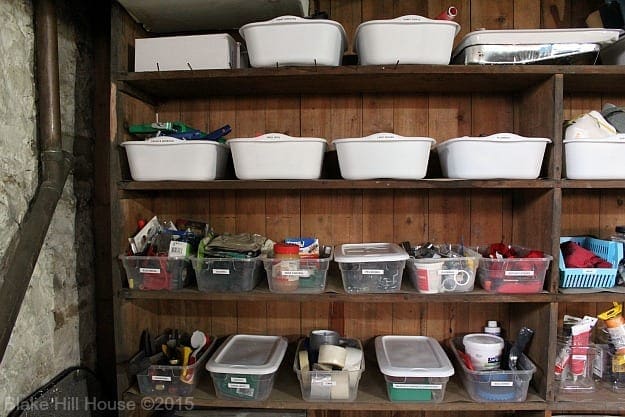
For the most part, I prefer open bins. I love using dish tubs for organizing, and I use them a lot upstairs too. The clear containers with black lids are actually empty nut containers. We buy a lot of almonds and cashews. We save the bins for organizing. I do not not keep every empty container, by far, but I do save some containers that seem like they would be useful.
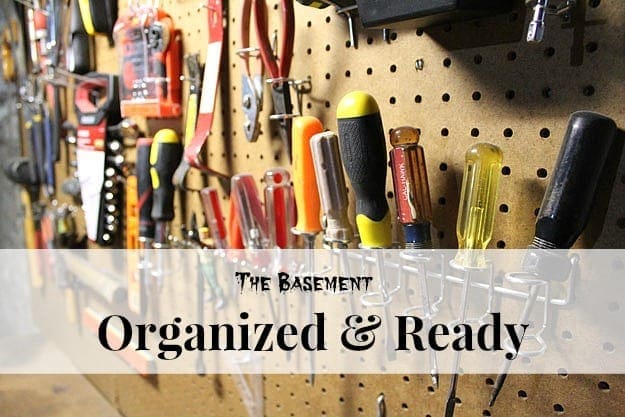
Next, I moved to the pegboard. It was great that this little work station already existed in the basement. I spent my last $10 on a pegboard kit. I bought ours at Lowes, but there is a similar and less expensive kit on Amazon.
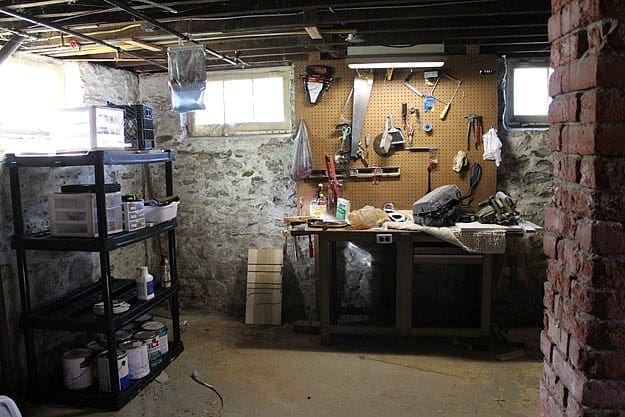
The initial plan was to pare all the hand tools down to one of each. After more thought, I decided to keep them all at this time even though I found a silly amount of flat head screwdrivers and scrapers in various sizes. I kept them all because I want to see how this whole organizational system works. It may turn out that it is more efficient to have tools in more than one place, and if that is the case, we already own them.
Andy started the pegboard project, and he did what most tall people do. He put everything where he could reach it. That is a great strategy, but I am short, and we have a house full of other short people. Every time we tried to reach something up high, we ended up pulling out the pegboard pin at the same time. I rearranged everything so that the least-used items were on the top, and the most-used items were handy on the bottom.
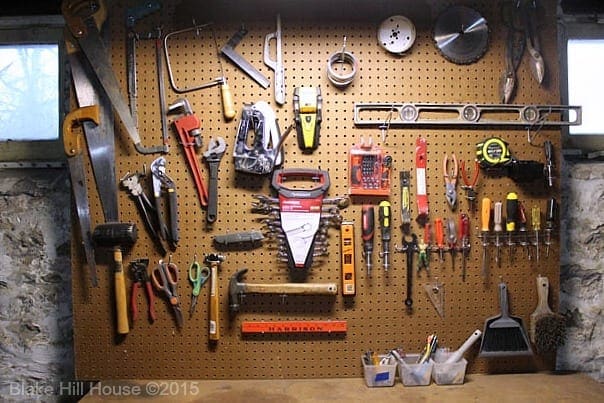

I found organizing the pegboard to be very satisfying. It ranks up there with the smell of the earth after a spring rain storm and being the first person to squeeze a new tube of toothpaste.
With the shelving and pegboard complete, it was just a matter of finding a place for the power tools and the last odds and ends. I placed the power tools on a heavy-duty plastic shelving unit. I picked ours up for free on the side of the road. We have excellent trash picking opportunities here. I happened to see the exact same shelving unit when I was at Lowes. It was priced from $30-$50, depending on the size.
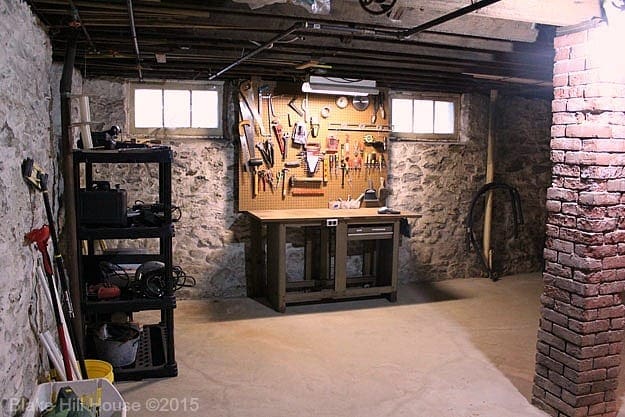
Again, one of the main goals was to store everything up off the floor. I placed scrap wood in a milk crate, the paint sprayer in a stacked bin, and PVC and the long-handed tools in a 5-gallon bucket.
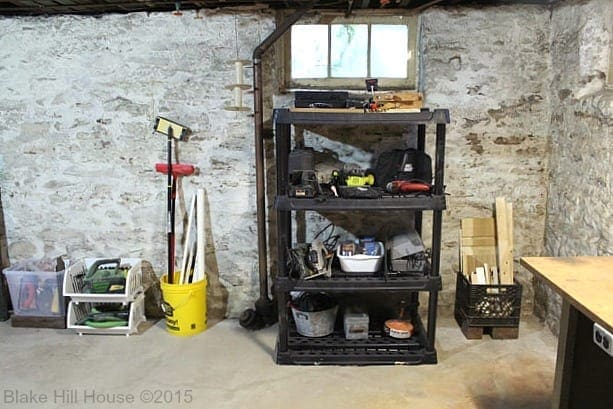
After some additional wiping and sweeping, the entire project was done.
We feel ready and energized for new projects now that we know where everything is, and we can put items back once we are done with them.
These were the original project objectives:
- Create a space for yard sale items.
- Remove all trash.
- Organize all of our tools and supplies
- Identify any problems or issues that need repair or attention
It feels fantastic to place a great big figurative check mark beside everything on that list. Now, we can move out of the basement and back to projects upstairs.
The Full Project:
Part I – The Basement
Part II – Sorting & Tossing
Part III – Troubles & Treasures
Part IV – Organized & Ready
This post contains affiliate links.




6 Comments
Ginger
Everything looks great. My father in law did the peg board organization also and he took a sharpie and drew around each tool so if it was borrowed it was easy to see where it belonged when returned.
Stacy
Thank you! Andy asked me if I was going to draw around each item. 😀 I don’t think I will, but I might take a photo and post it on the pegboard as a reference.
Snoskred
Congratulations! Ah, the satisfaction of a job well done.. it is a wonderful thing.. 🙂
Stacy
Thank you! I may just move down to the basement. 🙂
Ame Jo
Congrats!!! My dad (who was a very talented and creative hobby carpenter/mechanic) also used pegboard. I loved seeing all his tools hung up in his basement workshop.
Your basement looks great!
Stacy
Thanks, Ame. I think it is neat that your dad used a pegboard. I’m surprised that my dad did not. He was pretty particular about his belongings.