It’s Monday, and I am still beaming after last Thursday’s reveal of the Breakfast Nook. While I had hoped all of you would enjoy the big reveal, your enthusiasm exceeded my expectations, and frankly, it blew me away. We read every one of your kind comments here on the blog and social media. Thank you.
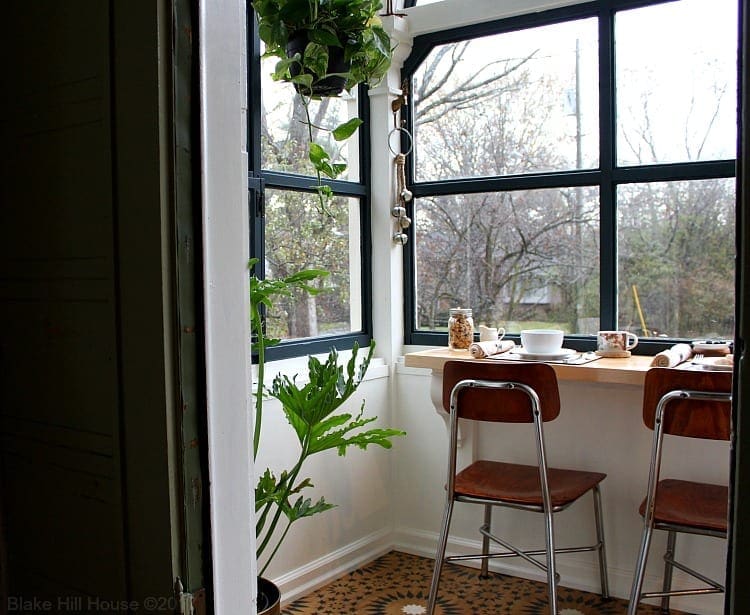
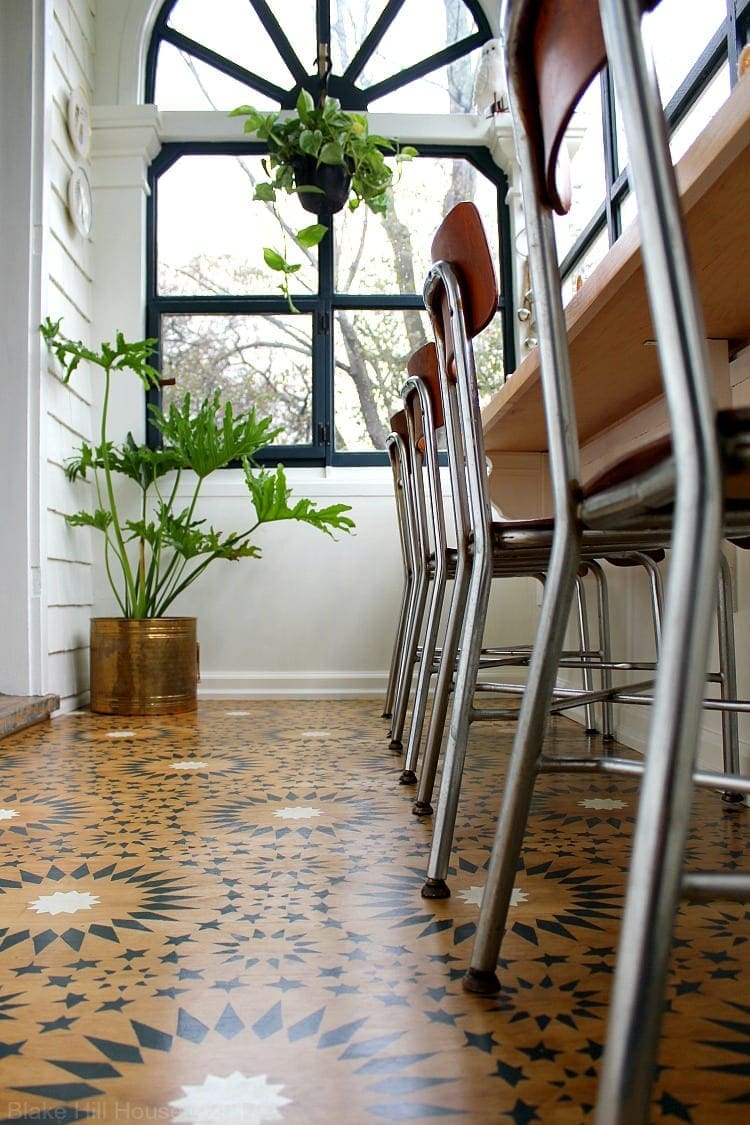
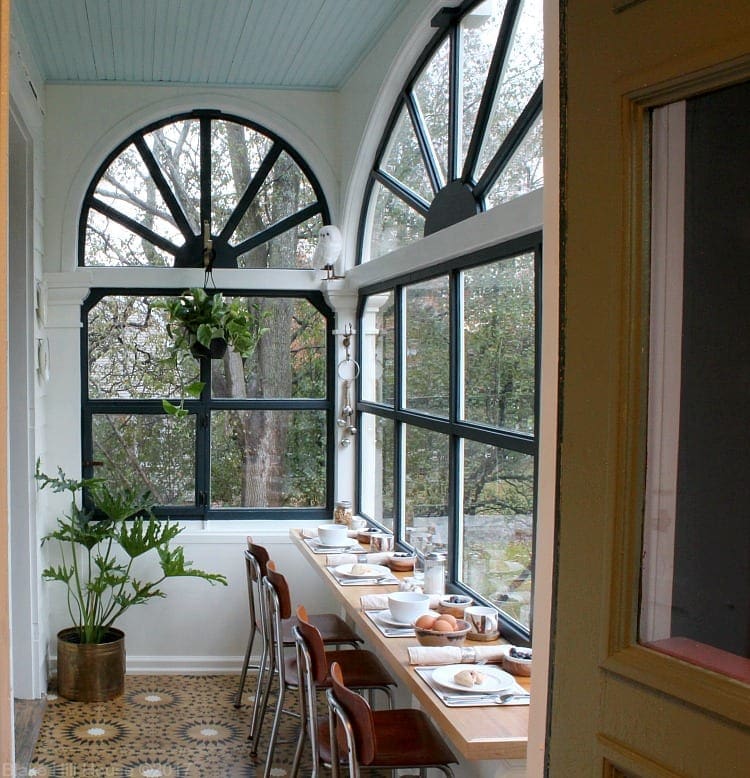
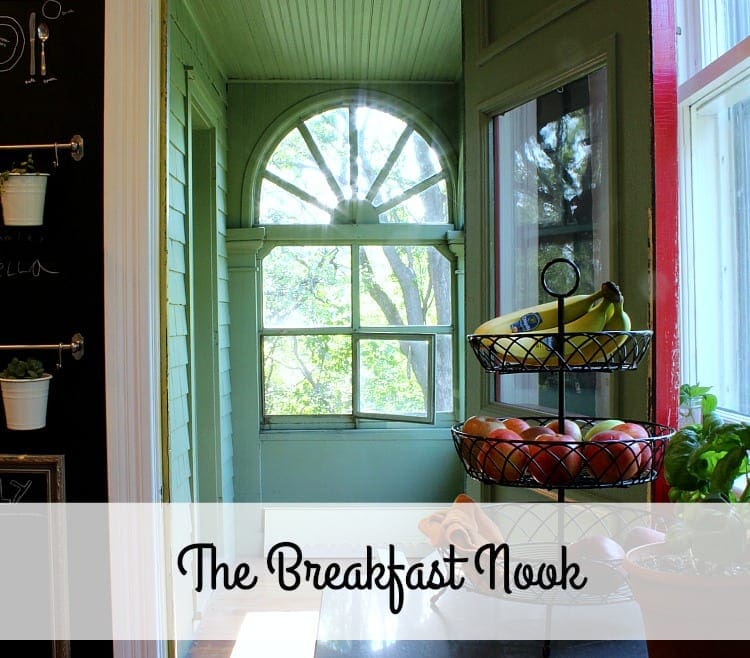
Over the weekend, I cleaned up the last of the construction mess in the adjacent laundry room. Now that everything is tidy and back to normal, it is almost as if the One Room Challenge™ never happened. Oh, except we get to eat breakfast (and lunch AND dinner) here now:
That was not possible less than a week ago. And seven weeks ago, the breakfast nook was only an idea.
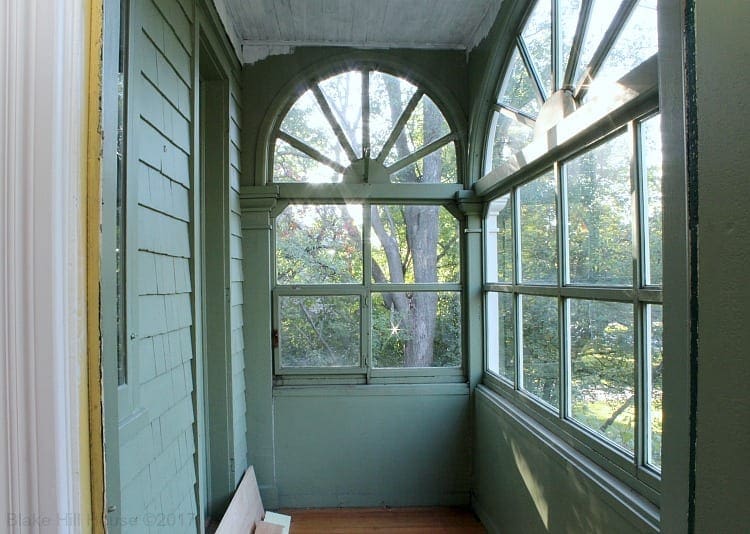
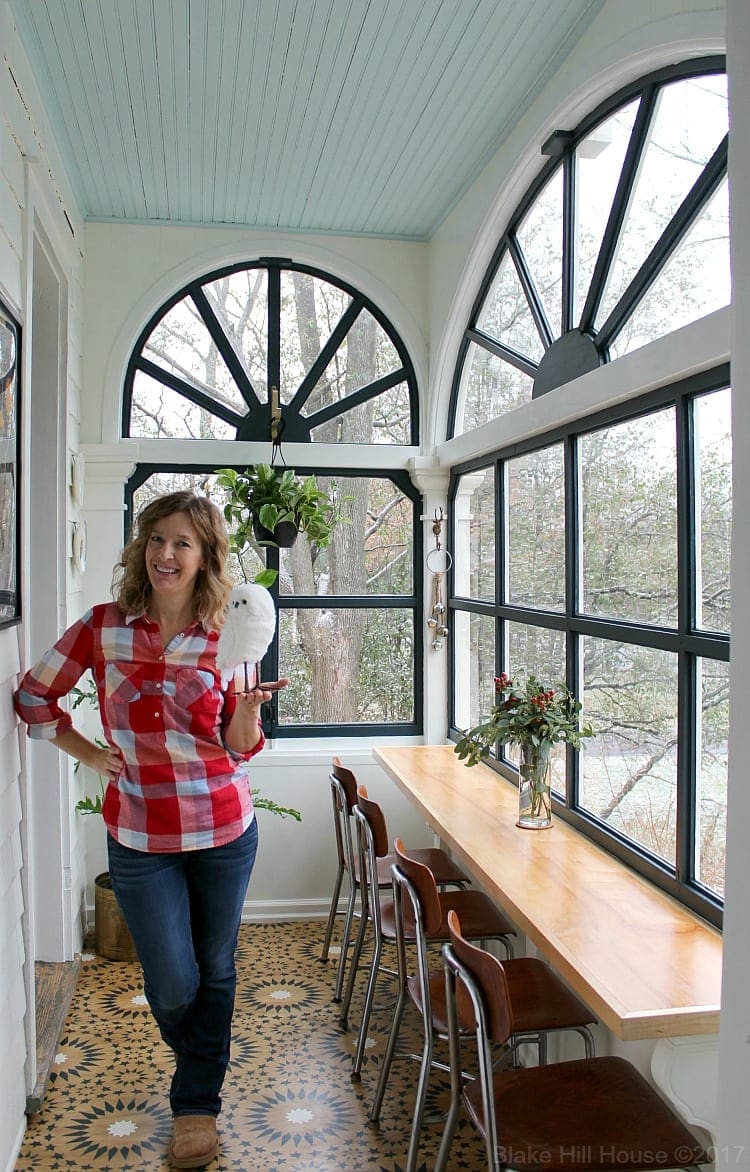
Granted, we started with a room that had gorgeous bones already. However, transforming this space from a neglected, enclosed porch to the tree house, coffee shop, breakfast room required time, patience, and yes, money.
The night before I announced our fall ORC project, I posted a short video on Instagram in which I said, and I quote:
I only have $200 on a Lowe’s gift card to spend on the breakfast nook.
So, how did I do? Let’s talk money.
How I Spent the Money
Right off the bat, I will confess that one week later, Andy cashed in more credit card points, and he added another $50 Lowe’s gift card to our figurative coffer. That brought the total to $250. Then, Andy’s parents sent us some money for our anniversary. I reserved that cash for items not purchased at Lowe’s.
Also, full disclosure, we had a ton of supplies on hand already. In fact, for budget purposes, I planned this project to make use of those leftover materials and clear out space in the basement.
(This post contains affiliate links.)
I Bought:
- Paint – Mount Etna – Satin (windows) Tidewater (ceiling)
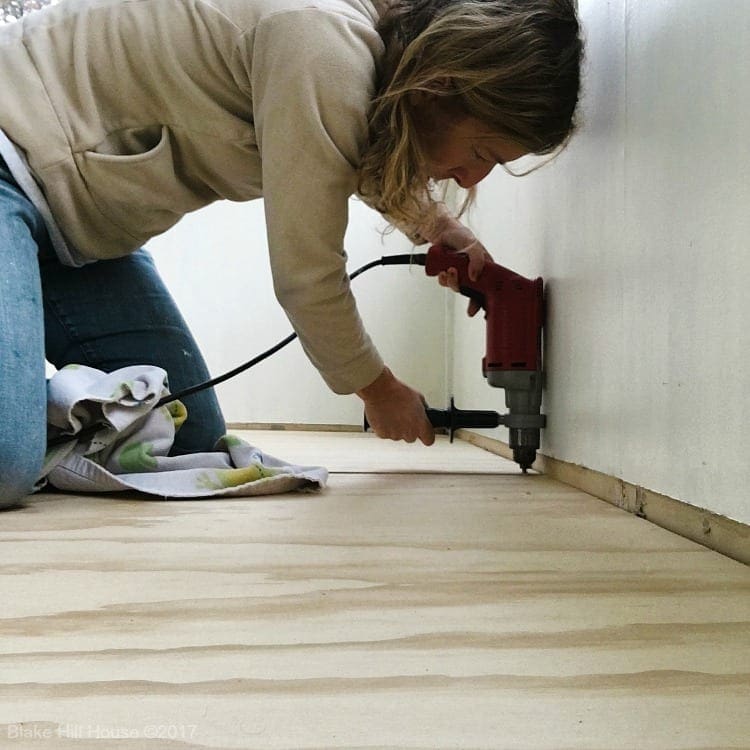
- Plywood (floor)
- Stain – Puritan Pine
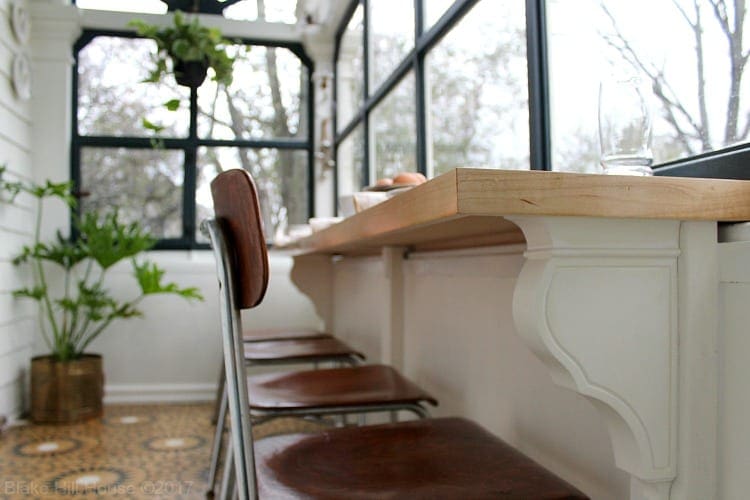
- Corbels (table)
- One 2X4X8 (table)
- Four 2X4X8 (floor)
- Weather Stripping (small window)
- Baseboards – two 8′ pieces
- Shoe Moulding – two 8′ pieces
- Cute Stuff – plants, placemats, dishes, the owl *
- Cavallini & Co. Dandelion Chart *
- Poster Frame *
- Brackets & Screws (table)
- Misc. paintbrushes
- Stencil (floor) *
At about $40 each, the most expensive single items on the list were the corbels. I searched for cast-iron and vintage brackets and corbels, but I never found anything in my price range.
*Items I did not buy at Lowe’s
Total Out-of-pocket Cost:
- Lowe’s: $234 (Unfortunately, I could not buy everything I needed at Lowe’s. Therefore, I have some leftover money on the gift card.)
- Cutting Edge Stencils: $45
- Dandelion Poster (Amazon) & Frame (Jo-Ann Fabrics-50% off) from the original plan: $27
Total Planned/Necessary Expenses: $306
I would be remiss if I did not include the frivolous table items that I bought for styling the breakfast nook for the photo shoot. I would not have spent this money if it were not for the extra anniversary money. Also, I want to make it clear that I only buy/bought items that we will use and love long after this project is a memory. We are not proponents of spending for spending’s sake.
Total Frivolous Expenses: $35
Just for fun, I also wrote a list of every material we used that we already had on hand. After I jotted everything down, it was clear to see that this project would have been a whole lot more expensive if we had to start from scratch.
Items Already On Hand:
- Paint – Citilite in all sheens (Satin-Walls & Baseboards, Flat-Stencil, Semi-gloss-Trim)
- Oil-based primer
- Caulk
- Wood Plank & Trim (table)
- Polyurethane (floor)
- Waterlox (table)
- Various Sandpaper
- R-13 Insulation (floor)
- Weatherizing Supplies (Walls)
- Shoe Moulding
- Baseboard trim pieces for awkward areas
- Privacy Film & Spray
- Frog Tape
- Plastic Sheeting
- Some decor items including the vintage school chairs
Lastly, since I was in list-making mode, I made a separate list of the tools that we used. We either own or borrowed everything.
The Tools We Used
- Orbital Sander
- Jigsaw
- Mitre Saw
- Power drill
- Measuring Tape & Pencils
- Hammer, Screwdriver (flat & Phillips)
- Utility knife
- Various putty knives
- Various Paintbrushes
- Compressor
- Finish Nail Gun + 2″ finish nails
- Shop-Vac
- Dustbuster (I LOVE this tool!)
- Paint Edger (window film)
- Level & Square
- Paint Can Opener/Scraper & Stir Sticks
- Window Zipper & Duck-billed vice grips (for removing the interior sash window)
- Rags & Paper Towels
- Extension Cords
What’s Next?
Now that the One Room Challenge is over, you might be wondering what is next for Blake Hill House? First and foremost, we are closing out the year getting ready for our podcast launch. Finally! At the top of this page, you will see where to sign up for podcast updates. Please subscribe via that link to stay in the loop about our exact launch date, get insider info, and additional show notes after each episode.
The podcast will be about everything related to buying, living in, and thoughtfully restoring and renovating old houses. We will answer your questions, and finally, we will share real interviews and stories from other devoted old house lovers. Recording those conversations was a highlight of my year.
Do you have questions about topics related to old houses or DIY? If so, send an e-mail to di*@************se.com, and I will answer your question on the show.
In addition to the podcast launch, we will continue to write regular weekly blog posts. So, if you just started reading here because of the One Room Challenge™, we hope you will stay. Add this blog to your reader, subscribe by e-mail, and follow us on Facebook and Instagram. We like to think that the best is yet to come.
Now, if anyone needs me, I’ll be in the breakfast nook hanging out with our owl.


15 Comments
Andrea
Ooh! I was wondering how it would look with snow outside those pretty windows, and now I know…so lovely! I would be sure to have a bird feeder just outside, for idle moments of gazing and relaxation.
Stacy
Yes! We ended up getting a light dusting. It has already melted. Also, I have considered a bird feeder. I’m just not sure I can keep up with filling it. It’s funny because I grew up in a national park, and I have lived in or near national parks for most of my life. The message Do not feed wildlife was drilled into us. Then, I moved here. Everyone feeds the birds, and the Audubon Society rules. The Audubon Society has a much different philosophy.
SH
After all the weatherizing, I don’t think you’ve mentioned how much it’s affected the interior temps. Can you tell much difference? Is it warm enough to leave the door open between the kitchen and nook/weather observatory?
Stacy
Good question! I have been keeping an eye on it. Since I put in the baseboards and shoe moulding, the room stays between 66 and 68 degrees, and it does not feel drafty. However, I did add a space heater to the kitchen, and some of that heat feeds into the breakfast nook. That entire side of the house, upstairs and downstairs, stays cooler.
Linda Holder
Stacy,
It’s lovely. It would be one of my favorite rooms. Plus, the owl! I’m coming over for coffee.
Linda
Stacy
Thank you, Linda! I would love to have you come for a visit. I wish you could. (Maybe you will?)
Cindi M
I love this room. I would try to live there! Keeping the room at 66-68 sounds pretty remarkable. A lot of that has to be due to the insulated floor. About feeding the birds, keep planting for habitat and food sources and then in desperate times just throw out hands full of seed throughout the day and you’ll stay solvent and true to your values. I have thought about getting something to keep water from freezing but haven’t done that yet but my neighbor is always home and putting out water for the birds so they are ok for now.
I have signed up for your podcasts and can’t wait. I enjoy your Instagram broadcasts too.
Stacy
Thank you, Cindi. I think you are right regarding the floor. Before I added the baseboards and shoe moulding, I could still feel drafts around the edges. Once that was in place, and I caulked the seams, the room started holding plenty of heat. I still have work to do on the windows, but we are on the right track.
I appreciate your tips for feeding the birds naturally, too. I will keep them in mind when I am planning more landscaping next year. Also, I am glad you are excited about the podcast. I am too! Thank you for signing up for updates.
Alisha
I’m so excited for your podcast! Congratulations on your new venture ?? and again for an awesome makeover!
Stacy
Yay! Thank you, Alisha. 😀
Kelly
I absolutely love this little room! And, I so admire you for not spending just to spend. I’ve stopped reading most of the DIY blogs that I used to love because of the ridiculous amount of junk they buy (or get free).
Stacy
Somehow I missed this comment last week, Kelly. Thank you for leaving it. I would be lying if I said that I don’t ever get the spending bug, but we try very hard to stay true to our values around here.
Miss-Apple37
Beautiful result, congrats!! did you take time to document the stenciling of your floor? Will you post about it?
Stacy
Thank you! 🙂 Your timing for this question is perfect. Yesterday, I posted a tutorial. If you have not already seen it, here is a link to the post: DIY Stenciled Floor
Miss-Apple37
Thanks, i had not seen it, indeed! Gonna read it right now!! perfect!