Well, you know what they say about week six of the One Room Challenge: It’s usually over by now. Thankfully, there is a week seven.
After an eventful long weekend in NYC, I arrived home Monday morning and went directly to work on the plywood floor in the breakfast nook. Andy took the day off work, so we tackled the first part of this project together. Here is how it went down.
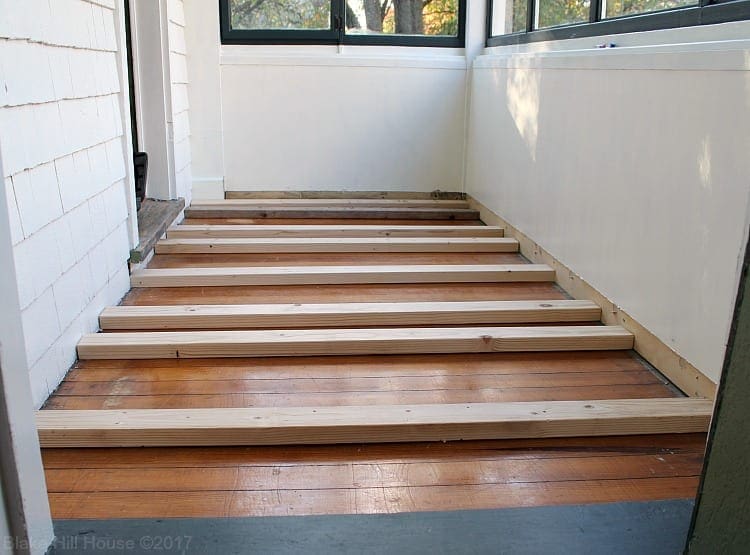
The Frame
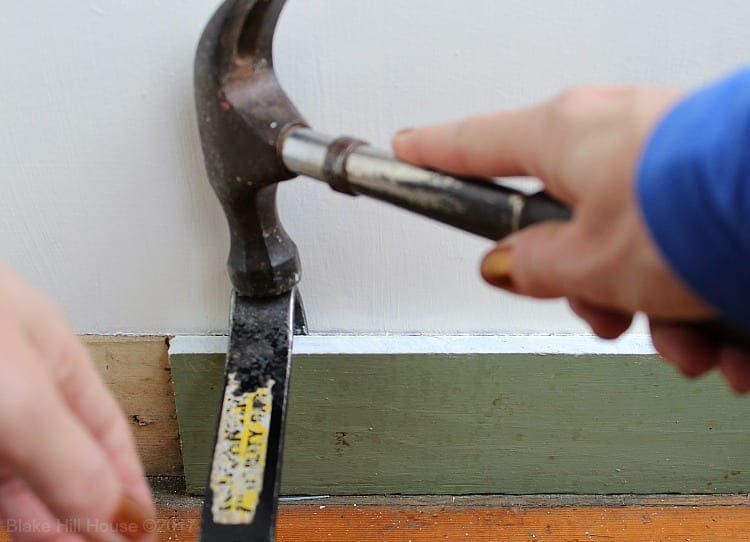
Before we started, I removed the baseboards with a hammer and a small pry bar.
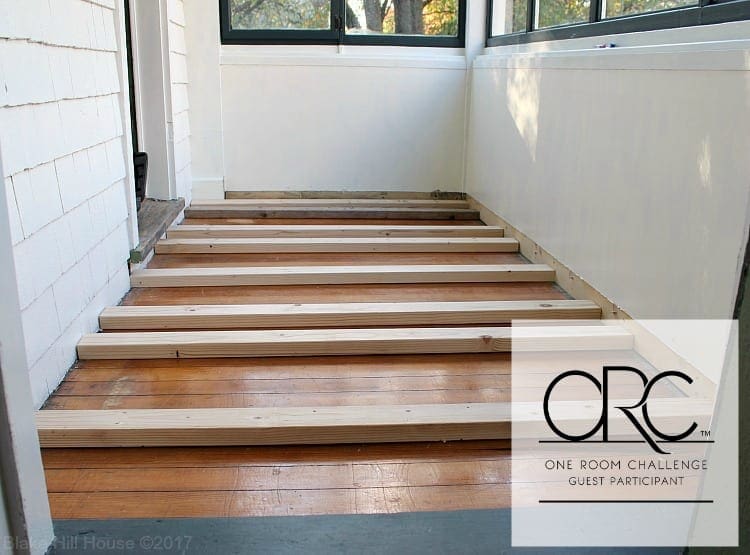
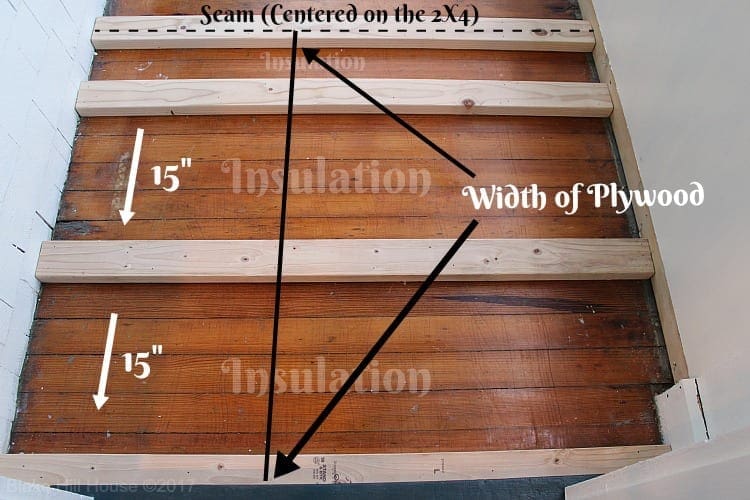
According to our general plan, we laid the 2X4 frame pieces 15″ apart to accommodate standard wall and floor insulation. Since our room is not perfectly shaped, we measured each piece separately. We did not assume that the frame pieces were equal lengths.
We wanted to secure two plywood pieces in the center of a 2X4 frame piece. To make that happen, we cut an additional frame piece where the seam landed.
I was pretty beat up from running the marathon, so I sat around and told Andy what to do. He loves it when I do that. Because our saw is in the basement, he ran up and down the basement stairs to the saw and back.
We repeated the process for the full length of the floor.
I secured the pieces with finishing nails to mitigate damage to the existing original porch.
(Project notes: Readers may notice that we took some shortcuts with the framing such as laying our 2X4s wide side up, and we did not frame the perimeter. We chose this method for a few reasons. First, the only load this floor will bear is our body weight. The original floor underneath is already structurally sound. Second, the beautiful windows in this room end quite far down on the wall. We wanted the floor as low as possible so our custom table does not have to be kid-sized in height. Lastly, we wanted to preserve the original floor as much as possible.)
Insulation
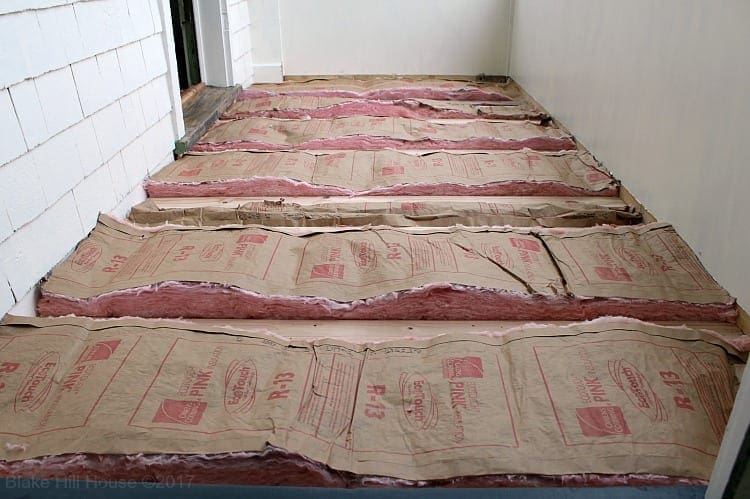
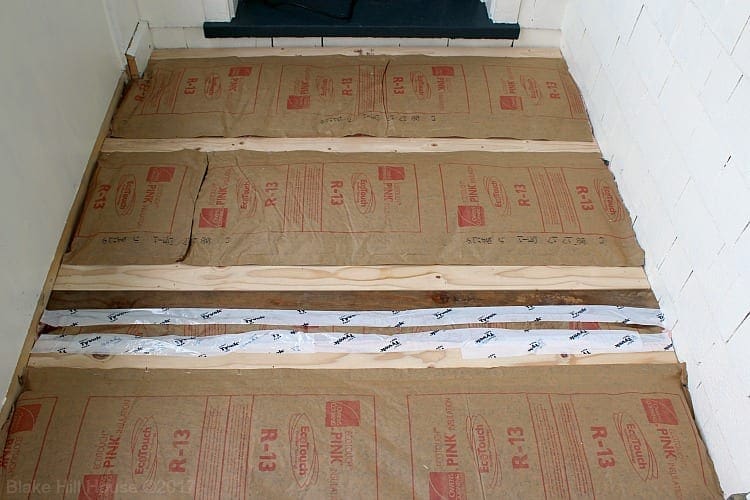
After our contractor insulated the sleeping porch, we had leftover R-13 insulation. There was plenty for this project.
I secured the 15″ pieces with staples. Since the gap between three frame pieces was less than 15″, I cut the insulation to fit. Then, I taped the sides down with Tyvek tape.
The Plywood Floor Problem
Full disclosure, right away I realized that I made a mistake. Plywood comes in 4′ X 8′ sheets. That size is way too large for my vehicle. At Lowe’s, I had each sheet cut down from 8′ lengths to 4.5′, which is the width of the Breakfast Nook. When I got out to my car, I discovered that 4′ was slightly too wide to fit through the narrowest part of the trunk. So, I schlepped everything back inside, and I asked them to cut 6″ off each width. That left me with three pieces that were 3.5′ wide X 4.5′ long, plus all the leftover bits. Perfect.
Unfortunately, that was a couple of weeks ago, and I forgot about it. Andy and I placed the 2X4 frame boards based on plywood pieces that were 4′ wide. After I cut my first plywood piece, I noticed my mistake. To fix my error, I added another 2X4 frame piece, tidied the insulation, and the plywood edge then landed on a seam. The problem was easy to solve, but it cost me a couple of hours. Since I only have an hour or two, here and there to work, the delay put me a full day behind schedule.
The Plywood Floor Post-Problem
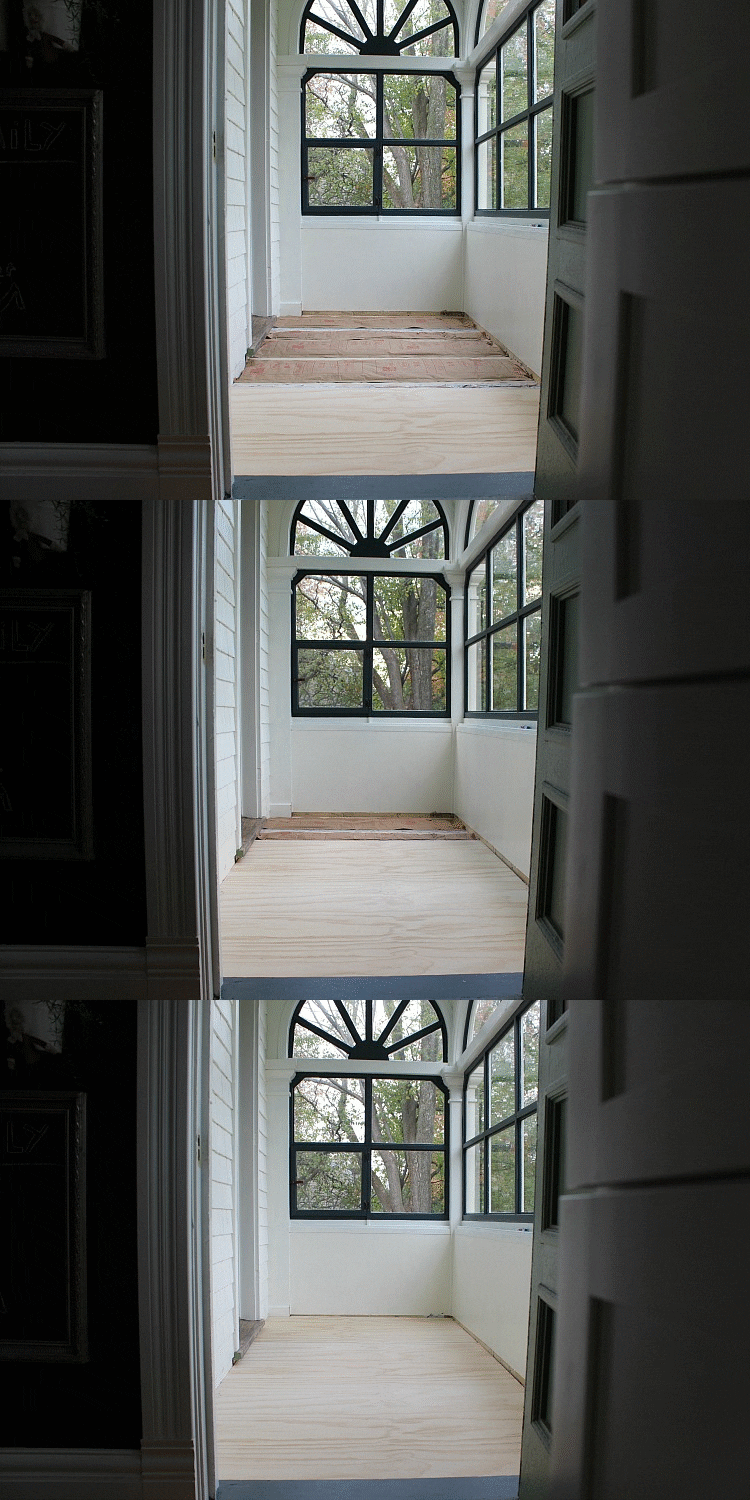
Once I solved the framing issue, it was easy to move forward. With Andy back at work, I was on my own. This part of the project was not difficult, but oh my gosh, I had sore muscles. I had such a hard time getting up and down to work on the floor, and maneuvering the large sheets of plywood was problematic. My process was less construction and more jiu-jitsu.
Luckily, the middle piece of plywood was a straight-up rectangle. However, each side piece needed to be notched. Using a pencil and a straightedge, I marked the plywood. For the cuts, I used my jigsaw.
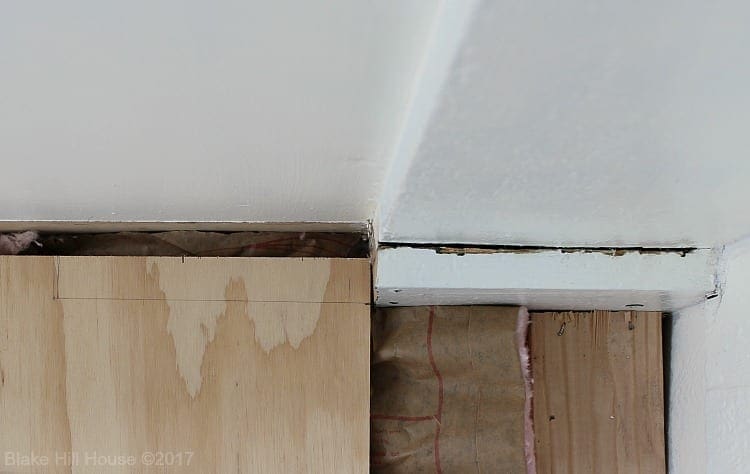
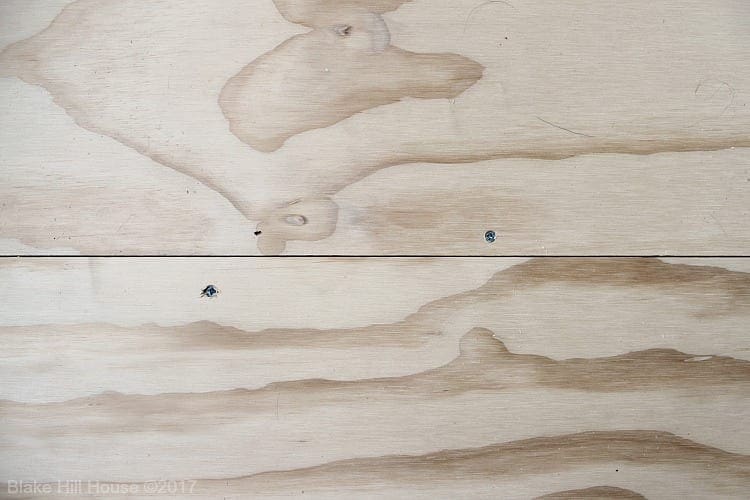
I secured the first two pieces of plywood at the same time to make sure they butted up against each other as tightly as possible to minimize the visible gap at the seam. After that, I cut and dropped the last piece into place.
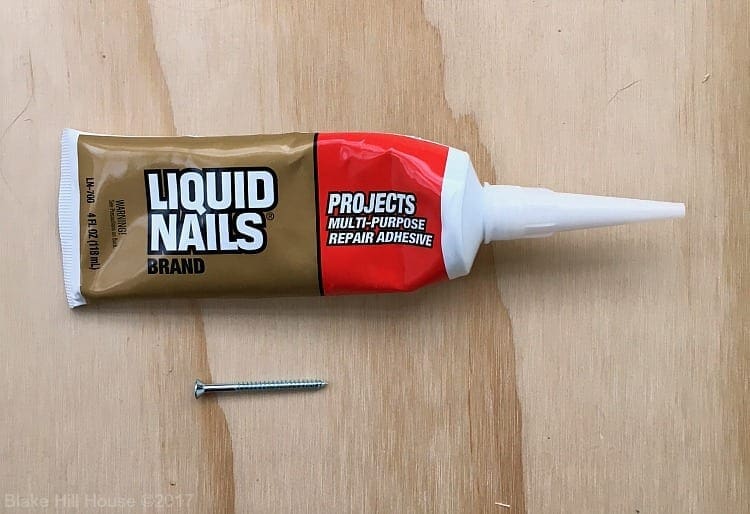
Using construction adhesive and wood screws, I fastened all of the plywood sheets to the 2X4 underneath.
I used three wood screws per seam, countersinking each one. (I pre-drilled each hole.) Then, I added finish nails between the screws and all the way across the floor to affix the entire sheet to the frame pieces underneath.
The entire process took two work sessions and about four hours. Through the magic of animation, it looks like it took me three to four seconds. I wish I could work that quickly.
Today, I have to fill in all of the holes and sand the floor in preparation for the stencil. After that, I will stencil, stain, and seal the entire thing before Sunday. Easy, right? (Somebody, hold me.)
Now, it is time to head on over to Calling It Home to see all the progress from the Featured Designers and the Guest Participants too. Since I was gone over the weekend, I am a week behind on my reading; I have some catching up to do. Next week: The big reveal!

Start from the beginning:
Week 1 – The Breakfast Nook
Week 2 – The Breakfast Nook
Week 3 – The Breakfast Nook
Week 4 – The Breakfast Nook
Week 5 – The Breakfast Nook





29 Comments
Chad
The correct way to do this is to put towels on your roof, shrink wrap the stuff on, and throw etiquette out the window and drive 20 mph home. That’s what I did in the Brooklyn-Battery Tunnel working on a definitely-legal project to subdivide an apartment in Manhattan. I view the honks as expressions of support for my can-do attitude.
Chad
Or if it just hangs out your trunk a little bit you tie it down. My dad got a whole wicker settee set in a Buick Roadmonster that way when he lost his patience with the movers. They were moving on up and my mom was delighted with the first impression they made with their new neighbors this way.
Stacy
See, I would have cut the settee in half and turned it into chairs.
Chad
He had the settee, 2 chairs, and a coffee table all in there at once. And a whole bunch of bungee cords.
Stacy
Ha ha!! ?
Susie
Well that was a pain to get done! The good news is its done and you can move on! Love that you kept the original flooring in the best shape possible. Any particular reason you didn’t pull it up and use it as the finish floor?
Stacy
Thanks, Susie. To answer your question, I am going to stencil this plywood. and I did not want to do that to the original floor. Also, I wanted to add some cozy insulation. 🙂
monica
Have really enjoyed following along on this project and love the way the windows have turned out! I can’t remember why you are doing the plywood step? Is it because you wanted to put insulation in or because you wanted to stencil but did not want to do it directly o the wood floor???? Thanks!
Stacy
Thank you, Monica. You are correct. I did not want to stencil the original floor. The secondary reason was to add insulation.
SH
So excited to see the stenciled floor soon, even if it’ll be just a peek in the next few days!
Stacy
I cannot believe that reveal day is so soon!
SH
Thanks for the sneak peek. And just wow!!!
Stacy
Thank you, SH!
Kalila
You amaze me! I can’t believe you were able to do all that after you ran a marathon. I wouldn’t be able to work for a week if I ran once around my block. I’m looking forward to reading about the stencil project.
Stacy
LOL! I have to admit that if it were not for this deadline, I likely would have just sat around stuffing my face with cookies and peanut butter.
tim@designmaze
wow what a process but at least you get a much better foundation, which is the hardest thing to fix once you have everything finished in the room. Good luck with the stencil and I look forward to seeing this beautiful space in one week!
Stacy
Thank you for the support. Aside from the windows, the floor is the main feature of the breakfast nook. I had to take my time with it and make it right.
PS: Your project! I love it. 🙂
Norma | The House that Will
All that hidden work can be a bit frustrating to do, but the room already had a lovely aspect, and now it looks like it will become a real cosy place to retreat to. 🙂
Stacy
Thank you, Norma. Fingers crossed. 🙂
Susanne
I can’t wait to see how the stencil turns out! Co grays on finishing your race and I can’t wait to see the final reveal next week!!!
Stacy
Thank you so much, Susanne.
Madeline | Teal and Gray
It’s looking really great, Stacy! I am excited to see the floor finished.
I have similar problem with lumber and my little Honda Civic. I have definitely made some questionable decisions getting boards home.
Stacy
I am picturing sheets of wood strapped to the top of your car. 🙂
Ame Jo Hughes
I am in awe of your resilience. Post marathon home improvement?! Woman, you’re a beast and an inspiration.
Stacy
One word: Deadline.
If I didn’t have a deadline, I would just sit around. LOL
Libbie
Excited to see the stenciled floor! I can’t believe reveal week is so close.
Stacy
Thank you, Libbie. I cannot believe reveal day is so close either. Yikes!
Beth
What a post-race accomplishment! I would have done exactly nothing after running a marathon 🙂 Go girl! Can’t wait for the reveal!
Stacy
Thank you, Beth! The ORC deadline made me do it. 😀