I hope all of my American friends had a nice Thanksgiving. This year, we invited friends over, and we had a low-key, no-fuss celebration. The Christmas decorations have made their way upstairs from the basement, and Hannukah starts in less than a week. The whoosh that is the rest of 2018 is officially here. Also, in case you missed it, I posted a No Regrets Toys for Kids list (gift guide) on Monday.
Since the big reveal, we have been giving The Scary Bathroom a workout, and it is holding up like a champ. I finally sat down to tally up the bill to share with all of you. Also, the One Room Challenge was such a whirlwind, and I ended up changing my mind about a few key elements along the way. If you read the blog and followed along on Instagram, you may have felt confused at times because I said one thing and did another. Today’s post should help explain what was happening behind the scenes.
First, let’s talk about money. The Scary Bathroom was not exactly a budget-friendly project, but it wasn’t really meant to be either. We intended to get the most value for our dollar, but we also wanted to make sure the bathroom fit in seamlessly with the rest of BHH. To that end, Andy and I knew we might have to spend some money to make that happen.
Budget Breakdown
Here is everything we spent rounded to the nearest dollar:
- Skim coating the upper walls (We paid someone to do this, and it was worth every penny.) $400
- Renting a floor sander + sandpaper $39
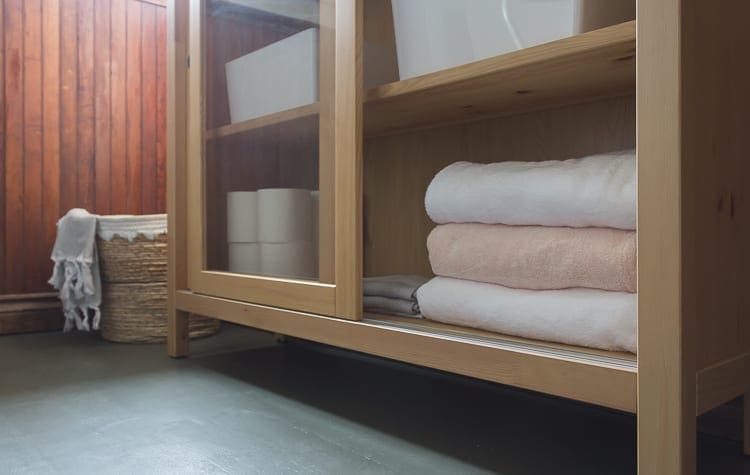
- IKEA supplies including the HEMNES cabinet, KUGGI bins, and toothbrush holders – $400
- Linens including shower curtains and towels – $160 (It takes two sets of shower curtains, inner and outer, and rings for a converted clawfoot tub.)
- Rug – $40 (on sale)
- The table beside the tub – $40
- Accessories (trashcan, soap dish, soap dispenser, toilet paper holder, hook) $70
- Framing the original artwork by my Father-in-law $210
- Lighting, generously sponsored by Lamps Expo – $470
- Misc supplies including things like paint stripper, rags, marble cleaner, etc. – $125
Grand Total = $1979
The cost to us: $1979 – $470 (sponsored lights) = $1509
I did not include two new tools in this total. I bought a pancake compressor for my brad nailer and an oscillating tool. During previous projects, I borrowed those two items from my friend Dale. I decided not to include them since we will use them for many projects as we move forward.
Now, I want to hear from you. Does this budget breakdown sound right on the money, too high, or just right considering our project? My original low-ball estimate was $800 for basic functional and cosmetic repairs. I spent money on many items that were not crucial, but they have improved our overall quality of life. Also, since we had the lights sponsored, I used the money I would have spent on lighting to buy nicer shower curtains and accessories.
Worth it.
All The Times I Changed My Mind
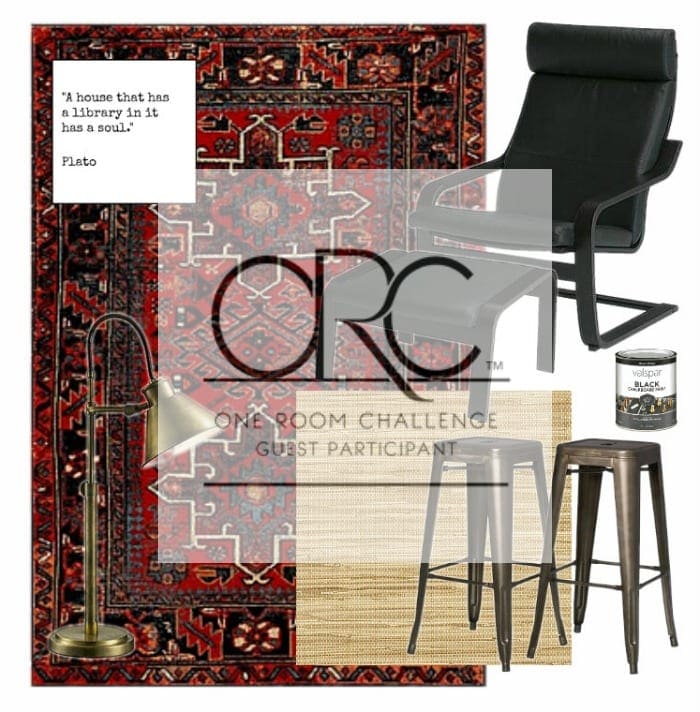
Believe it or not, I spent more time planning The Scary Bathroom project than any other ORC room in BHH. Even so, I strayed from the plan almost more times than I stayed faithful to it. I am not sure how to interpret that. Perhaps I shouldn’t bother with mood boards and research?
By nature, I am not an over-planner or over-thinker. Andy might disagree, but the number of times I have figuratively tossed all my plans in favor of spontaneity would likely astound him. It’s true that I plan more than he does, but trust me, that bar is pretty low.
The Cabinet:
During week one, I was dead set on the FABRIKÖR by IKEA. I thought it would look great on the back wall next to the tub. My idea was that we would fill it with toiletries and towels, and we would put shower supplies on top.
By week three, I was over the idea entirely. Suddenly, a metal cabinet in a moist bathroom seemed silly, and glass shelves? What was I thinking? I also convinced myself it was too tall. The trim around the top of the wainscoting would prevent it from fitting flush with the wall, and I thought the gap would be noticeable.
Next came what I believed was the perfect Craigslist find. It was a painted vintage sideboard, located two hours away. However, we were already deep into week five, and communication with the seller was too slow. I had to let it go. C’est la vie
After abandoning the FABRIKÖR and the Craigslist piece, I turned to the shorter BRIMNES cabinets from IKEA instead. The plan was that I would get two of them and place them side-by-side. The handles were all wrong, and the base looked cheap, but I planned to upgrade them with decorative door pulls and trim. I put BRIMNES on the shopping list, and my friend Holly and I headed to Canada for an IKEA shopping day.
Stacy and Holly Go to IKEA and Don’t Buy The BRIMNES
I intended to be swift and decisive at IKEA. Hilarious, right? My resolve lasted for about ten minutes. Then, I started putting things in my bag, changing my mind, and taking them out again. Does anyone else do this? Holly and I purposely grabbed bags instead of a cart. I think we both hoped it would help us curb our spending. Instead, it just meant that we were stuck lugging around bags that weighed as much as bowling balls, contents spilling out the top. Smooth. Really smooth.
Anyway, back to the cabinet. Once I saw the BRIMNES, I changed my mind again. I just didn’t love it, and with less than a week left in the challenge, there was no way I had time to modify it to make it look high-end. Fortunately, before I could let the despair wash over me, I rounded a turn in the IKEA labyrinth and saw this:
I just knew it was the one. How you ask? Well, it checked all the right boxes. It was white, and it was shorter than the wainscoting. Oh, wait. No, it wasn’t. Truthfully, I might have chosen it because I was feeling tired and ready to go home. Even so, I did love the sliding glass doors and the classic design. All it needed was a little white paint.
Holly and I picked one up at the off-site distribution center, and we were on our way south of the border.
Stacy Does Not Paint The Cabinet White and Other Color Mishaps
Relieved to have the cabinet decision behind me, I moved on to other things. It was three days before the big reveal. I was still scrubbing wainscoting and stripping nasty adhesive off the floor. Andy and our son put the cabinet together, and we called it good enough. There was not enough time to paint it.
Simultaneously, I decided the floor paint color. After a lot of back-and-forth and an informal survey on Instagram, I chose Billiard Green by Sherwin-Williams.
I also chose Alabaster for the walls which I talked about several times on Instagram.
Then, I did not use either of them.
The Walls and Ceiling
Andy took a couple of days off of work to help me. Bless him!
I asked him to paint the upper walls and the ceiling on the same day I went to IKEA. I cannot remember the exact timing for all of this, but the white ceiling paint I had already used for the edging looked too blue and cold. There was no time to run to the store to buy the Alabaster-colored paint, so I dug through the basement and found a ton of leftover Woodmont Cream by Benjamin Moore. It is the same creamy white we used for the living room trim. Andy was back in business. He painted the walls and the ceiling the same color. It looked beautiful. I went to Canada.
Strangely, Woodmont Cream looks completely white in the Scary Bathroom. In fact, it may be my new favorite neutral…until the next one.
The Floor
Monday and Tuesday of reveal week, I was on my hands and knees cursing tar-based floor adhesive and the person who invented it. The wainscoting wasn’t done yet either. I purchased the Billiard Green floor paint, and finally, on Tuesday night, I was ready to paint the fully prepped floor. Tuesday night.
Not to be melodramatic, but I went into the floor painting full of hopes and dreams. Nevermind. I’m going to be melodramatic. Forgive me, please. Billiard Green was supposed to pull the entire design together, and painting the floor was one of the final tasks before the zhushing. I am not a skilled or experienced designer. I always say that I am better at tearing things apart, but that is because it is true. Everything that works decor-wise still feels like a happy accident for me.
As I was painting the first coat of green on the floor, a little voice in my head said, This is all wrong. Ignoring that voice was easy at first. I chalked it up to ORC fatigue. As the night wore on, the voice got louder. Suddenly, I just knew. IT WAS ALL WRONG. The undertones were too blue. The color against the dark brown wainscoting reminded me of that green indoor/outdoor carpet that people used to put everywhere in the 70s and 80s.
I won’t lie. I panicked a little. There is no photographic evidence. After a quick poll on Instagram, we all mostly agreed that the color was horrific, and it could not be salvaged.
Let’s review:
It was two nights before the big reveal. I had planned nearly everything around this green color. The paint store was closed. I still needed to install the baseboards and trim, decorate the room, take photos, and write a full blog post. Nevermind that we were not supposed to walk on the painted floor for 48 hours.
I cried a little because I lost perspective. Apparently, I thought I was curing cancer or landing an airplane instead of decorating a bathroom. It happens.
Then, I pulled myself together, ran to the basement, and found the Roycroft Bronze Green paint that I used on the guest bathroom floor. And it worked. It really worked. It matched everything. That quart of Roycroft Bronze Green in the basement was a great big gift from the universe.
Against the paint manufacturer’s directions, we laid the rug and placed the cabinet the next day. We also walked in the room in our socks for the next three days. Fortunately, the paint still looks terrific. Go, Sherwin-Williams!
So, that’s the rest of the story. If you felt a little whiplash trying to follow me on Instagram and the blog, I offer this post as an explanation. Everything during week six happened so fast.
Perhaps I am opening Pandora’s Box, but what do you think we should work on next?


15 Comments
SH
The photos answer all your questions–mainly that the budget was spot on! The amazing part is how you rolled with disappointments and the unexpected. What a super power! And no doubt, you have a magic basement.
Stacy
Thank you. 🙂 The basement is becoming more of a treasure trove the longer we live here and DIY.
Devyn
Woo Hoo!!!! Pancake Compressor and Oscillating Multi Tool!!!!! These two tools have unexpectedly become some my most important tools. So. Worth. The. Investment! Everything looks great! I think you did well for the amount spent. Framing is always a chunk of change (we spent nearly $300 to frame a $40 piece a few years ago with no regrets), but always worth the investment when it comes to pieces that are important to you.
I love the Hemnes cabinet, but I’d be lying to say I don’t think the Fabrikör is pretty fabulous. Every time I am in IKEA, I lust for a Fabrikör to put somewhere… anywhere?… in our house. That said, the Hemnes is a much better alternative to the Brimnes, it is solid wood, and should last for a long time. The Brimnes (in my option) looks like it will fall apart within a year or two. Back to the Hemnes, did they not have the white one in stock? https://www.ikea.com/us/en/catalog/products/80363214/ The floor looks great. Not knowing what the Billiard Green looked like, I like the Roycroft Bronze Green. It really does work.
Stacy
The oscillating tool is a real time saver for so many projects. I love owning one and being able to use it whenever I want.
I choked a litte when I found out how much the framing would cost, but I love the art so much, and of course, I love my father-in-law. 🙂
The BRIMNES was never right. I have no idea where I was going with that one. The HEMNES did come in white, but I thought it looked cheap compared to the light brown (natural). Also, I was concerned that the white of the cabinet would clash with the white of the walls. That’s why I planned to buy the natural one and paint it the same shade as the walls.
Ryan
I’ve noticed that the white HEMNES furniture tends to be made out of pressboard with the foil wrap where the stained colors are solid pine. Check the materials tab on the website for each color to confirm if you’re looking to buy. I’ve purchased pieces in both dark brown and grey and will be painting the brown one – I just don’t know what color yet.
Stacy
Thanks for the tip!
Downraspberrylane
I so love your stories. They give me more hope (and entertainment) than the slick, perfectly choreographed ones all over blogland and IG. You are a gem. One thing I must argue with you: the framing for your father-in-law’s drawing should NOT be included in the cost of the room remodel. It’s a thing of it’s own, justified by the art itself. And the piece may be part of the room now, but may not always be so. Anyway, great job; I loved being along for this ride, and can’t wait to see what you do next, Don’t even care what it is.
Stacy
Thank you. I’m very happy to read that you enjoy the blog. Also, you have a point about the framing. I never thought about it the way you describe. I appreciate that you gave me another way to look at the expense.
JC
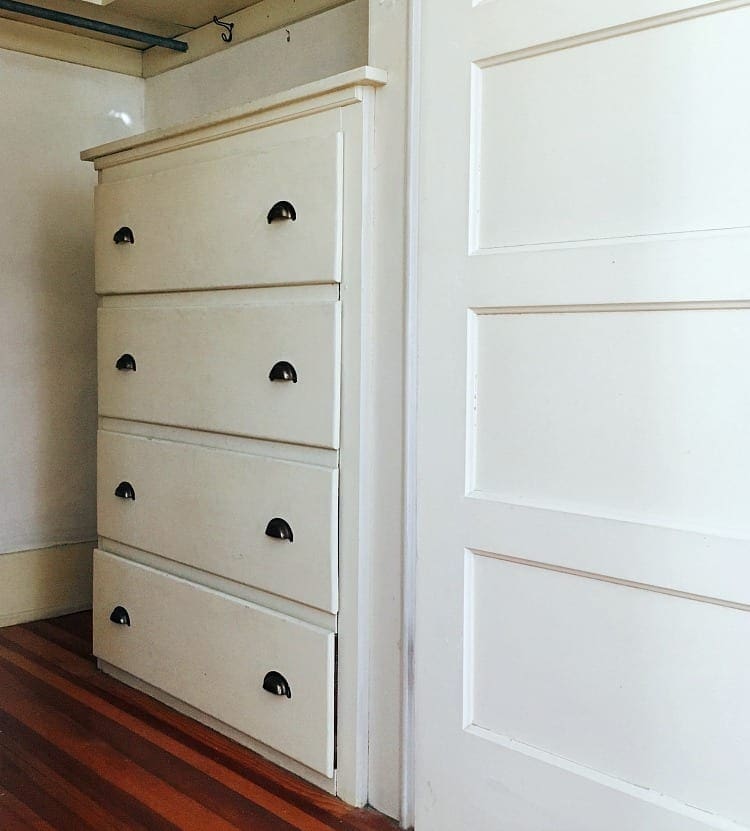
Hey Stacy, I think your budget is pretty much what I expected to see. A large chunk of the budget (the cabinet) could have potentially be less if you had chosen to stick with the existing dresser, or found a second hand piece that worked for cheaper, but all-in-all, still a very good price for the full project. Several people have spent as much as 5 or 6 times your budget, and ended up with less stellar results.
I don’t remember how much I spent on my bathroom reno but I do have all the receipts somewhere. I know the tile floor cost around 125$ plus the plywood, I had to buy new drywall (maybe 100$?) the toilet was 35$ second hand + new internal fittings and a seat (another 40$?). The tub was 200$, the surround was 100$. Not sure how much the vanity ended up costing, but I built it custom at work at the time. Sink was 6.99$ on clearance. Paint was around 55$ plus 20$ primer. I think the light fixtures I only paid 30$ each (two sconces) plus an antique fixture off eBay (maybe 100$-150$ including all the rewiring, shades, bulbs, and parts). Maybe add another 100$ ish for all kinds of other odds and ends (screws, caulk, electrical boxes, wiring, etc). Oh yeah and the fan was like 40$. So roughly 1032.00$ but likely more with taxes and other stuff I’ve forgotten to include. I redid the plumbing too, so there’s a bit of copper and fittings (another 40-50$?
Stacy
Thank you, JC. You are so good at DIY and finding bargains. You are much better at it than I am. My next big DIY endeavor is to learn how to build easy cabinetry. I would like to build some free-standing storage in our foyer.
JC
Stacy, cabinets for the most part is just about how to build boxes. You do need to plan ahead for things like the back (leave the sides longer and notch them at the back for the backboard(s) to fit in), and depending what style, you may want to add decorative trim, moulding, or other more complicated things like drawers or panel doors.
Jenny
I think the budget seems pretty spot-on considering what the bathroom looked like when you started (no offense). 🙂 I like the cabinet you went with–it still seems on the airy side despite its size, and with the rug and framed artwork it just all really works for me. It all seems very true to the spirit of an old-house bathroom with the tasteful mix of finishes and colors while being practical to your needs.
Stacy
No offense taken, Jenny. The bathroom was a disaster! Thanks for the feedback on the decor. 🙂 I always enjoy hearing what people think about our choices.
Susan
I love it the floor color is perfect! So glad you kept the claw foot tub. Your house is so beautiful, thanks for sharing!
Stacy
Thank you, Sue! 🙂