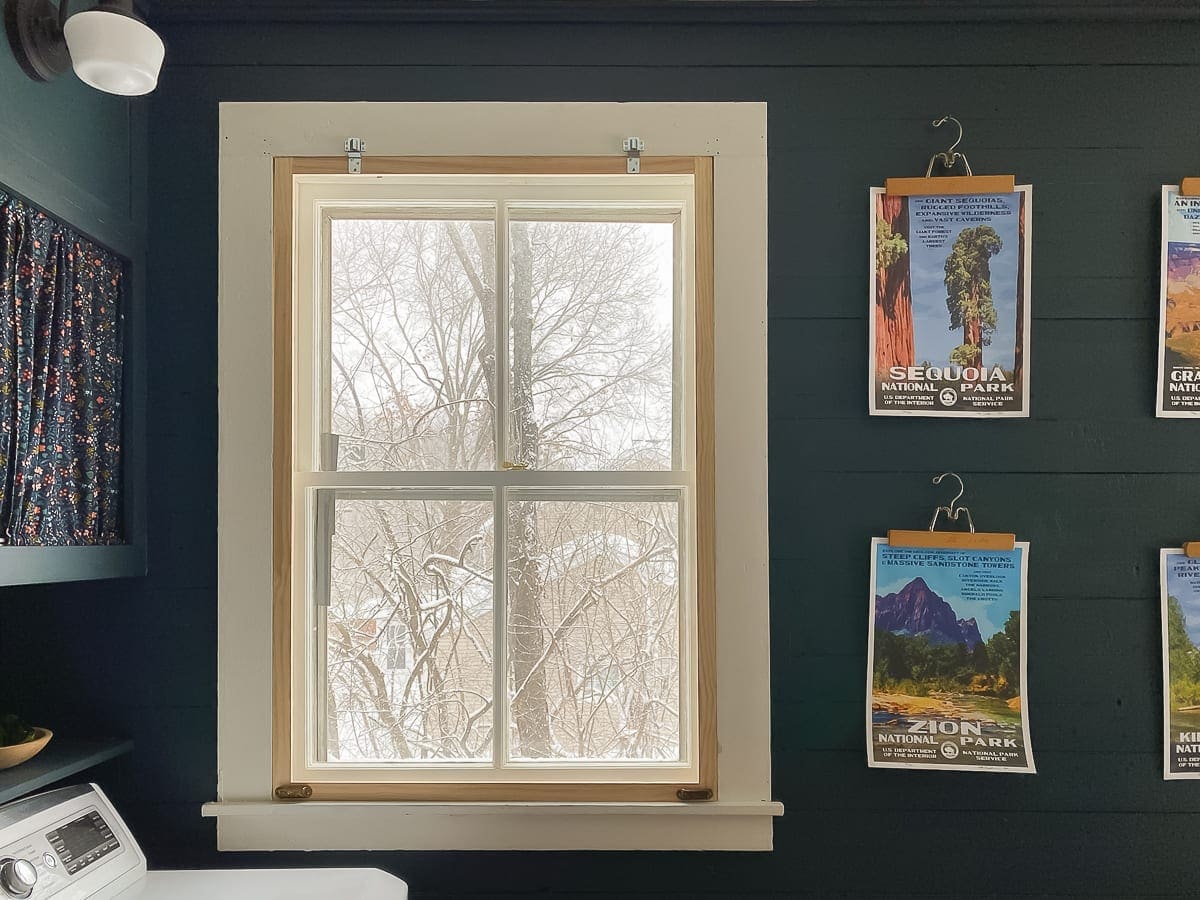
I have plenty to do on the foyer and entryway projects, but I took a slight detour to make some interior storm windows for the office/laundry. Many people across the country are experiencing record low temps. While our weather here is seasonable, that translates directly to brrrrr. Building interior storm windows has been “on the list” for some time, and this cold snap pushed me to do it sooner rather than later. I wish I could whip up some of these for all of you living through a deep freeze. It is not as pretty, but FYI, plastic sheeting adhered with painter’s tape works really well too.
Since most people come to the blog for pretty photos, the actual tutorial is in the video. There is also an extensive Q&A portion starting at 10:23. Please use the video as a leaping-off point for your own project rather than direct project plans. When I fine-tune a process, I will post and record and update.
This post contains affiliate links.
What are Interior Storm Windows?
Interior storm windows fit snugly into the window jamb and offer an extra layer of protection against drafts.

Alternately, in very hot climates, they can help keep the a/c inside rather than slipping out poorly fitted windows–modern or not. Some of my window restoration friends in Florida swear by using interior storm windows during the sweltering summer months.
As I mentioned before, there is an extensive Q & A on the video, but I want to address an additional common question here on the blog. Over on Instagram, several people asked if these take the place of exterior storm windows. The answer is not really. Technically, a window + an interior storm could cut out the drafts effectively. However, exterior storm windows are really the first line of defense when it comes to protecting your original wood windows and keeping out the bad weather.
In these old houses, sometimes the original storm windows have been removed or the house shifts a little and they no longer fit well enough to be airtight. In my case, I have poorly fitted triple-track aluminum storm windows. I have to add a little piece of Gorilla tape to keep them from blowing out of the tracks altogether. I am constantly juggling comfort and fire-exit safety with the aluminum triple-tracks.
Specifically, in our office/laundry, I am also still restoring the sash windows. I finished and installed the window beside the clothes dryer, but the one above my desk is still in the basement workshop.

How is it that I have written this many words and still not shown you anything? (Stop writing, Stacy!)
Video: Building Interior Storm Windows
Supply List:
After you watch the video, you might want to make some modifications to your plan. However, the exact supplies I used are listed below:
- Wood – I used stock 1.5″ wide X 1/2″ thick pine. I used four 8-foot lengths for two interior storm windows, but your windows may require something different.
- Plexiglass sheets – I used two (two windows) 36″ X 72″ and had them cut to size at Lowe’s. If you use plexiglass, check it over carefully for cracks.
- Half turn buttons – I used eight on each window, and I subbed out the screws for shorter ones to account for the thickness of my wood.
- Foam weather seal – In the video, I mentioned felt weather stripping. Here is the link to my recommendation.
- Storm window holders

Tools
These are the tools that I have and used. However, this project can be completed with hand tools as long as you modify how you attach the plexiglass. Instead of fitting it into a rabbet, you’ll just lay it on the wood, maybe with a thinner weather seal, and secure it with the half turn buttons.
- Miter saw
- Router for the rabbets – I also have this bit set. However, you only need a 1/2″ rabbeting bit with a properly sized shank or collet to adjust the shank to the proper size. My Ryobi router has a 1/4″ shank.
- Kreg pocket hole jig
- Cordless Drill – I have this set, and I love it. It is perfect for my dainty lady hands. You can buy the drill separately, but I’d spend the extra money to add the impact driver too.

Variations
There are many ways that you could modify my idea to build your interior storm windows.
- Add a cross piece in the center and use glass instead of plexiglass
- Miter the corners
- Attach the corners with metal brackets instead of pocket hole screws
- Route the interior edges for a prettier look
- Rip down your own boards instead of buying 1.5″ wide stock
- If your jamb allows, modify your cuts to add weather-stripping all the way around the outer edge of your interior storm.
- If you don’t have a proper jamb, fit the storm windows up against the trim instead. It won’t look as nice if the storm and window trim aren’t flush or close to flush, but the function will be the same.
Those are just a few ideas off the top of my head. Remember, process over perfection.
I wanted to share a couple of thermal temp gun readings with the interior storm windows in place just for fun. The room temperature is the top number. I took the readings before I turned up the thermostat for the day.


Before building interior storm windows, there was about a 5-8 degree variance on the window beside the dryer. On the side without the sashes above my desk, the difference was between 15-25 degrees, and I could always feel a slight breeze. These interior storms make a huge difference.

Let me know if you have any questions. Stay warm, everyone.

Pin this idea for later.


6 Comments
Eve Mitchell
Thanks for sharing how you can use glass to make your own interior storm windows. My husband and I live in an old home that has several storm windows along the front. We would like to get a few of them repaired since they’re all old and probably have some damage.
Stacy
You’re welcome. Thanks for reading the article. 🙂 I need to repair some storm windows this summer too.
Many thanks, what a savings
Really terrific. Good looking too, no excuse to settle for anything else. I’ll use what I have—canvass stretchers. They come in every size, no cuts needed, notched to fit, no tools. Lawless has all manner of grips, knobs, and twist self closures. I’ve taken screenshots to remind me of your inspiration.
Why pull out a ladder to install and clean, the activity is now indoors,
Stacy
Great ideas! Thank you.
Charlotte
Thank you for your video and blog about this storm window build. My intention is to make one of these for noise reduction from outside source. My question is, “Did you noticed significant noise reduction after you installed these??”
Stacy
Hi Charlotte, I am not the best person to ask this question because I do not live in a noisy area. I think they should work well as long as they fit snugly in the jamb and the plexiglass seals tightly against the wood.