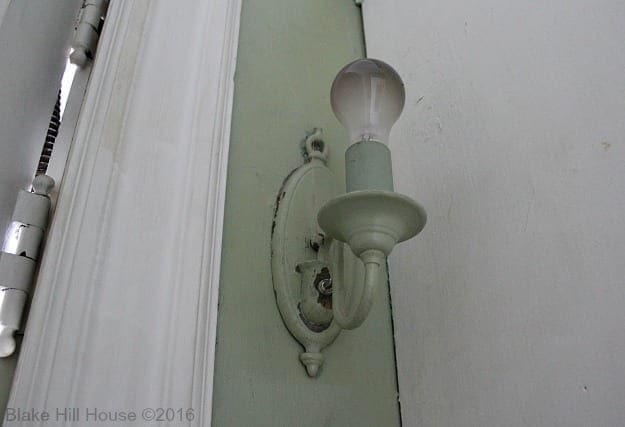
When we started the pantry project, one of the tasks on the to-do list was to restore the vintage light fixture. Unfortunately, BHH is chock full of paint-covered light fixtures, and the sconce in the Butler’s Pantry was particularly unattractive.
Primarily, we were not crazy about the color or the chipping paint. But, most of all, I knew that something charming was under that mess. We just needed to restore the light fixture to find it.
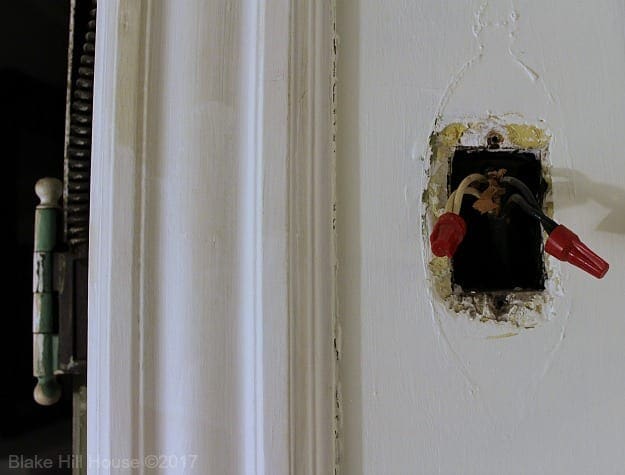
After Andy had turned off the breaker, he removed the fixture. He also capped off the wires for safety. (Note: Please consult an electrician if you have any questions or electrical needs in your house. We are not professionals.) As a precaution, we left the breaker off until Andy reinstalled the sconce.
The sconce contained two parts: the base plate and the arm with the switch.
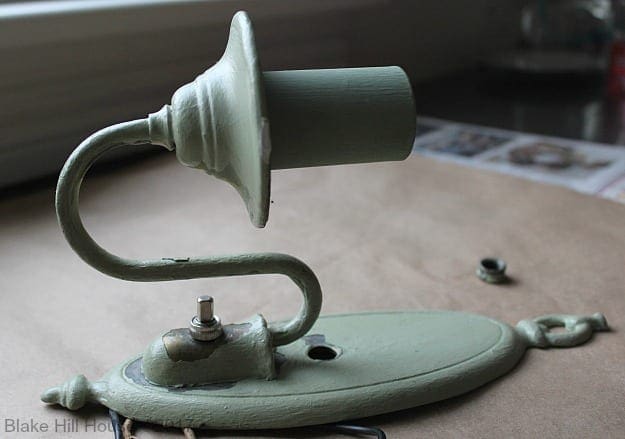
Using a small screwdriver, I separated the switch and arm from the base plate.
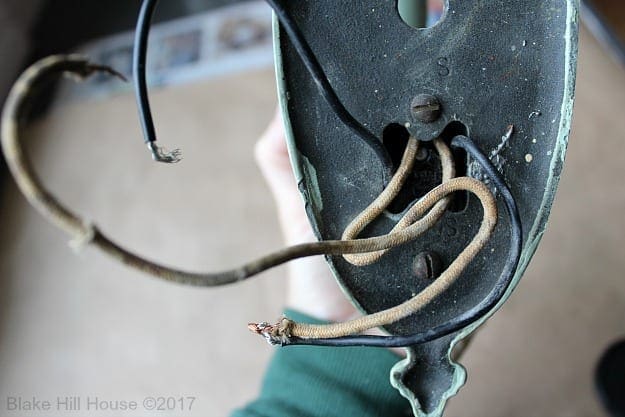

After I had covered the wires with a thick plastic bag (not pictured) to protect them, I coated all of the metal pieces with paint stripper. Typically, I use the crock pot method for paint removal. However, this time, since the project was small and the fixture did not contain too many crevices, I just used stripper. Also, I could not immerse the switch with wires into water.
The paint began bubbling off almost immediately.
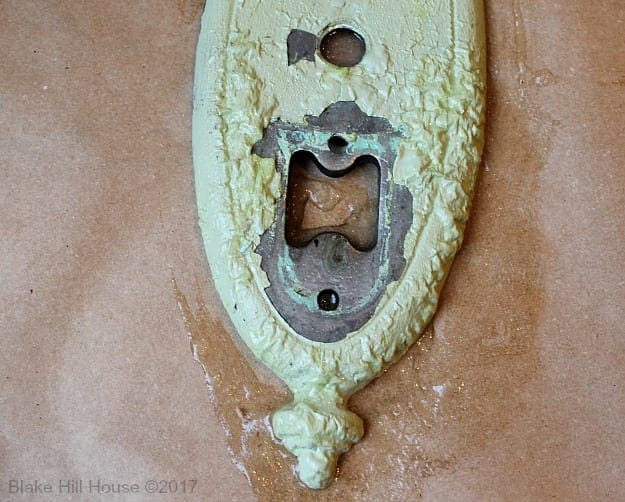
It took about three applications in some sections, but all of the paint came off quite easily with a paper towel. After I had wiped off the paint, I buffed the metal with 0000 steel wool.
Although I was happy with the restoration, I felt the sconce needed a couple of new things. For one, the cardboard candle cover was still green.
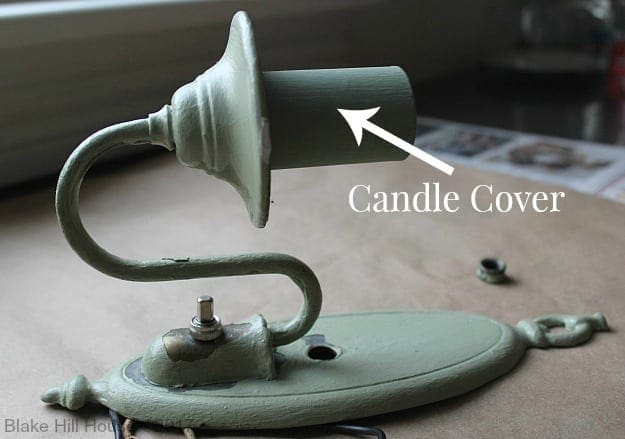
I could have painted the cover white, but I felt uncomfortable about the flammability of paint on cardboard near the lightbulb. Also, I thought that a simple glass chimney would make the sconce look more polished in the finished Butler’s Pantry.
I found a new plastic classic candle cover and a glass chimney at Antique Lamp Supply. (Note: If you need period-specific lighting parts for your house, I highly recommend Antique Lamp Supply. They have a wide variety, and they ship lightning fast.)
Andy reinstalled the sconce on the pantry wall, and it looks beautiful.
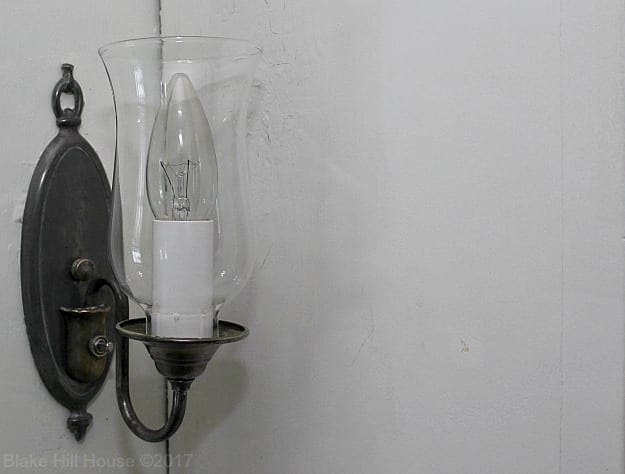

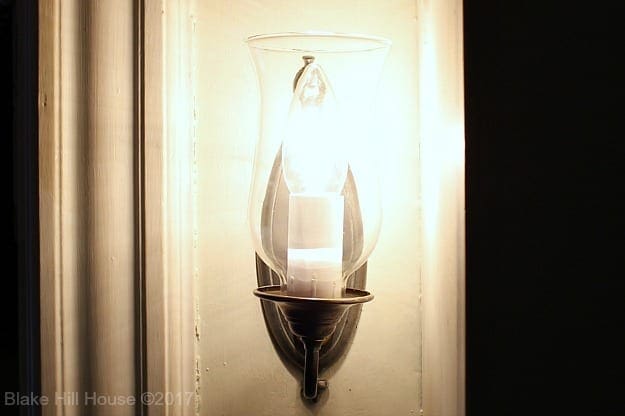
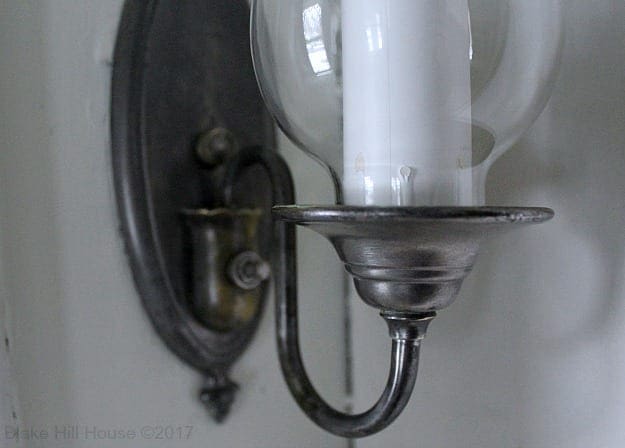
This simple DIY was such a low effort/high impact project. I love projects like this one. Once again, the sconce is the jewel of this room. The before-and-after is quite striking.
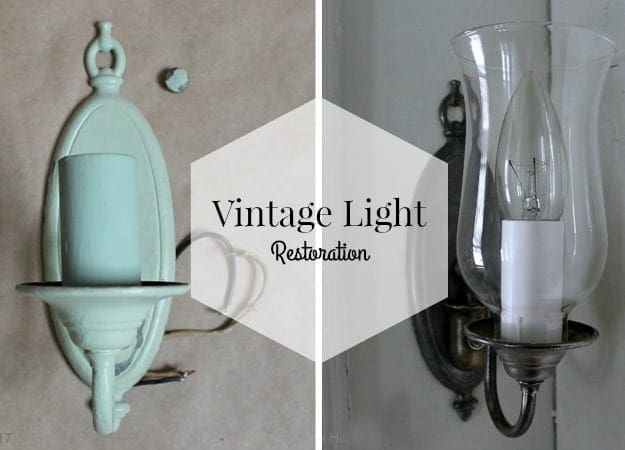
I cannot pin down the exact date for this light. I had hoped to find a proper manufacturer’s date on the back, but unfortunately, there was nothing. During my research, I did find a few sconces that looked similar. Based on those findings, I believe that this light fixture is likely a Colonial sconce circa 1900-1910.
Tell me about the lights in your house. Would you have restored this light or replaced it altogether?


12 Comments
Liz
Bravo!
Stacy
Thank you, Liz!
Ame Jo
It looks amazing! The before and after is stunning, indeed. Fantastic job!
Stacy
Thank you, Ame! 🙂
Marie
Just a head’s up, but I think possibly your candle cover has been put on upside down. The pretend wax drips from the candle flame should be at the top, not the bottom of the “candle”.
Meddling busybody here… Best of luck with the rest of the pantry though!
Stacy
Thanks, Marie. Good eyes! You are correct, but I actually did that on purpose. Once the parts arrived, I thought it seemed weird to have a dripping candle covered by a glass chimney. That would not happen with a real candle with a glass chimney fitting so snugly. So, I clipped off the drips and placed it upside down. I will order a plain white candle cover the next time I order parts for another sconce to save on shipping costs.
The light is quite high on the wall, and the unorthodox use of the candle holder is not very noticeable.
SH
High impact indeed! If your enthusiasm for this project was waning at all, this restored light must be quite a boost. Great job. Again!
Stacy
I think you are starting to figure out exactly how I work. 😀 I did indeed need the boost of this pretty light. Thank you for your comment. 🙂
Andrea Matters
Oh, excellent! I love your restoration of an orginal (or nearly original, I guess) fixture. We stripped many layers of paint from the original hammered metal porch light fixture on our 1913 Craftsman. It was like a gift from the past. I could just imagine the house sighing “Ahhhhhh” when we put it back up there!
Stacy
Andrea, I bet that light is gorgeous! Old paint is becoming the bane of my existence. LOL
Alex Dent
Love reading your blog and the work you’ve done and are doing. Maybe you know this by now, but the switch on the sconce can be removed, the knurled ring on the front can be unscrewed (probably need pliers) and then the switch can be pulled out through the back.
Stacy
Thank you, Alex. I appreciate this comment. I did discover that the switch could be removed after-the-fact, and that knowledge will be helpful as we move forward with light fixture restoration work in the other rooms of BHH. This house is one huge learning project, and I love getting practical advice from people like you who have experience. If you ever have more, I’ll take it. 🙂
I apologize for the time it took to write this reply. I am typically right on top of comments. However, during June, I ended up with a ton of work and family commitments that kept me away from the blog.