We are chasing what might be the last two days of decent weather for outdoor painting and staining. Today is the day that I must get it done before the temperature nosedives down into the 50’s during the day, and the dampness creeps in and stays for the rest of the fall and winter. Yesterday, I spent a marathon day stripping, cleaning and sanding our front porch in preparation for today’s marathon painting and staining. For the record, I prefer real marathons, the 26.2 kind. Yesterday, I had to blow off my run in order to complete the prep, and that always makes me sad. The good news is that after today, we will be able to check this project off of our to-do list. That will be one satisfying check mark. But, here I am telling you the end of the story. I should be starting at the beginning.
A long time ago.
Ok, it was really just June. I noticed that our front porch handrail on the left was a little shaky. It is the handrail for the enclosed porch pictured below. You will also notice the small room on the right which is attached to the porch. It leads to the basement. Both rooms are protagonists in this story, so remember to root for them. We certainly do.
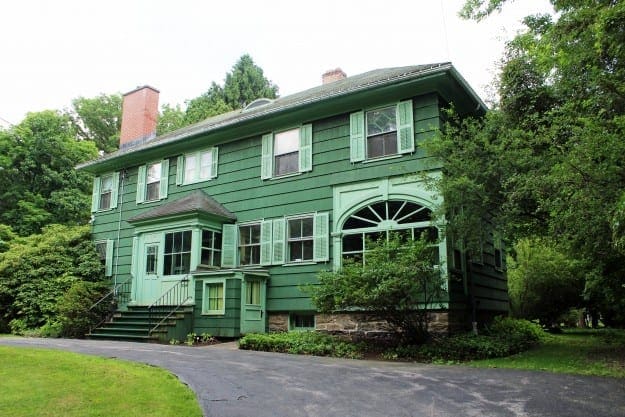
Upon closer inspection, it became clear that the bottom of the round part of the pillar was soft and mushy. That is never a good sign for old wood. It gave me pause, but I did what a lot of people would do. I pretended it was just fine, and I did a whole bunch of other stuff for two months. During that time, the hamster wheel in my brain was turning furiously, and a plan of attack began to form. In August, armed with a ratchet and a video cam, I began to put the plan in motion.
Sadly, the video quality is too poor to share. The narration made me laugh. In the video, in my cheery voice, I outlined the steps of the project as I believed them to be.
Oh sweet, naive Stacy.
I wish I could share that gem of a video with you. Then, you could all point and laugh at me after you watch it.
The first step was to remove the rusty handrails. That part seemed easy enough. All of the hardware was easy to reach, out in the open.
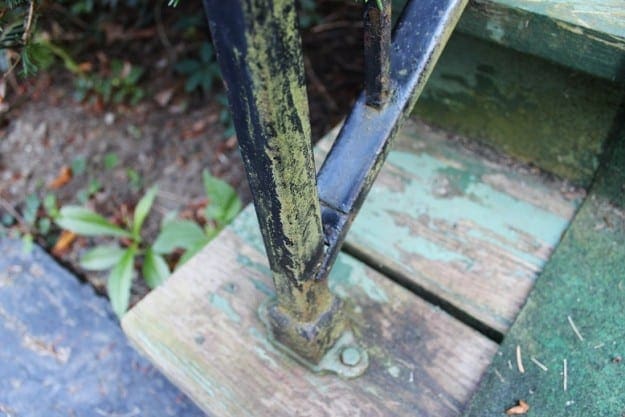
Instead of easy, the first step proved problematic. Every single bolt that I removed either snapped in two, or it was too stripped to reuse. One of the bolt holes on the handrail broke as well.
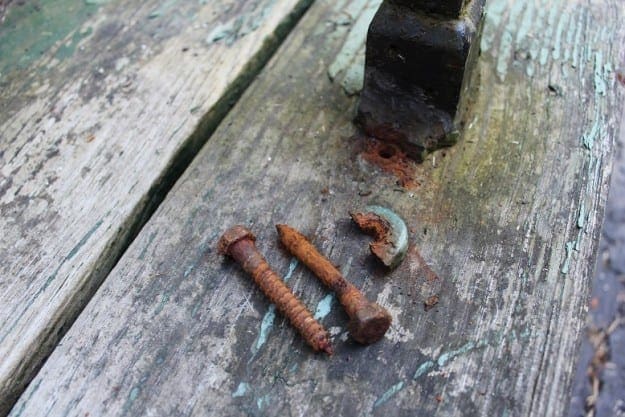
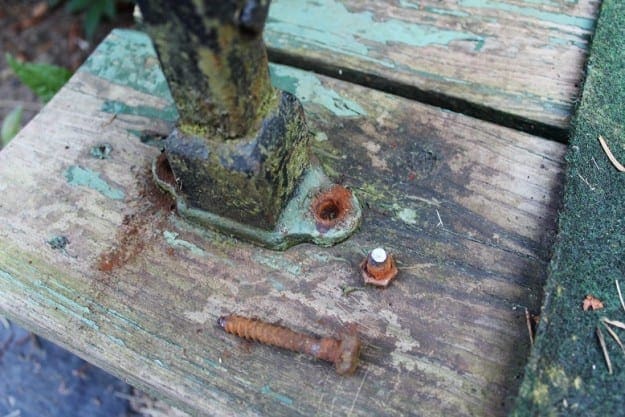
The instability of the handrail, attached by stripped bolts left gaping holes in both columns. There was no way that I would be able to put the handrail back in the same place easily.
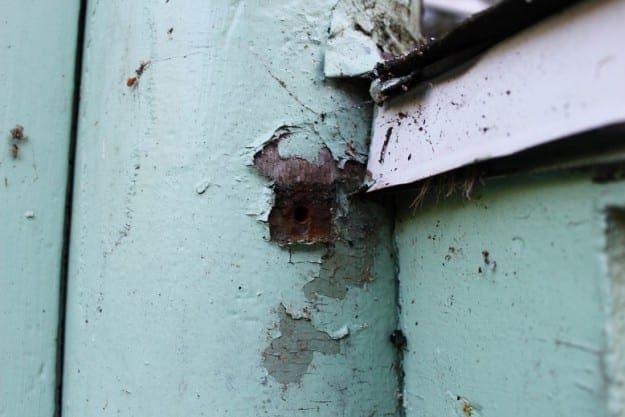
Rolling with that punch, I opted to put the handrails in the greenhouse in order to get them out of my face have some time to figure out what to do with them at a future date.
The next step was to remove the paint and assess the damage to the column.
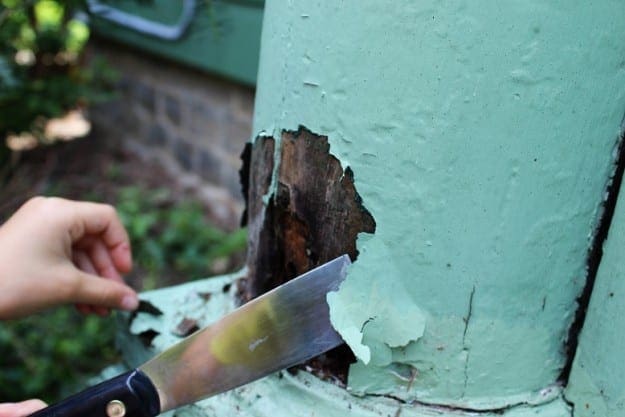
The paint came off easily, but so did the wood. Large chunks of wood, as lightweight as paper spilled out. Pretty soon the column looked like this:
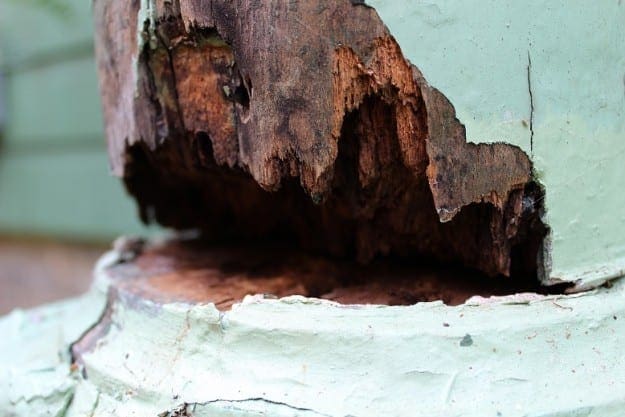
No big deal, I thought. There are products that can fill that space. This will be fine.
It was not really fine. As I tried to remove paint from the column base, more chunks of wood broke off in my hands. It was a mess. First, it looked like this:
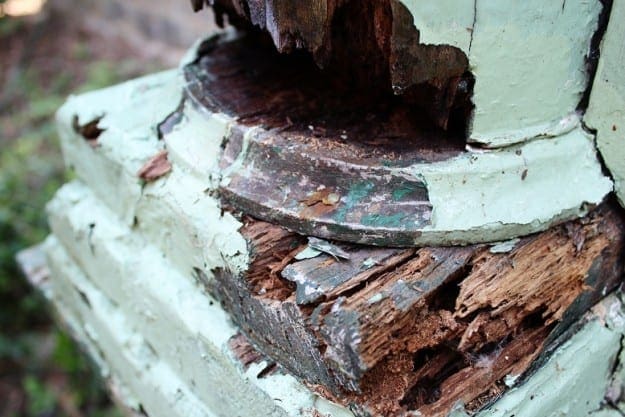
Then this:
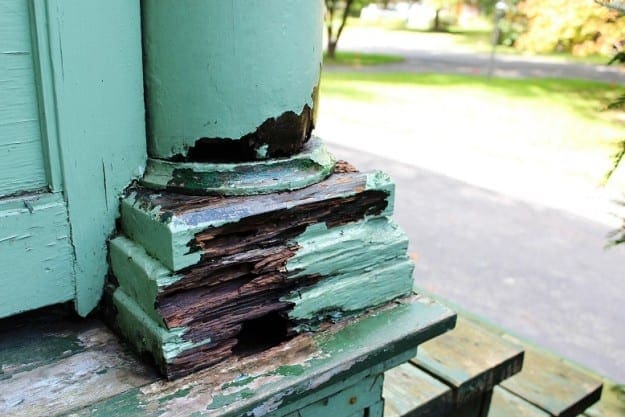
And finally:
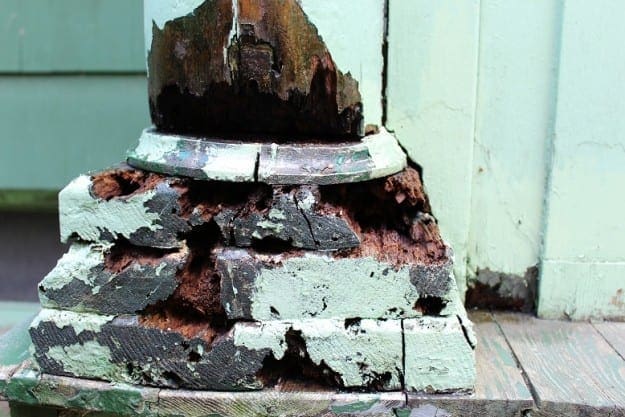
I stepped back to survey the damage. I panicked a little. The column base was deeply affected, and that was not what I had expected. I took a deep breath and puffed out my cheeks. I sighed deeply. I jumped up and down a few times to clear my head. I googled stuff on my phone. Finally, pity party over, I made plan. I would use wood hardener and epoxy resin to make the repair. Google said it would work, and Google always has the best ideas.
Oh sweet, naive Stacy.
To be continued…


1 Comment
Jan Elizabeth
Oh wow…scary!!