With a project like this one, the devil is in the details, and there sure are a lot of details. There has been a little setback. The budget has dried up, but the project is not finished. We have put the idea for a tall storage closet on hold for now. Having a tall storage unit was in the original mock-up for the room.
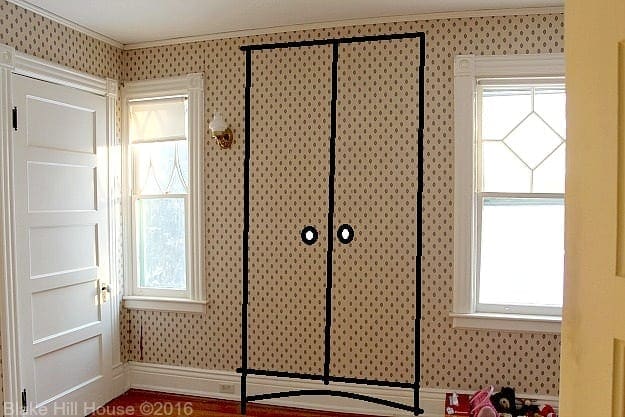
What that means is that I have to come up with a whole lot of creative storage or move some items out of M’s room. After spending so much time on this project, the last thing I really want to do is move a cluttery mess back into her freshly renovated space.

There is also a major elephant in the room: The Closet:
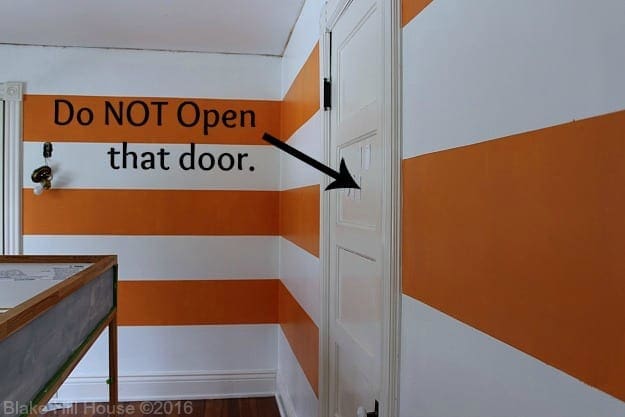
We really have not even started the repairs necessary in the closet with the exception of removing the wallpaper. Andy frequently asks me if we can just pretend that room does not exist. I assure him that is what we are already doing. No matter how Andy and I feel about repairing more plaster, it has to be done before we call this room 100% complete. I am relying on that space for proper toy storage, especially since we had to put the tall cabinet idea on hold.
This week, M and I began to move some of her things back into the room. There is still work to be done, but I find that if I start putting a room together, my creativity starts flowing and my motivation to finish the boring jobs returns. I need to sprinkle a little fun into the DIY drudgery.
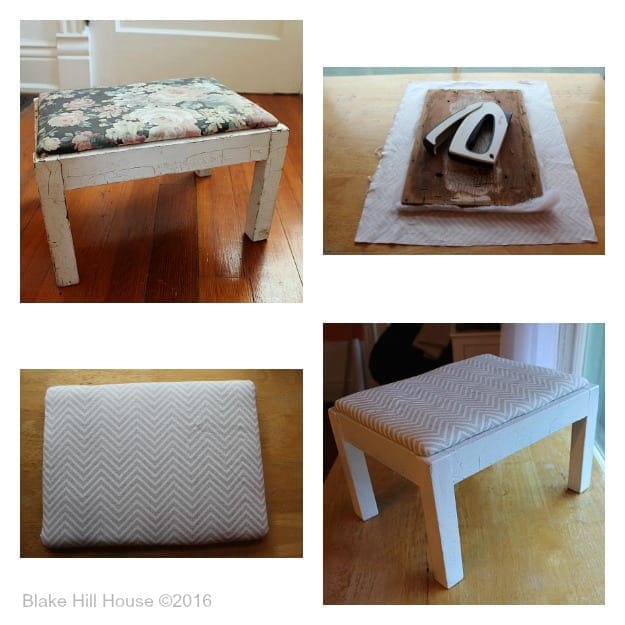
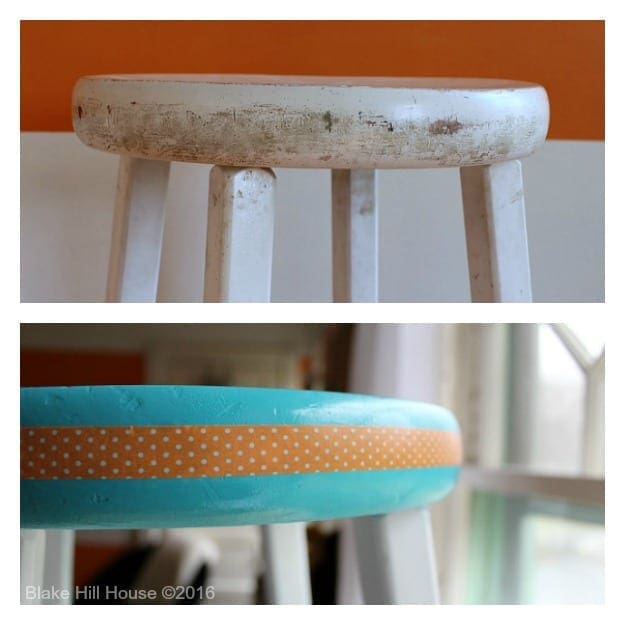
The first thing I worked on was a little footstool. I picked it up from someone’s trash heap beside the road. With this piece, I was not particularly concerned with the wood looking perfectly polished. I decided the little cracks and dings would give it character. First, I removed the top and tore off all of the old fabric. Then, I scrubbed the paint and scraped it vigorously to remove any loose paint chips. After a new coat of white spray paint, I recovered the top with fabric leftover from M’s quilt.
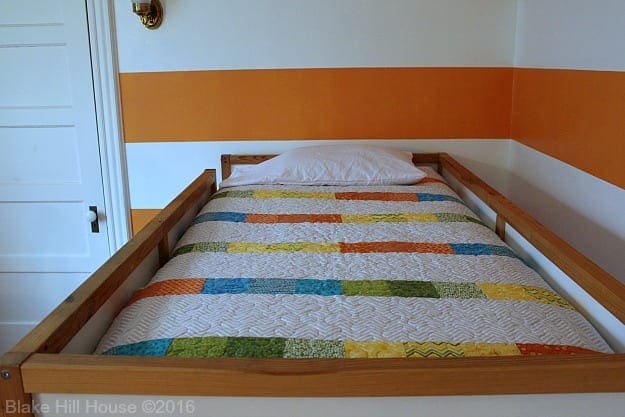
Speaking of the quilt, I had not even taken it out of the bag since it returned from the quilter’s house. Yesterday, I made the bed with fresh sheets and spread out the new quilt. I am really pleased. The colors coordinate and brighten the room just as I hoped they would. The quilter did a top notch job with her long-arm stitching. I enjoyed the process of making this quilt so much that I may be inspired to make another one sometime sooner rather than later.
Probably the detail that made the most impact in the room was hanging curtains. I am not a big fan of curtains. I crave a lot of light in spaces, and I resent the amount of light that curtains take away, even when it is only a sliver. Also, I think there are plenty more bad-looking curtains out there than good ones. That said, curtains can impact a room like a beautiful piece of jewelry can accent an outfit. They really do help make a room feel finished.
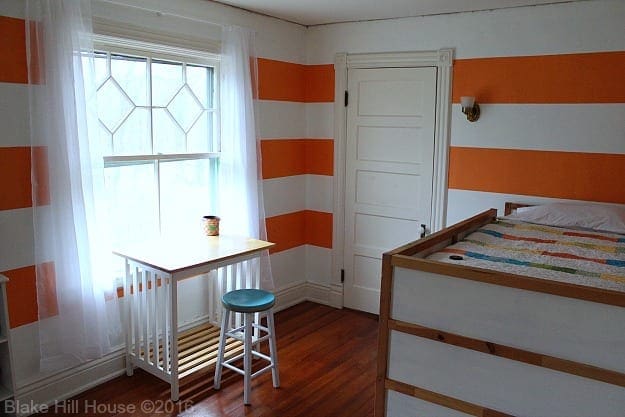
I chose very lightweight sheers. My reasons were two-fold. First, they will allow maximum light to pass through, and secondly, they will not pull down on the curtain rod and potentially damage the plaster. I used this curtain rod from Lowe’s. It is absolutely perfect in size and weight. I knew that I wanted to hang the curtain rod on the plaster vs. the wood window trim. However, I was committed to making sure that the damage to the plaster would be minimal. This rod required three small screws. The rod and the curtain together weight less than 1.5 lbs. We don’t have cats or toddlers in our house so I expect that these curtains and the rod will stay put. The only downfall is that I hung the curtains with a level. I can’t believe that I forgot the window and walls were all crooked. If one looks closely, the rod looks as if it was hung on a slant. however, the curtains hang level at the bottom. I suppose that is the better option of the two.
In the photo above, you might have noticed a new table and stool. They are actually very old pieces. I got them at a yard sale about ten years ago. The table has been in various rooms in both our California house and now in BHH. I scrubbed both the table and the stool and reglued the stool legs to stop them from squeaking. Initially, based on M’s direction, I spray painted the entire stool blue. When she saw it, she got a little teary. I am not sure what she was expecting, but it was clear that it did not look like she thought it would. After a few hugs, she asked if we could try leaving the top blue and the legs white. That was an easy fix. Once she saw the white legs, she perked up immediately, and she was thrilled. With her approval, I added some orange polka-dot washi tape in order to tie the blue and the orange together.
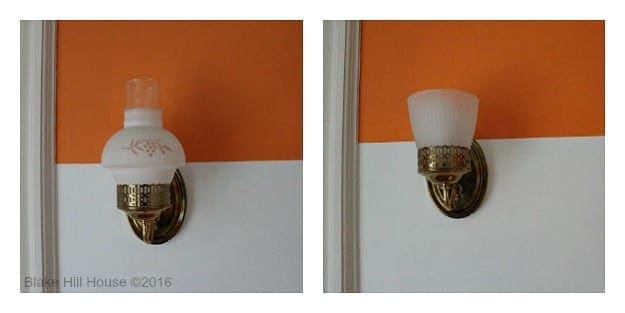
Finally, I spent a whopping $7 at Lowe’s and replaced the glass light shades. Actually, I initially bought new sconces for the room. I even had them retrofitted with push buttons since there are no lightswitches in this room. I bought two brushed nickel lights. With the addition of the switches, the total cost was $80. However, once we painted the orange stripes, I realized that I really liked the gold in the room. I just did not like the glass shade. We have the same sconces and shades all over the house. They are supposed to look like oil lamp shades, I suppose. I think they look very 1980s. I love the $7 fix, and I plan to replace other shades around the house. Unfortunately, my retrofitted lights are non-returnable. I will save them for another room or a light fixture emergency.
Let’s review the original list:
- Remove Wallpaper – DONE
- Repair Plaster – DONE except in the closet
- Update the lighting fixtures – DONE
- Repair and Paint the windows – DEFERRED until summer (more on that later)
- Create a mirror wall
- Create a bulletin board wall
- Buy a tall storage unit and a rug – OUT of budget
- Buy or make bedding – DONE
- Make a doll apartment (!)
It’s coming along nicely. I am still a little stumped on the mirror wall. I have my scavenged mirror, but I am really waiting for a brilliant idea on how to hang it to present itself. The mirror I found is very heavy. Its original purpose was a vanity mirror on a dresser. I plan to hang it with a cleat, but I want to make sure that we minimize the risk of severely damaging the plaster.
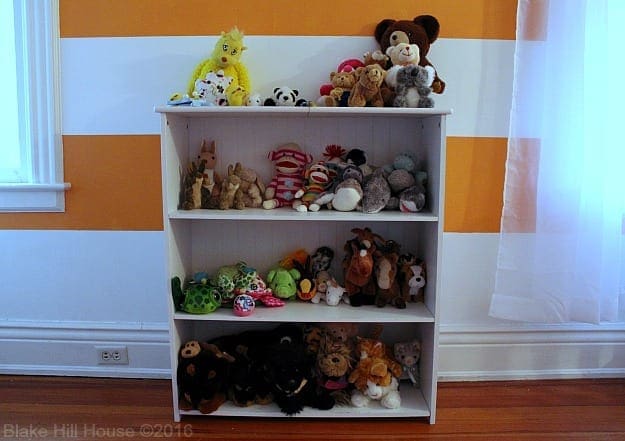
M and I are having a lot of fun with the doll apartment. It will be fun to share it here on the blog. The stuffed animals have already moved into their own highrise across the way:
Hopefully, Andy and I can complete the closet very soon so we can get this room done 100%.





4 Comments
Ame Hughes
I love what you’ve done with this room. And I agree 100% about the lights (though I’m probably biased as a non-fan of stainless steel and brushed nickel – I just don’t like grey stuff). I bet M loves her “new” room!
Stacy
Thank you, Ame. Yeah, I don’t know what I was thinking with when I bought brushed nickel. The whole house has gold/brass accents. M. does love her room. 🙂 She is quite excited.
Jamie
Stacy, all the details look so great in this room. It is really coming along nicely. I love the quilt in particular– so many bright colors and patterns!
And I can’t wait to see what you’re doing with the doll apartment 🙂
Stacy
Thank you so much, Jamie. 🙂