The weather here is still abysmal, and I haven’t been able to start on even the front porch demo for the One Room Challenge. Instead, I am using my time to obsess over the details in the guest bathroom. Keep in mind that this bathroom is the one that our son will use when he comes home from college. He cares not about matching towels, perfectly painted floors, and rose-scented hand soap. Oh well, at least I am having fun.
***
The brand of paint I chose for this room was Sherwin-Williams. We prefer to use moderately priced, high-quality paint, and SW fits that requirement. For reference, we have used mostly Valspar Reserve, Behr Premium Plus, and Benjamin Moore Regal Select for our projects.
The common saying is that paint is cheap. That’s true, but if you are painting nearly every surface of a 4500+ square foot house, the cost adds up. In March, Sherwin-Williams sent me a great coupon in the mail, so I jumped on the promotion and tried some new-to-me products in their line. I thought I would pass along my experience with the ProClassic and Porch and Floor paint.
I am lucky enough to have a friend on Instagram, Erin, who is a Sherwin-Williams store employee. She is passionate about their products. As I was working, she patiently answered all of my questions, and she offered some professional advice for this post.
Before I launch into the info, it is worth noting that I did the same prep in this room that I always do. First, I washed every surface with a tsp-substitute. Then, I filled in the imperfections and primed everything except the floor with my favorite oil-based primer. The fact that I did not prime the floor may come back to haunt me, but I will fess up to my mistake if a problem comes to pass. Until then, no news is good news.
ProClassic
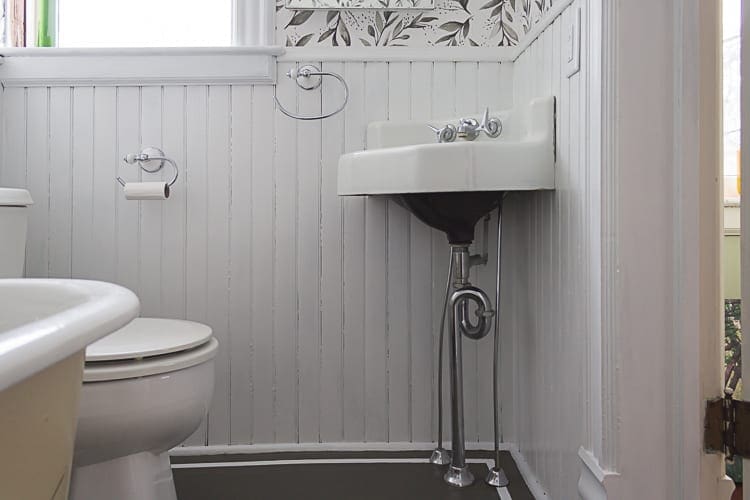
The ProClassic line is formulated specifically for doors and trim. I wanted a tough, glossy finish for the wainscoting and trim, and this paint did not disappoint. I am delighted with the outcome.
For Best Results
- ProClassic paint is thicker than conventional paint, and it dries lightning fast. It needs to be worked quickly without dragging the brush over previously painted surfaces. Attempting to rework the wet paint will create bristle marks and a rough surface. The only way to fix that is to sand the marks off once the paint is dry. No fun!
- A high-quality soft bristle brush is a must. The brush marks are visible at first, but this paint levels nicely and most of the brush marks disappear as long as the coat of paint is thin and even.
- If the paint feels just too thick for your comfort, thin it ever-so-slightly with a bit of water. Start by adding one tsp of water per quart, and mix well. Add more if necessary. Note: this tip is my own, and SW does not necessarily approve it. I used full-strength paint on the wainscoting, but I thinned it for the trim and molding to work through the job a little faster.
The ProClassic comes in three different sheens satin, semi-gloss, and gloss. For our project, I chose gloss.
Porch & Floor Enamel
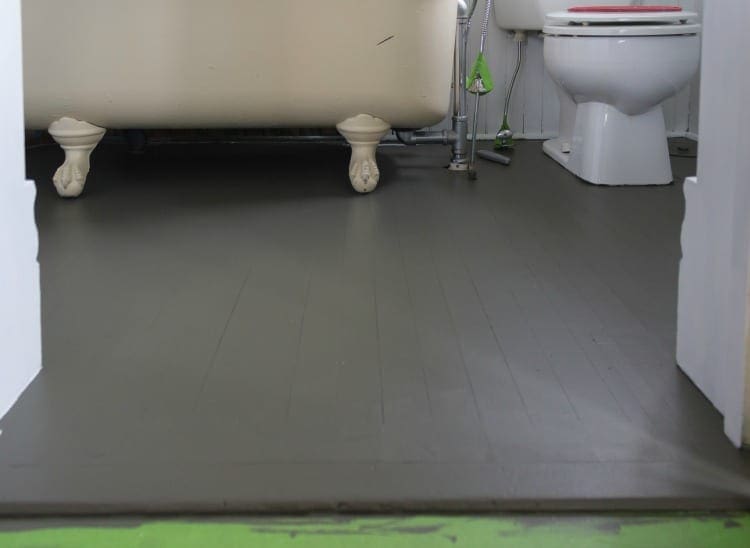
I did not have any huge needs or expectations for the floor paint. I wanted a durable, low-sheen finish that was easy to apply. Mission accomplished. I used a soft-bristled angled brush around the edges and a four-inch foam roller for everything else.
This paint brushed and rolled on like a dream. The color was beautifully even, and there was almost 100% coverage with just one coat. I was pleasantly surprised. Note: For the full project, I used three light coats.
For Best Results
- Porch & Floor enamel dries very quickly to the touch. However, per the SW info sheet, it cures completely for foot traffic in three days and furniture and rugs in seven days. Plan accordingly.
The Porch & Floor is only available in a satin sheen.
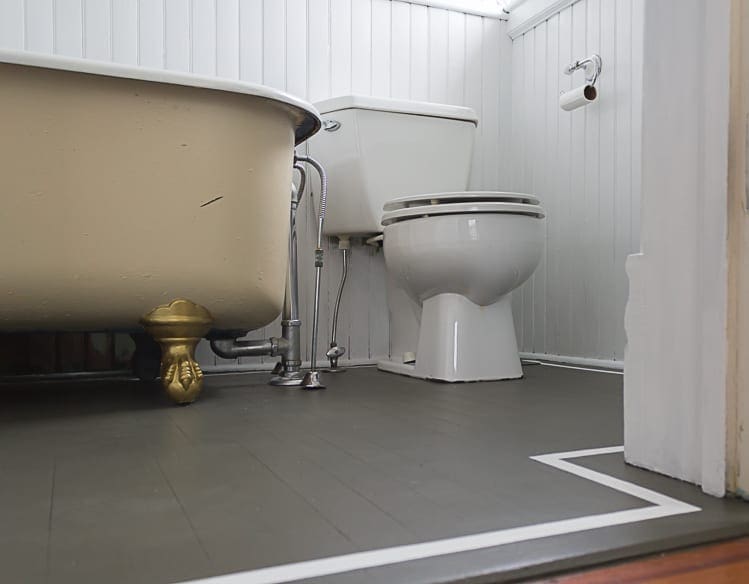
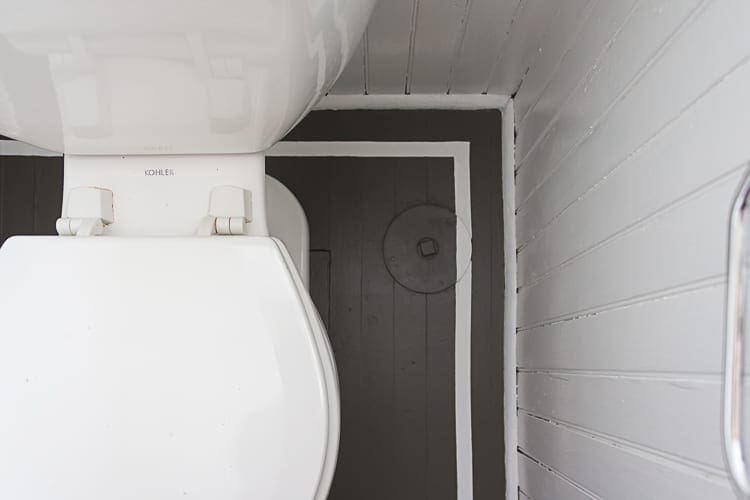
I opted to do a fun stripe around the perimeter to add some interest to the basic grey and white color scheme.
To create the stripe:
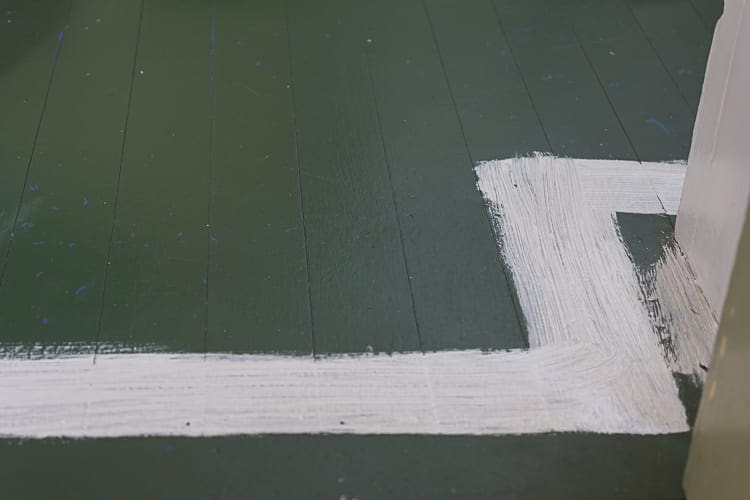
First, I painted the general area where I wanted to stripe to be white, and let it dry.
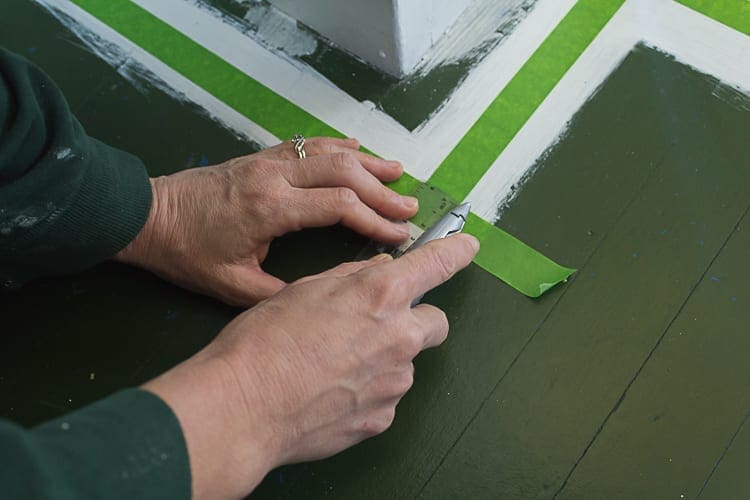
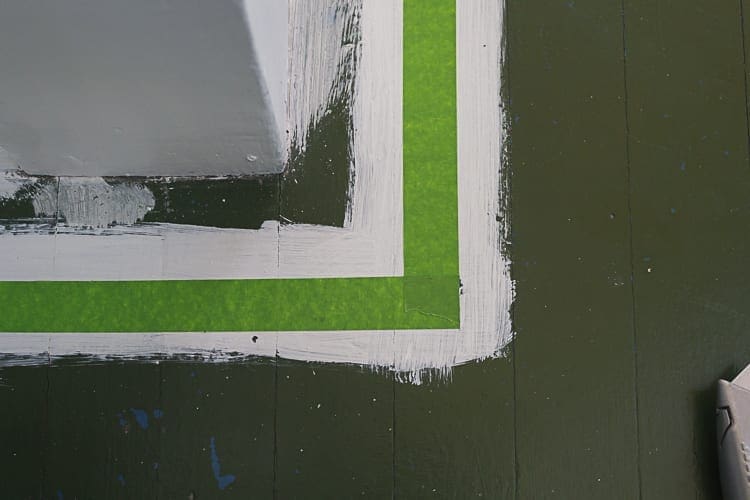
Then, I placed the Frog Tape on top of the white an equal distance from the wall all the way around the room, paying particular attention to the 90-degree angles.
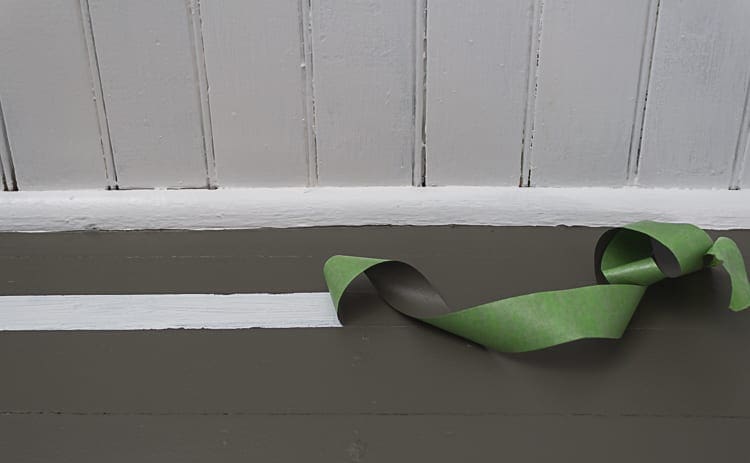
Next, I rolled the grey paint over everything including the Frog Tape. When that had been dry for about two days, I peeled the Frog Tape away slowly to reveal the white stripe.
Unfortunately, because the white paint was not fully cured before I placed the Frog Tape, some if it peeled away when I removed the tape. I touched up everything with a narrow brush and a steady hand. If I do this type of project again, I will let my base color cure fully before taping.
Clawfoot Tub Feet
I did not use Sherwin-Williams paint on the clawfoot tub feet, but I thought this was a good post to sneak in their makeover too.
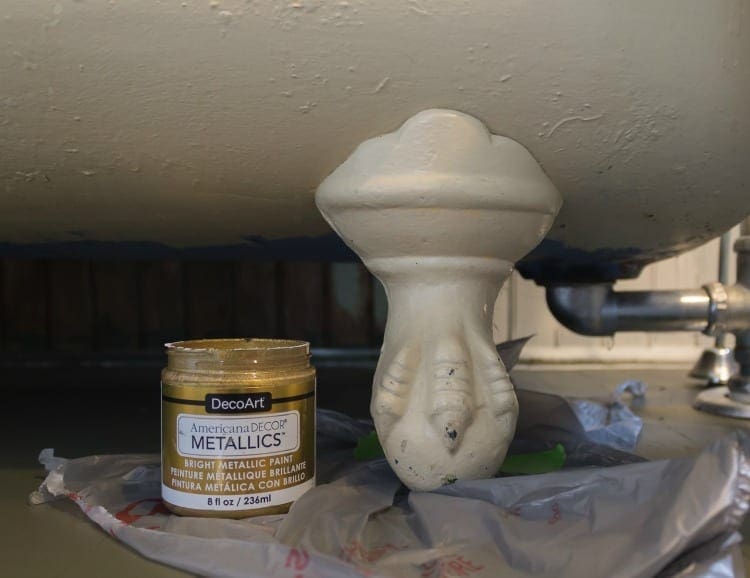
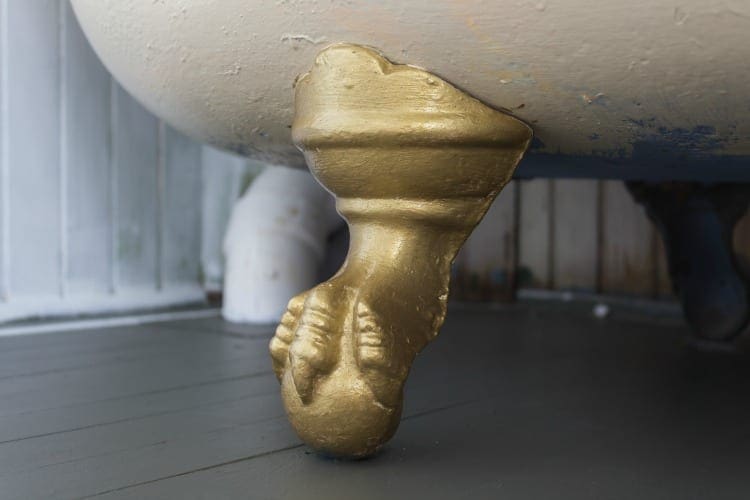
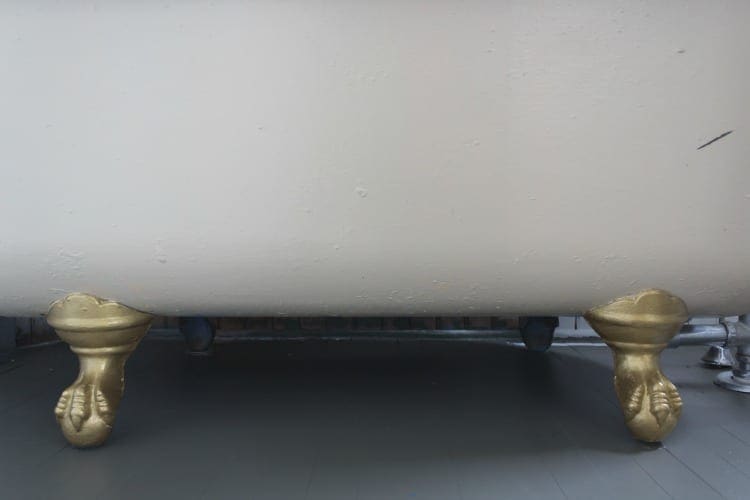
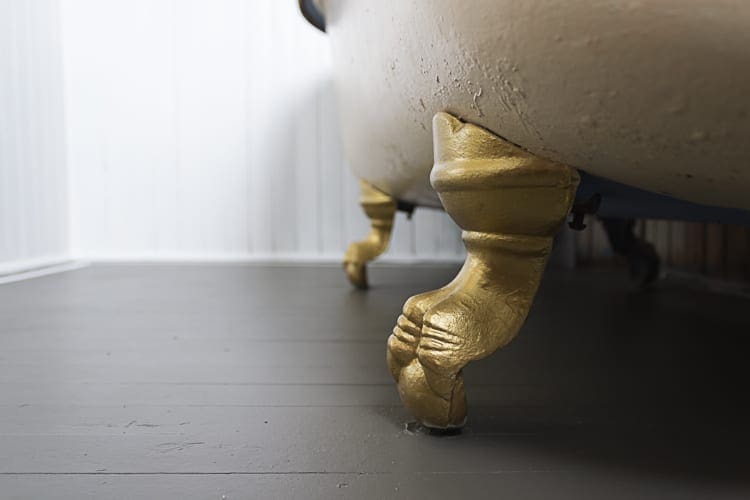
I used Americana Decor Metallics 24K gold paint from Michael’s. It is made for furniture and craft projects. It seemed like a reliable low-priced, small quantity option.
Two coats looked nice, but three were even better.
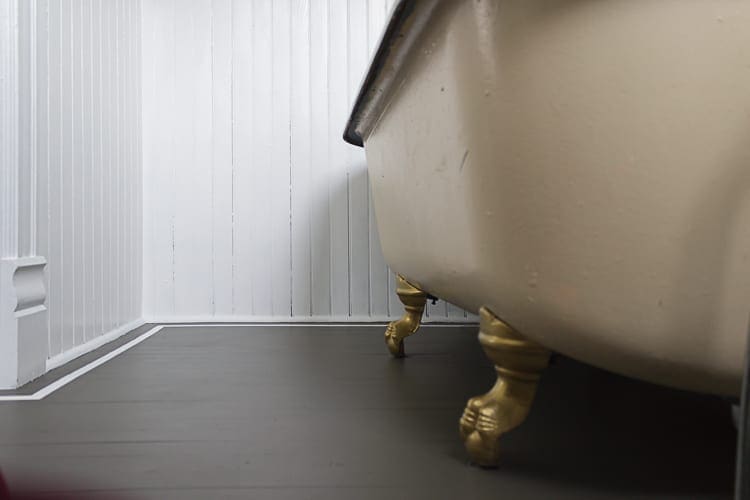
I went back and forth in my head about choosing gold vs. silver, but I think gold was the right choice. This entire room is a little on the cool side, and the gold feet add a touch of warmth.
The guest bathroom is almost ready for its big blog reveal. I just need to finish the window restoration and the bath caddy that I am making. Both projects are well on their way to completion.
Until then, here are a few parting shots of the freshly painted bathroom:
Do you have additional tips for painting a stripe on the floor? How do you feel about decorating with stripes? Also, do you think I made the right call choosing gold over silver? Let me know in the comments.

PS: The SW colors pictured are Pure White and Roycroft Bronze Green. The wallpaper is from the Magnolia Homes collection. It is Olive Branch print in the charcoal colorway. You can read all about how we hung the wallpaper here: Guest Bathroom Update – Wallpaper


15 Comments
Ame Jo Hughes
It looks so good! I love the stripe, little accents like that do it for me. And those feet!!!
Pro tip: When I did the multi-color harlequin pattern on my kitchen walls, I needed to tape over freshly painted diamonds in order to paint the adjacent diamonds. I used Frog Tape, but used the yellow delicate surface variety. You still need to let the freshly painted surface dry for 24 hours, and I removed the tape immediately upon painting each diamond – and none of the fresh paint under the yellow tape became a casualty.
(Another pro tip for anyone considering a multi-color harlequin paint scheme – skip the paint and just put up wall paper. It’s much faster. Seriously.)
Also, I love SW ProClassic – I used it in my powder room wainscoting and on my kitchen trim (and will use it on my broom closet door that I stripped almost three years ago and is still sitting in my basement). It’s very durable, the gloss is amazing, and it’s super easy to clean those surfaces.
Stacy
Those are great tips, Ame, and I love your harlequin wall. I never thought to use the delicate surface variety. I’ll file that info away for next time.
I am also glad to have your feedback on the SW ProClassic. Thank you!
Audrey
It looks great! And the gold is definitely the right call- love it!
Stacy
Thank you, Audrey! 🙂
Devyn
I think the stripe is a great design detail. It adds a lot of style while remaining simple which fits the simplicity of the bathroom. It is also relatively easy to do while adding big impact to the room.
I am truthfully envious of your old bathroom. When we renovate our current bathroom (which will be a future guest bath), I want to do it in a manner which looks very much like yours (except it will have a walk in shower).
Our house didn’t have plumbing until it was probably 40+ years old. It was relegated to one area in the rear and has been remodeled multiple times. There is zero indication of what any previous bathroom would have looked like. The main portion of our three story house has never had any plumbing above the first floor to this day.
Looking forward to the reveal!
Stacy
Thank you, Devyn. We hit the lottery with this house in many ways. I am not sure when BHH got indoor plumbing. I do believe that this little guest bath was originally a closet.
I look forward to seeing how you work new/old bathrooms into your house.
Marta
What is the floor surface that you painted?
Stacy
I repainted an already prepainted floor. It is hardwood, but I think the boards are closet quality vs. the nice stuff we have throughout the house.
Marta
Have you ever painted linoleum? I know it can be done, but I’d love to hear your experience if you have any.
Stacy
I am way behind on answering comments! I’m not sure how I missed this (and the others!). I have not painted linoleum. I imagine that if you use a really good primer, oil-based if possible, the floor paint should adhere pretty well. Also, I recommend a few layers of water-based poly.
Deb Cochran-yoder
Love the results!! May have gone with silver metallic on the claw feet personally. Warm up/soften the look with decor pieces. House is turning into a show piece!
Stacy
Thank you, Deb!
Christina
I LOVE painted wood floors. And the stripe adds such a nice detail. Great choice.
Stacy
Thank you, Christina!
Jack Bird
Lovely colors. They make the wood pop! Have you ever seen a finished hardwood floor for a bathroom look? Just curious.
Jack