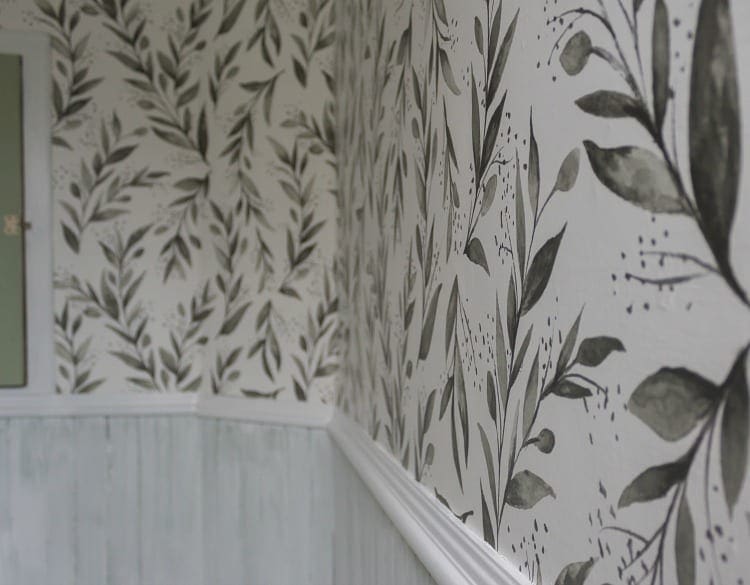
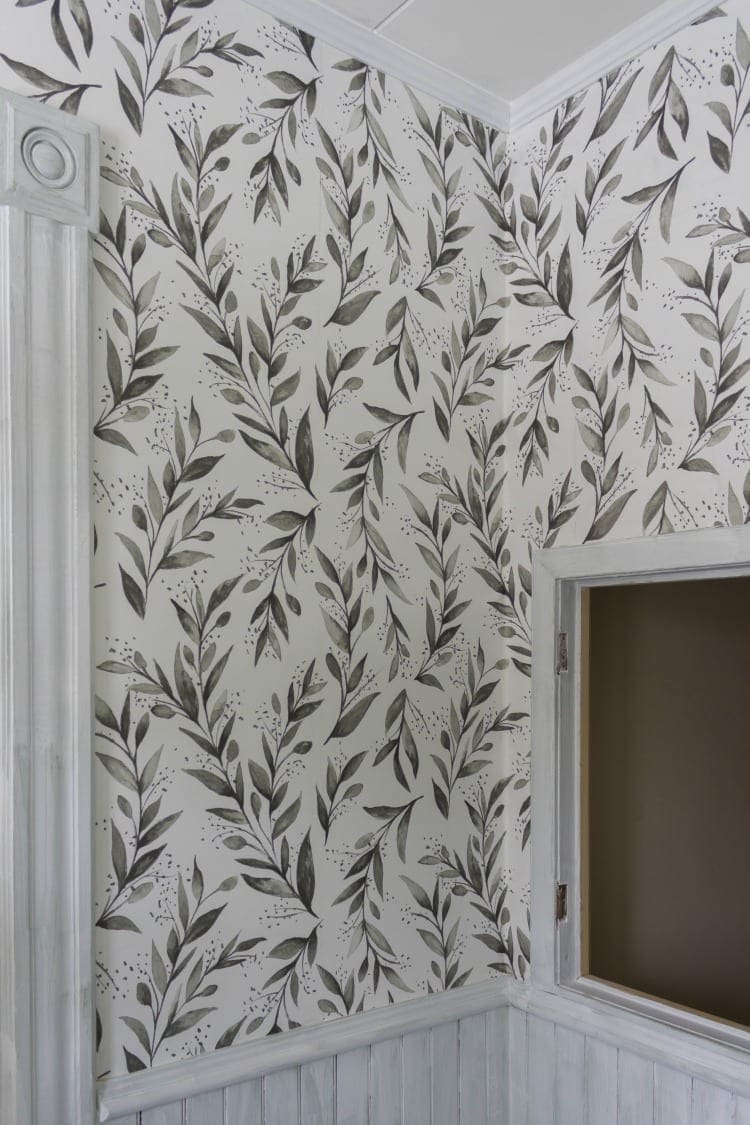
We continue to make excellent progress on the guest bathroom project, and today’s post is all about the wallpaper in this small room. Although Andy and I have spent plenty of time tearing old wallpaper off the walls, this is also the third time we have chosen to put it on the walls. What’s wrong with us? The first time was a disaster, but during the spring 2017 One Room Challenge, we did much better when we hung grasscloth wallpaper in the library. On the heels of that success, we felt confident tackling this task again for the guest bathroom.
Here are the steps we followed for hanging wallpaper in the guest bathroom.
Prepping the Walls
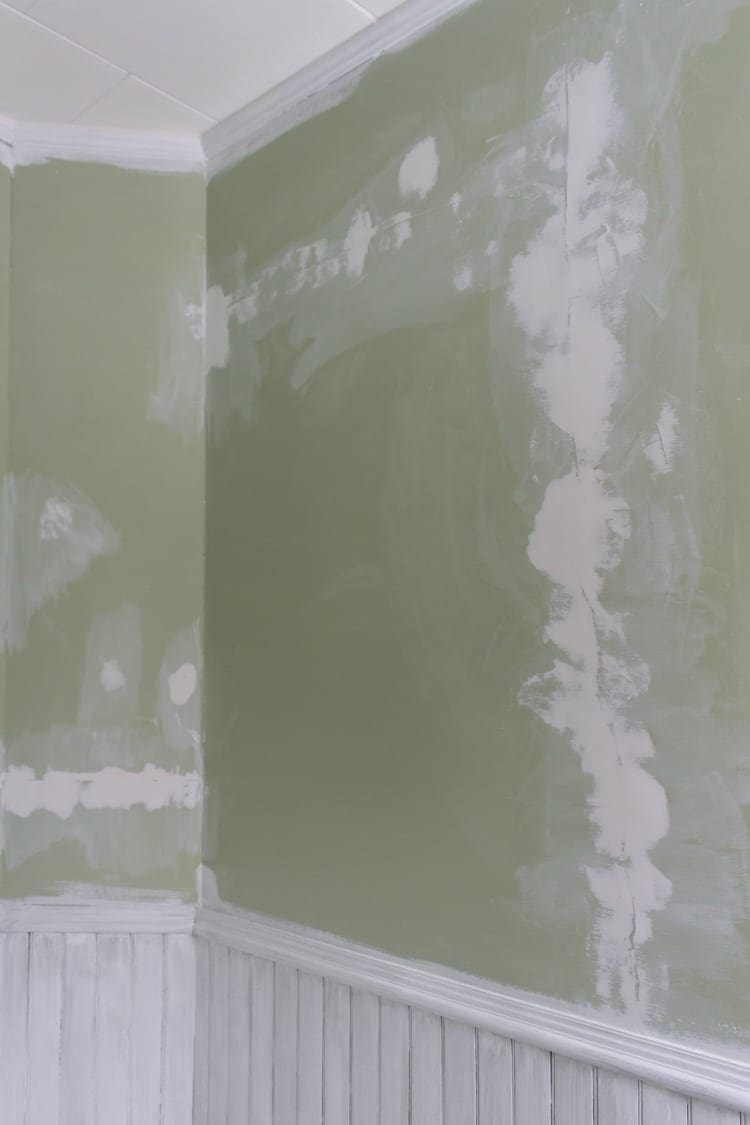
Before we hung the wallpaper, I gave the walls a good scrub with tsp-substitute. Then, I repaired the cracks and bumps. It is crucial to fill holes and gaps because the wallpaper will form permanent bubbles or creases around those imperfections.
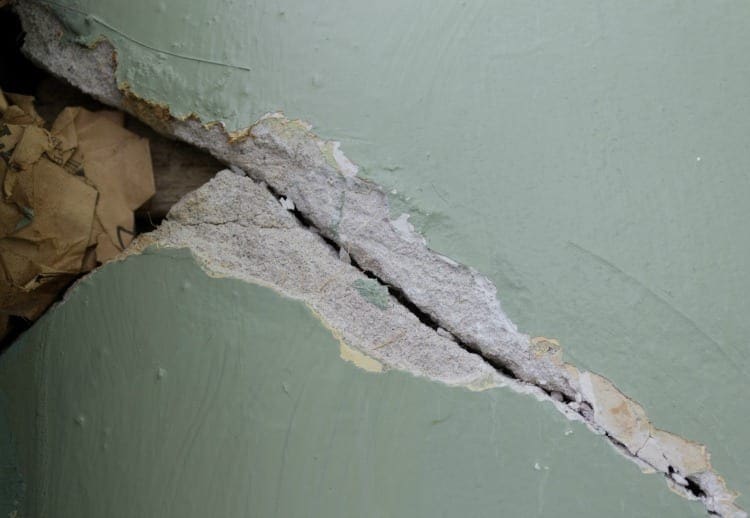
Our walls had a fair amount of minor cracks, and a few, such as this mess behind the medicine cabinet, were substantial.
To repair this large crack, I started by chipping out the lumps and bumps until it looked even worse. Isn’t that the way DIY seems to work? My goal was to smooth out the sides to turn that crack from a mountain into a valley.
Then, using my three favorite products, I worked my way around the room filling in the imperfections as needed. The medicine cabinet wall took the most effort, and it required three full layers of patch to make it smooth again.
I primed over the patched area with Zinsser Gardz.
Getting Started
To hang the wallpaper, we laid out a large piece of plastic sheeting on the floor, and we used these supplies:
- Spray bottle full of plain water
- A rag
- plastic smoothing tool
- utility knife with extra blades (essential!)
- All-purpose smoothing tool/straightedge
- A clear quilting ruler (not pictured) – A regular level or yardstick would work well too.
- scissors
Cutting
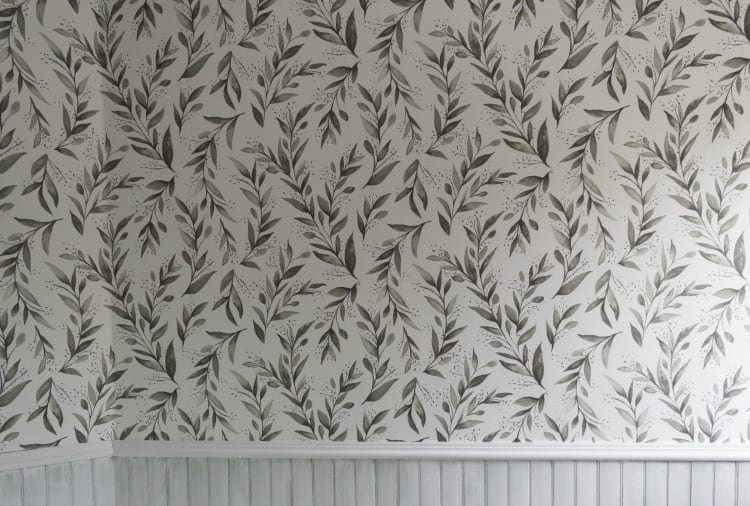
When we papered the guest bathroom, it was the first time that Andy I used wallpaper with a repeating pattern. Figuring out the repeating pattern was not complicated, but it did take a little thought and planning. We started by cutting two pieces of wallpaper at a time to figure out how the olive branches lined up.
We used a clear quilter’s ruler to mark the lines before we cut. I prefer using a transparent ruler, but any long straightedge such as a level or yardstick will work well too.
We used regular scissors to cut each length, and we cut each piece a few inches longer than necessary to allow for error.
Booking
Next, since our paper was prepasted, we only needed to spray the back of each piece with plain water. No extra paste required. I have used both types of wallpaper, unpasted and prepasted, and prepasted is much cleaner and easier.
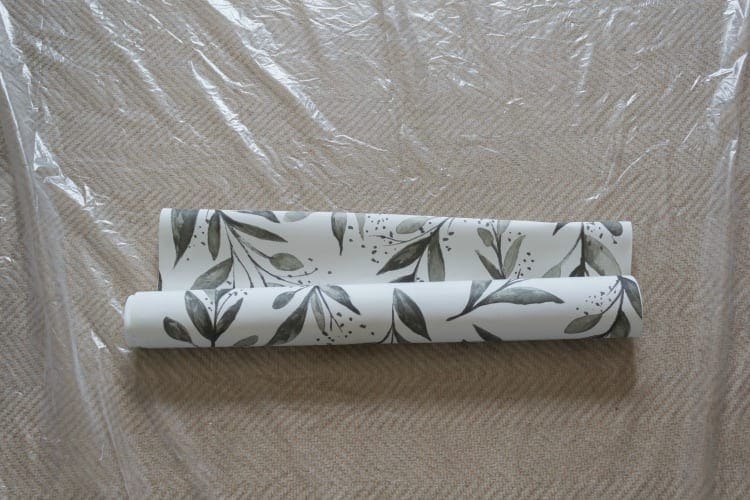
After we sprayed the back of the paper, paying close attention to the sides, we pulled the short edges to the center,
rolled up the whole thing, and set it aside for two to three minutes.
Folding the paper this way and setting it aside is called booking. Booking allows the wallpaper to relax and the paste to activate. Experienced wallpaper hangers book more than one piece at a time since they hang each piece quickly. As novices, we stuck with one piece.
Hanging the Wallpaper
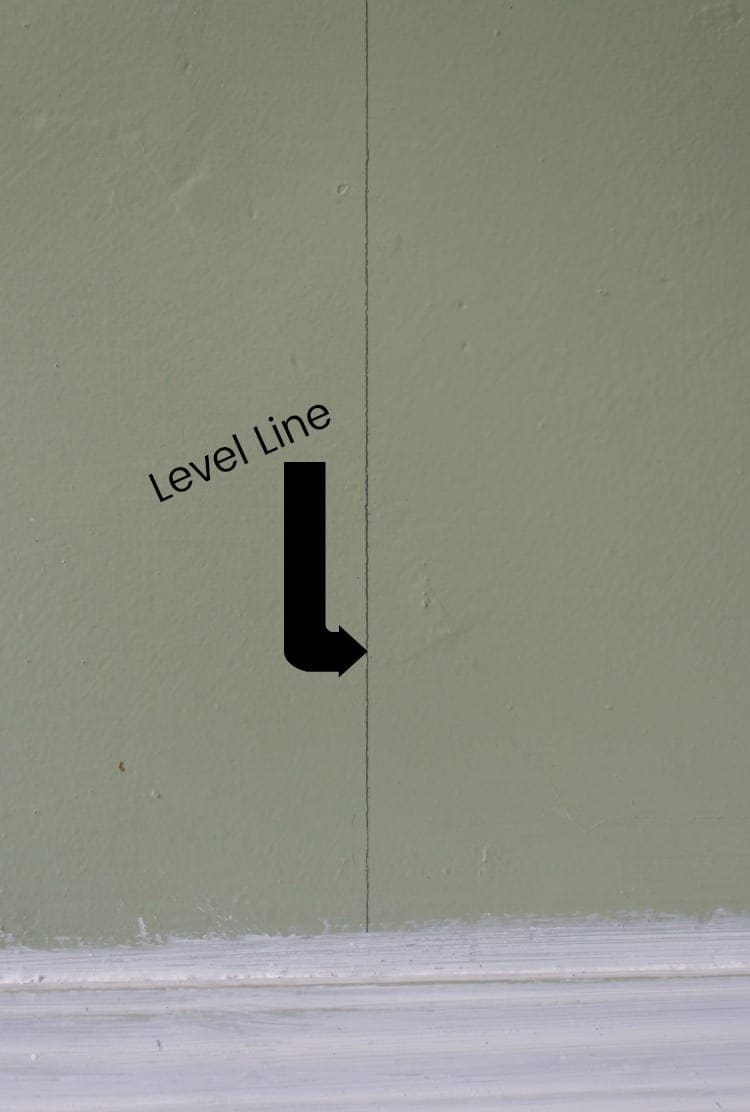
While the first piece was booking, I drew a vertical level line on the wall where we planned to line up the right side edge of the first piece.
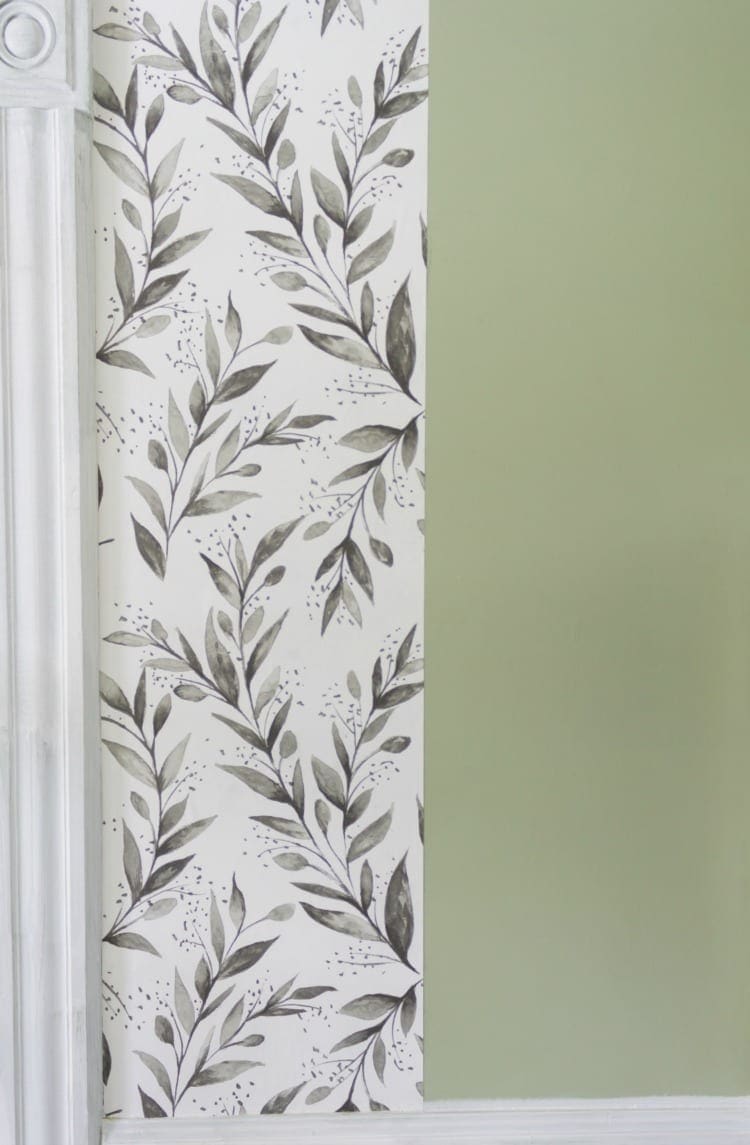
I chose the starting point by considering the end. I wanted the paper to start and stop in the least conspicuous place in case my pattern did not match up entirely on the last piece (and it didn’t). With me at the top of the ladder, and Andy below, we hung the first strip.
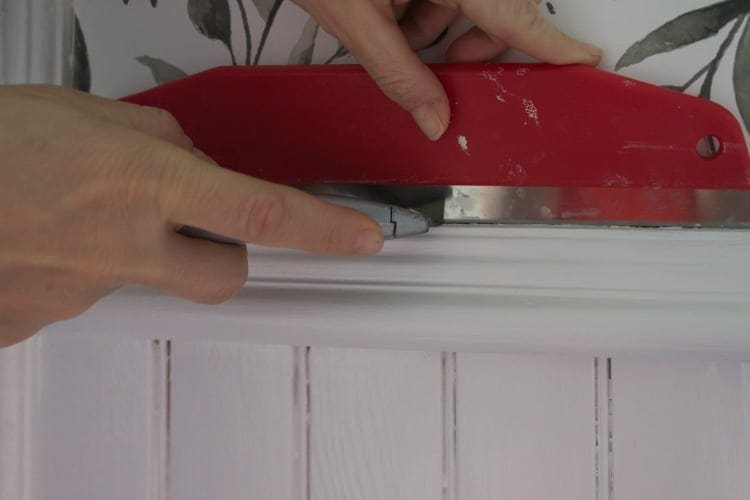
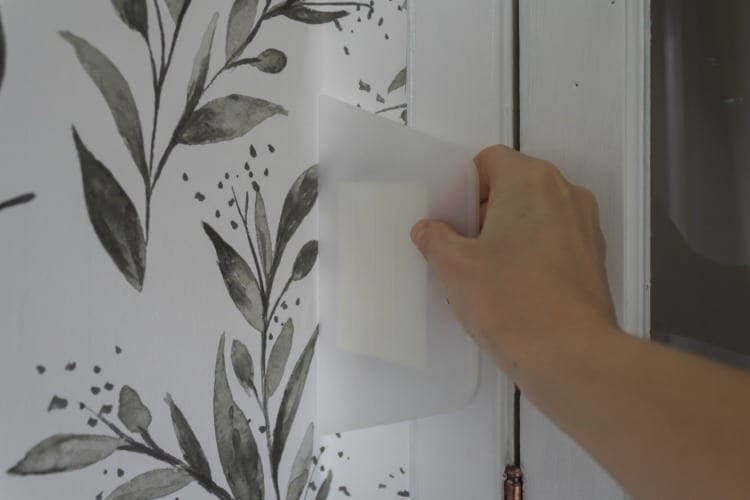
I smoothed the paper gently away from the level line with my plastic smoothing tool being careful not to cause any creasing. Then, I trimmed off the excess around the top, door trim, and the wainscoting with the metal straightedge and utility knife. Finally, I wiped off excess paste with the rag.
We continued with the same process taking our time lining up the pattern, smoothing, and pushing the paper deep into the corners with the plastic smoothing tool.
It is essential to push the paper into the corners tightly to maintain the vertical level of the wallpaper once you turn the corner. If the vertical level is off, the pattern will start to lean. The larger the room, the more pronounced this problem will be.
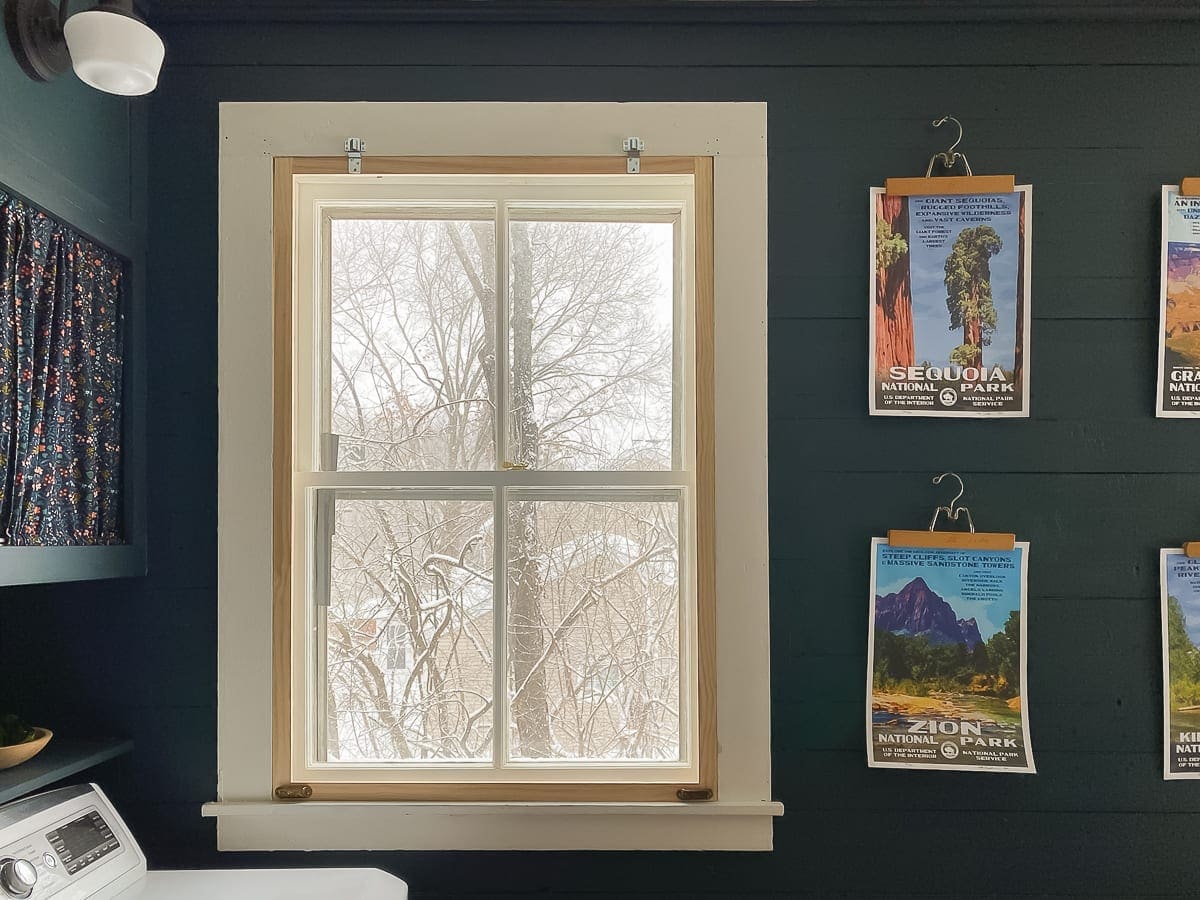
The most complicated cuts were around the window.
I just took my time and trimmed off a little bit at a time. Smoothing and trimming was a slow process.
Since I moved so slowly, I kept the water bottle with me and resprayed the back of the wallpaper as the paste dried out. Rewetting the paper was especially helpful at the seams. Andy cut new strips and read a book while he waited for me.
After a full day, we took a break. We had broken the light, and we were out of paper. I made an error when I ordered paper. I thought the rolls contained 66 square feet, but they were only 56 square-foot rolls. Rookie mistake. Perhaps it is time for bifocals.
I ordered one more roll and hung the last few strips on my own on a different day. Tip: hanging wallpaper with a partner is much easier.
Even though wallpapering is time-consuming and a little messy, it is also very satisfying. There is something beautiful and special about a freshly wallpapered room.
Tips for Beginners
- Most importantly, change your blades one cut before you think you need to change them. A dull blade will chew away at the paper instead of making a clean cut. Save the used blades for another project that does not require such precision.
- Choose a forgiving wallpaper pattern such as an allover pattern or grasscloth. If an allover pattern begins to lean a little, it is not as noticeable, at least in a small room. Grasscloth does not require any lining up at all. In fact, the less orderly, the better as long as the edges are butted up against each other well.
- Take your time. There is no hurry. The devil is in the details. Be patient.
- Keep your spray bottle handy. The prepasted glue will reactivate when you spray again–not forever, but long enough to finish setting the strip in place.
- Pay close attention to lining up the edges. Move the paper as necessary before you start smoothing. If the sides are lined up correctly, your work will look professional.
- If your pattern doesn’t line up exactly, top to bottom, focus the perfection on the place where your eye falls. I had a bit of trouble working on the wall with the light. My pattern lined up at the top or bottom but not both. I focused my attention on the bottom and did my best near the top of the wall. You have to be looking for the place where it does not quite match higher up because the eye falls right where everything looks good.
- Work with a partner–at least until you get the hang of it.
I am currently finishing the floor and the windows, and then this little guest bathroom will be complete. What is your experience with wallpaper? Have you ever hung it before? Do you have tips to add to this post? Please post them in the comments. I would love to hear from you.
Be sure to check back tomorrow because it is One Room Challenge time! Six weeks. One room. Let’s do this. Again.








8 Comments
Maureen
It looks fresh and new and smooth.
Well done!
Stacy
Thank you! You saw it up close, so that means I hid the mistakes well. 🙂
Ame Jo Hughes
It looks so great! Satisfying is an understatement.
I really like wallpaper, but I’m pretty sure it would be the straw that broke my marriage’s back if the man and I tried it together. I think it’s better that I avoid it for now. ?
Stacy
Thank you, Ame. Andy is a saint. That’s all I’m saying. 🙂
Jenny
Looks great! I like certain wallpapers, but my husband is vehemently against it so I doubt we’ll be adding any to our house. 🙂 But I love learning about the process!
Stacy
Thanks, Jenny. Andy was initially opposed to wallpaper–not in this particular room, but in general. I think it is because he has done most of the hard work to take the old paper off of the walls. 🙂
Becky
That’s just gorgeous. I love how it looks wild and restrained at the same time.
Stacy
Thank you, Becky!