I finally have a new window restoration video to share. Producing video content takes such a long time–all the grooming! So much for working while wearing pajamas. Anyway, my latest video is about how to restore a window jamb. There is so much information available about restoring sashes that it is easy to overlook the importance of the frame.

When I first started restoring windows, I did not spend a lot of time preparing my jambs. Due to my inexperience, some of the paint is now failing, and my sashes stick–especially when it’s humid. If I had spent just a little extra time on them, I wouldn’t be in the position I’m in now. Window restoration work should last more than five years. I’m shooting for 50-75 years.
The video is comprehensive. I tried to keep things moving, but this work is all about the details. I am open to feedback so I can improve the length of my videos or how they flow. You can watch it here or click through to watch it on YouTube.
How to Restore A Window Jamb
This post contains affiliate links.
If you are looking for any tools or supplies that I used in the video, I’ve got you covered. Here is an article that I wrote earlier this year: My Favorite Tools for Window Restoration
Also, one more quick tip: Window restoration professionals recommend working on the jamb first before you begin to restore the sashes. If you follow this workflow, the paint in the jamb will have the longest possible cure time before you reinstall the sashes. Most modern paints dry to the touch in a few hours, but full cure happens in 10 days to two weeks.
The steps below are just a quick overview. The video shows everything in-depth.
Step 1 – Remove the Paint
The first step is to remove all of the old paint. Over the years, thickly coated sills and frames can add bulk to the jamb, and the sashes will stick and operate poorly. Getting rid of all of those old layers of paint and dirt takes the frame back to the size it was when the builder installed the windows.
REMEMBER TO BE LEAD-PAINT SAFE. PROTECT YOURSELF AND YOUR LOVED ONES.
I prefer to remove paint with my Cobra infrared paint remover and my Vacuum ProScraper attached to a HEPA shop vac. (I use both in the video.)

The infrared paint remover doesn’t work on metal, so I recommend using chemical stripper on the pulleys. You can dab it on with a cotton swab and scrape it off with a wire brush or steel wool.
Step 2 – Sand and Clean
Once the paint is gone, give the frame a light sanding and a thorough wipe down with a rag and mineral spirits.

You may have to repeat the wiping step more than once, using a fresh rag each time. Paint will not adhere to dirty wood.
Step 3 – Paint
At this point, the clean wood is ready for the coating of your choice. For BHH, I chose to re-paint. However, something like stain and Spar Urethane or linseed paint might work better for your project. The decision is mostly personal preference. If you cannot decide, consider what will protect the windows the best in your climate and last the longest.
I painted the exterior stop, which is the piece of wood right against the storm window, with exterior paint. I used the same paint on the section that will show below the upper sash.
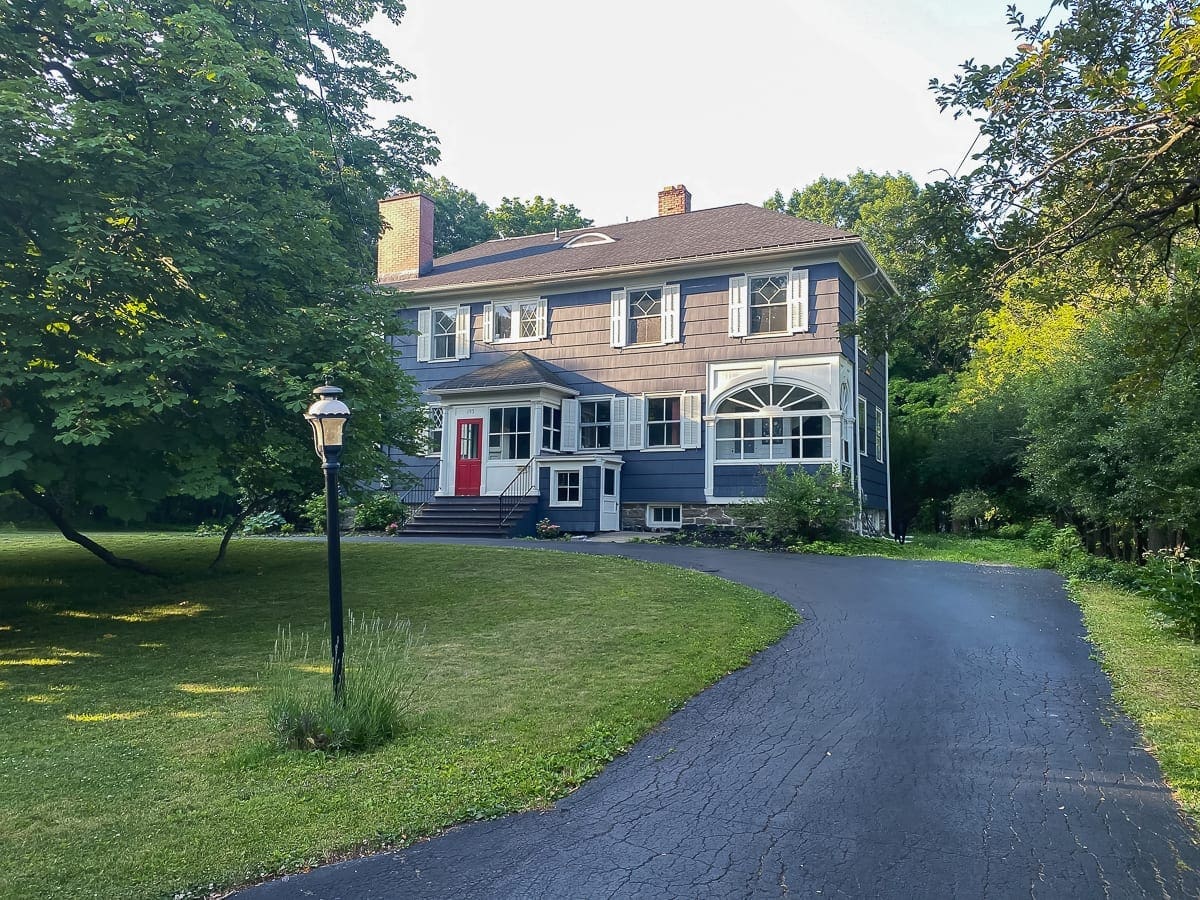
I used interior paint, the same color as my sashes and trim, on the wood that will show above the lower sash. On the sill, I did something a little wacky. I painted it Hale Navy like the exterior of our house. I wanted something dark because our white trim color gets stained from dirt and debris. The Hale Navy will look tidier for much longer.

When the window is closed, no will see the sill. It’s not noticeable from the outside either.
Step 4 – Lubricate the Pulleys
Over time, the pulleys gather a lot of dirt and grime, which can make them squeak, operate stiffly, or not at all. Squirt a little lubricant on the sides of each where the wheel meets the pin.
The pulleys here at BHH are press-fit pulleys. They were just tapped into the jamb. Removing them would cause more damage than it’s worth. That’s why I work on them in place.
If your pulleys attach with screws, you can easily remove them and really get after the dirt–maybe even give them a linseed oil bath.
Step 5 – Replace the Sash Ropes
For this particular window, I discovered that one of my sash weights was missing. I’ll pick one up at architectural salvage sometime. I also noticed they were marked with their weight via Roman numerals, which I thought was really neat. Of the two sizes, the heavier weight goes with the upper sash.

Feed the new sash rope over the pulley wheel and down through the pocket using a small length of chain for a chase. [9:21 on the video] Attach the chain with painter’s tape.
Once you’ve pulled the rope out of the pocket, detach the chain and tie the new sash rope onto the weight. [12:08 on the video] The weight for the upper sash tucks back into the pocket, so work on it first.


Place the sash weights back in the pocket and cut off the extra rope. Leave about a sash weight’s length of extra and add a small knot so the ropes won’t slide back down into the pockets.

That’s it. I even leave the weight pockets open in case I need to make any adjustments during install.
The basic steps are here for you, but if you plan to restore a window jamb, the video will be the most helpful.
Thank you for watching it, and please let me know if you have any questions.


7 Comments
Sherrill
Restoring old windows makes so much sense. We had a couple of ours adjusted. It turned out that panes had been replaced with thicker glass, making the sash heavier and the weights could no longer hold them up. The solution? Heavier weights.
Stacy
Aha! That’s some good detective work. I’m glad there was an easy solution.
Vanessa
Well done Stacy, I liked the video. Very good to see all the parts, stool, apron, sill – I did not use the terms properly before.
Stacy
Thank you, Vanessa. I never used the correct terms before, either. I’m not stickler by any means. 🙂
Jen
Stacy!
This was so great as I’m currently starting my window restoration. Is there a reason the very interior piece of wood in the jam (sorry for the lack of technical name, but the piece of wood in front of where the lower sash would hang) is not painted?
And then are you protecting the bare wood?
Thanks,
Jen
Linda
So you leave the sections of the jamb that would touch the windows when they are closed, bare. Do you ever put linseed oil or some form of weather protection on them? I am looking at painting them, only to give some protection, and make them look better Plus, I am going to put Spring Bronze weather stripping on them in those sections… so the windows will be riding on the weather stripping, rather than the wood. Hoping that would eliminate potential sticking issues.
What do you think?
Stacy
Hi Linda, I don’t usually put anything on those sections. They have been bare for over 135 years, so I haven’t seen the need to add anything. By the time the parting bead and interior stops are installed, it isn’t even really noticeable. When the windows are closed, those areas are completely covered and protected.
Most of the sticking occurs with higher gloss paint or paint that hasn’t cured long enough. Paint dries very quickly, but full cure time is up to two weeks–maybe longer with an oil base.
Spring bronze does generally make for a smoother ride.