What started as a one-week blogging hiatus turned into two because my vacation with the boys overlapped Andy’s work travel and refinishing the hardwood floors in the kitchen. I barely had time to brush my teeth, never mind blogging. Fortunately, our Lowe’s kitchen remodeling timeline was not delayed while we were away. So much progress has been made. In fact, the process has been so rapid that I cannot squish an entire update into this one post, but I have been posting a few sneak peeks on Instagram in order to keep the project in “real time” for all of you.
(This post contains affiliate links. If you make a purchase by following a link, I will receive compensation.)
Visually, the last three weeks have been a little less eye-popping than demo week. Seeing a whole room knocked down to its studs is sort of like seeing a stranger in his undies. However, once we adjusted to the new look, it was fun to check the progress at the end of each day.
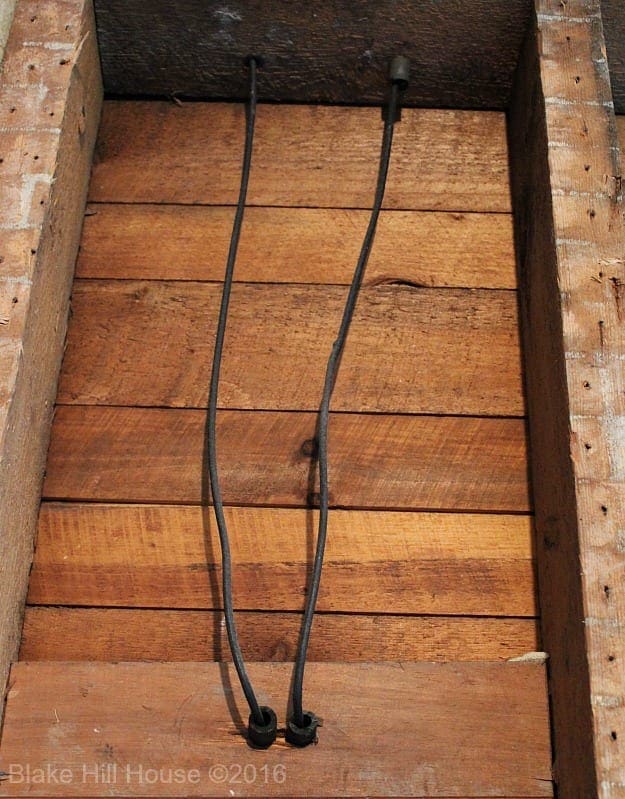
The electrical work was the first on the list. Fortunately, all of the existing kitchen wiring had been upgraded at some time, and it was in great condition. All of the old knob-and-tube had been terminated properly.
Some new wiring was added in order to keep all of our appliances on separate circuits, and additional outlets were installed as well.
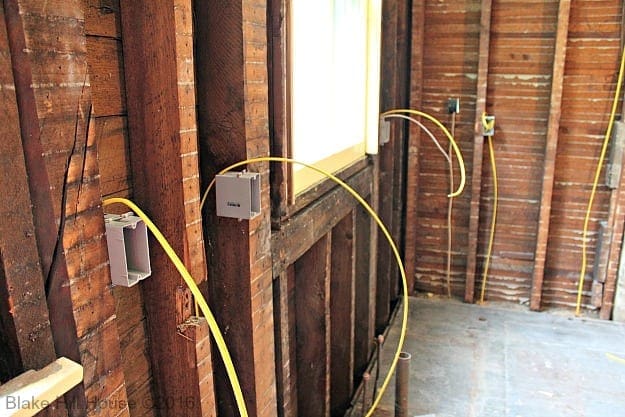
The old kitchen had one light in the center of the room, one over the sink, and a light built into the cabinet along the only existing prep space. Our new kitchen will have recessed can lights as well as pendant lighting over the island and the sink. The general contractor and I mapped out where those lights would go in the room, lining them up for function and aesthetics. After the marks were made on the ceiling, the owner of the company doing our electrical work arrived. He and our general contractor are brothers. While the kitchen is our first project with this general contractor, this is our second project with his brother. The same electrical company did the panel upgrade in the basement when we moved into BHH in 2014.
Having the electrician’s input was so valuable. He suggested things that I would not have thought about at all. Since we had the walls open, he suggested that we add a few modern conveniences such as a light switch for the sconce in the hall outside the kitchen and a switch for the light inside the pantry.
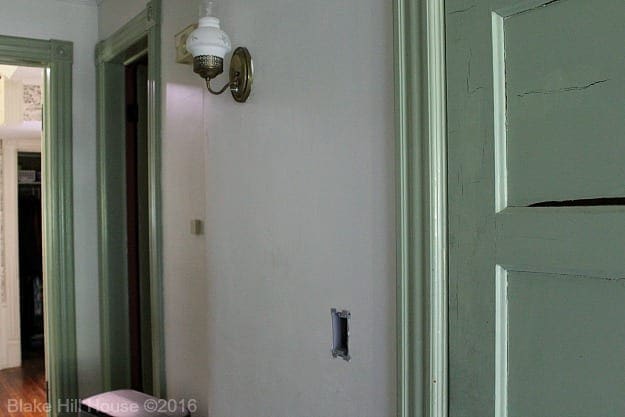
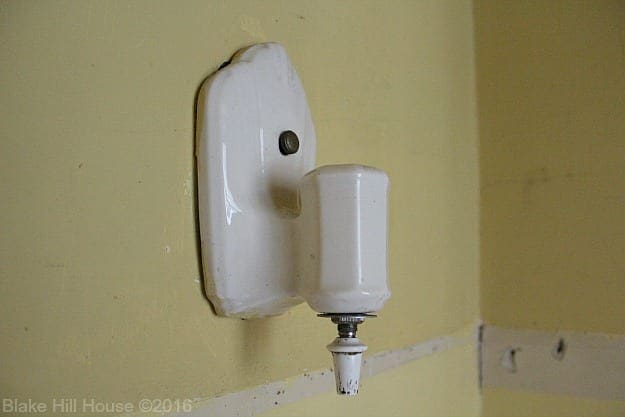
Previously, the wall sconces had to be turned on by a push button or pull string. You may remember the cute sconce in the pantry from our One Room Challenge posts. Now I can turn it on with the flip of a switch. Genius!
We paid extra for these upgrades, but it made sense to do the work while the walls were open. On our dime, they also moved an outlet from the kitchen wall to the pantry. Previously, there were no outlets in the pantry. Along the wall where the refrigerator used to be, we moved the outlet which was centered vertically and horizontally to a more discreet low-wall location. It is hard to make sense of it when looking at photos, but these changes really catapult this old house into the 21st century.
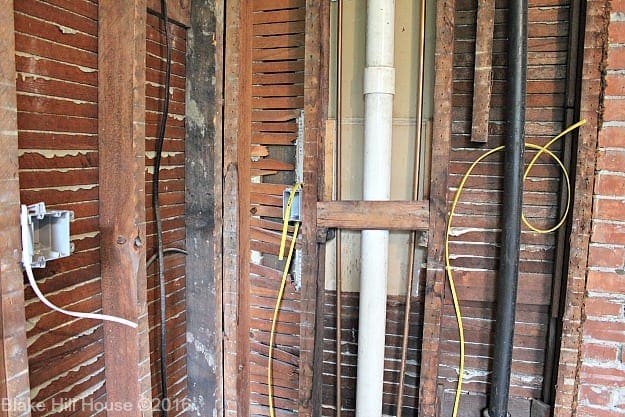
After the wiring was in place, the drywall crew came. The same tidy guys who did the demo did the rough drywall work. They were equally clean on this job. I was in and out of the house during the day, so I really only have finished pictures.
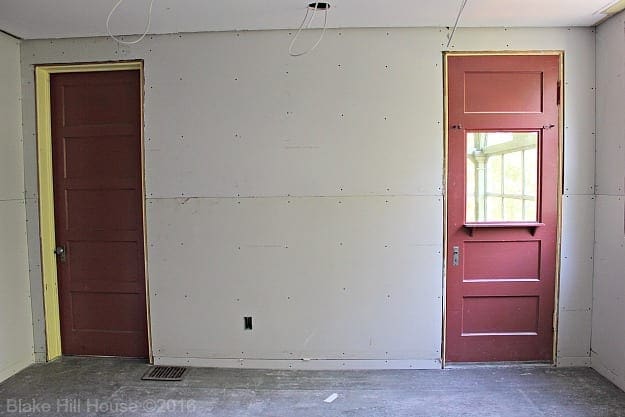
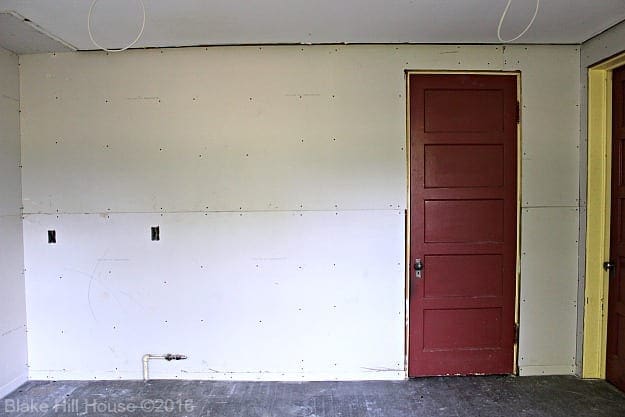
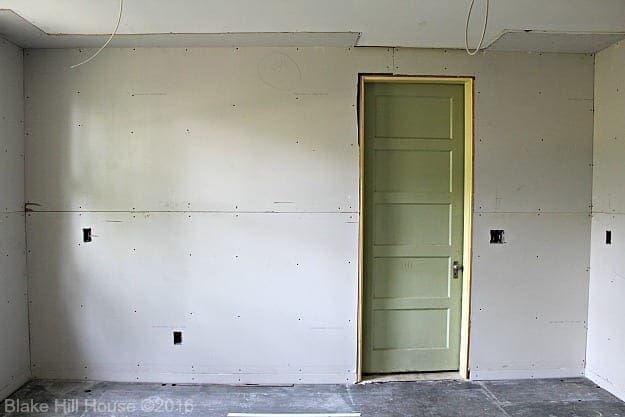
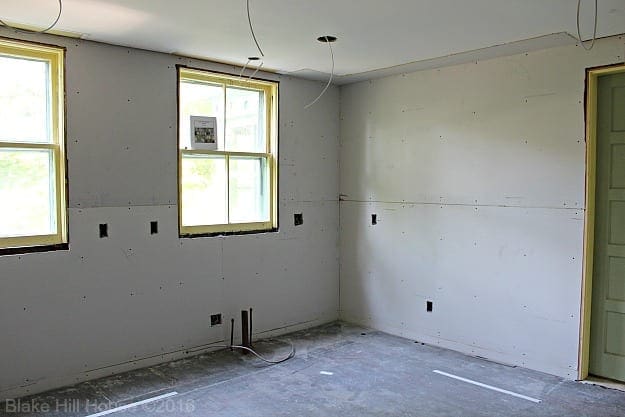
A separate person finished the drywall. When I told him that I wanted it to be very smooth like our plaster walls, he assured me that it would be “smooth as a baby’s bottom.” He was a real character, and he did a beautiful job. It is as smooth as…well, you know.
While I was away on vacation, Andy did the preliminary priming and painting. He is not really into chronicling the process, so you will have to take my word for it. The bulk of the room is painted the same white as our pantry. (HGTV Home Citilite HGSW4028 by Sherwin-Williams) Andy painted the large wall without cabinets with Valspar’s black chalkboard paint. We think that the large chalkboard wall will keep the kitchen from feeling too formal once we start adding in all the finishes. We really want the kitchen to feel warm, inviting, and family-friendly.
After Andy painted, he left for a business trip to New Orleans. My in-laws came to stay with M. and Millie. The boys and I returned on a Wednesday night, and Thursday morning, I picked up our rental drum sander and edger. After saying goodbye to my in-laws, I got right to work on the hardwood floors. The work was physically taxing, but not particularly technical. When Andy returned on Friday night and by Saturday, the floors looked like this:
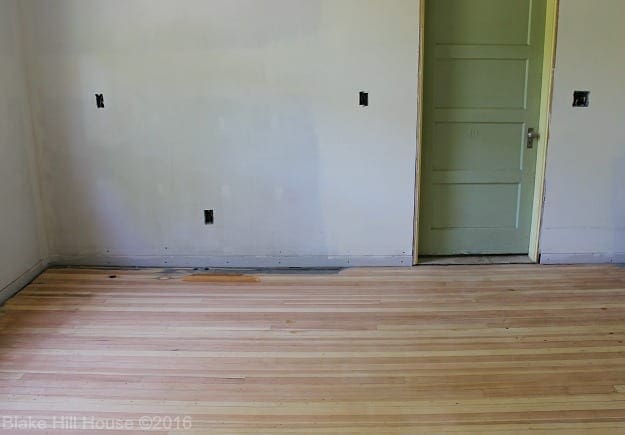
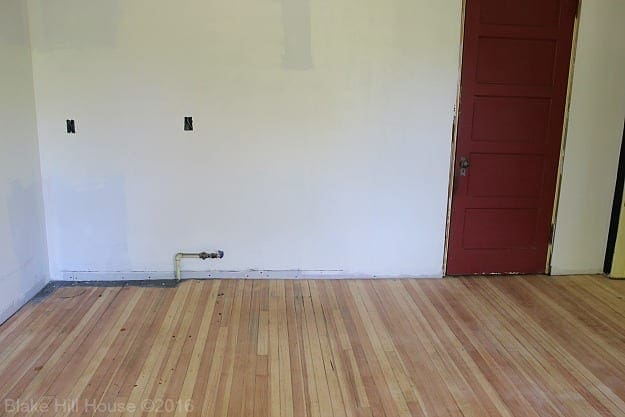
They are in fantastic shape except for a few burn marks which we suspect are from the hot coals of an antique cook stove. Amazingly enough, the old brick slab had been laid right over the hardwood and protected it for years.
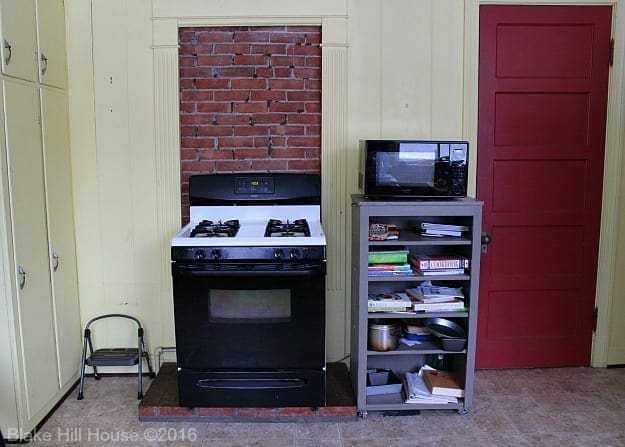
Another bit of “character” that we uncovered was a pretty severe slope down to the corner. That corner is where we will find all of our marbles if we ever toss a bunch into the kitchen. The slope is quite apparent in the photo below, but it is nearly imperceptable under foot.
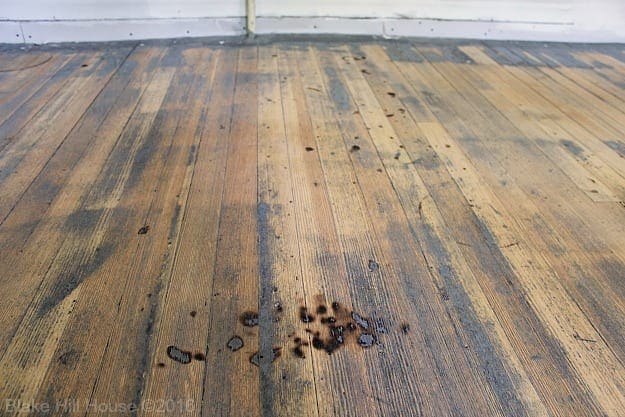
On Sunday, we washed all the walls and prepped the floor for the polyurethane. We opted to leave the empty nail holes and call them a “style choice.” However, we did find a few nails that we had missed and subsequently crushed into the floor. In order to countersink the nails, I pounded them in with a nail set.
Then, I made some DIY wood fill using sawdust and wood glue. I mixed it to the consistency of wet tuna fish and filled each hole using a putty knife. After homemade wood fill dried, I sanded it with my mouse sander.
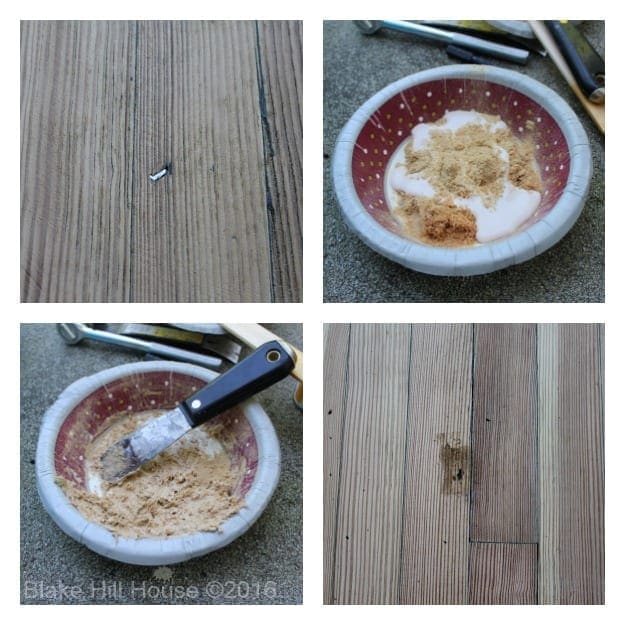
The flaws disappeared into the rest of the floor.
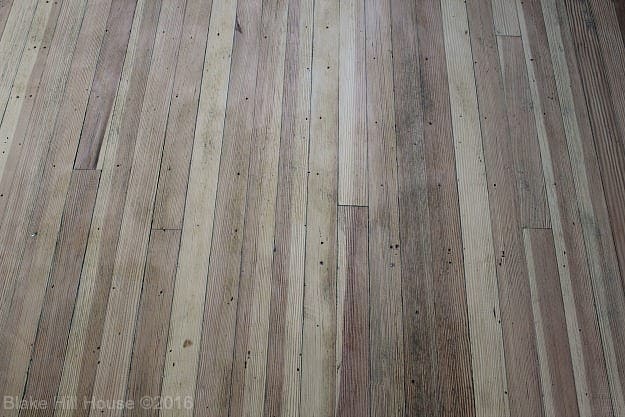
To protect the floors, we chose ZAR Classic oil-based polyurethane with a satin finish. Before we committed, we did a quick test patch on a section of floor that will be covered by cabinetry:
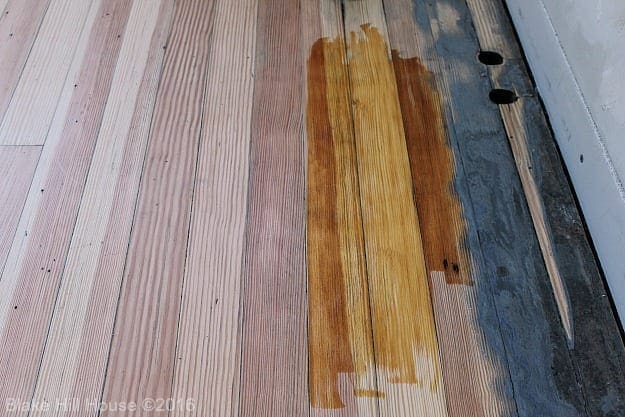
We chose a satin finish because it felt less formal than a shiny semi-gloss finish. The rest of the floors in the house are semi-gloss and high gloss, but we will likely change them all to satin over time. The amber color of old hardwood floors is not what I would choose if I was building new, but our kitchen will match the rest of the house, and we are really pleased with how the floor looks with the rest of our finishes. We only had a chance to brush on one layer of polyurethane before the work crew came back, but we will add more layers this week. We were pressed for time because the countertop measuring date is June 30. The cabinets need to be set in place prior to that date.
We all met our separate deadlines, (Yay for us!) and the next kitchen post will feature the cabinets and nearly completed hardwood floors. It has been a whirlwind, but this is really happening. Pinch me.

If you just started reading here, you may enjoy getting caught up with our kitchen project by reading these additional posts:
This kitchen renovation is not sponsored, but I am documenting the Lowe’s kitchen remodel process from concept to completion in order to help other homeowners who may be considering using Lowe’s for their home remodeling needs.



10 Comments
Gayle
So fun to see your progress!!How are you managing with no kitchen?
Stacy
We are doing ok. I kind of hit a breaking point the day I arrived home from vacation, but I have since regrouped, and all is well. 🙂
Ame Jo
I can’t get over how gorgeous that floor is! And I’m so excited for you that you’ll soon have a dishwasher. Cue the choir of angels!
Stacy
We cannot wait!!
Courtney @ Foxwood Forest
Look at you go! Wow, things are really moving along. Excited to continue following all the progress you’re making.
Stacy
Thank you, Courtney. 🙂 It does feel like it is going pretty fast.
Robin @ Redo It Yourself Inspirations
Oooh … this is going to be gorgeous!!! I see an amazing kitchen coming soon. So excited over your floor. I feel your pain working on it, but it’s already worth it.
Stacy
Thank you, Robin. We were really lucky to find great hardwood under all the linoleum and vinyl. However, If I never see another drum sander, I’ll be happy. LOL
Claire
We had the same (good) surprise of finding hardwood under tile in our 50’s ranch, and man are they in bad shape! After doing the kitchen floor, do you think you’ll DIY refinishing the rest of the floors in the house or call in a pro? I’m a little scared to take it on myself!
Stacy
Yay for good surprises! The hardwood in our kitchen was in remarkably good shape since it had been covered by linoleum and vinyl for so long. However there was plenty of junk on it that needed to be sanded off before we could seal. That took a long time and a lot of physical effort. IF the rest of our floors were like the kitchen, I would definitely call in a pro. The rest are in far better shape, and we happened to sand off a little of the finish from the adjacent laundry room. It came off easily, without effort. Based on that small test, we would refinish the rest on our own. The worst part will be the dust. It will be terrible. If our floors had a lot of gaps, holes, pitting, etc… I would definitely call in a pro, at least to do all the prep.