Are you ready for some pictures of our new living room? Progress on this room felt excruciating slow, but the truth is, there was so much to do in this space, and we accomplished quite a lot in just a couple of months. For reference, here is the before picture:
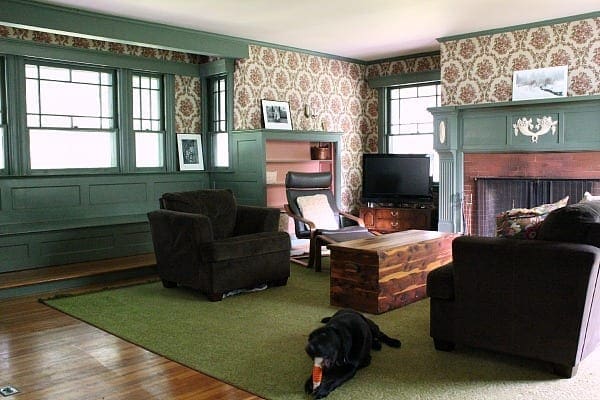
My chief complaints were that the room was very dark and it smelled bad. Even when the day was sunny outside, the living room stayed depressingly dark due to the green woodwork, our terrible furniture and the worn out wallpaper. The room also smelled like musty dampness and fireplace soot due to the old rug and the odors that had seeped into the wallpaper over the past 70 years. (Yes, we estimated that the wallpaper had been on the wall for that long!)
So, the first step was to remove the two layers of wallpaper in this room. It could have been far worse for a 125 year old home. I have read many stories about owners finding 4-6 layers of wallpaper in their old homes.
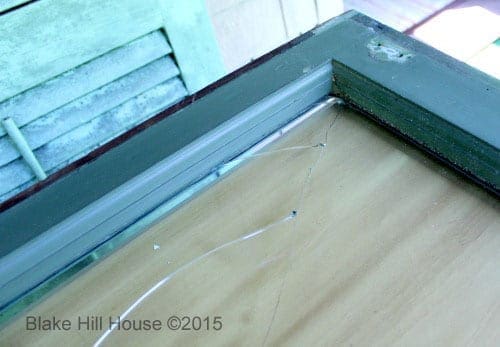
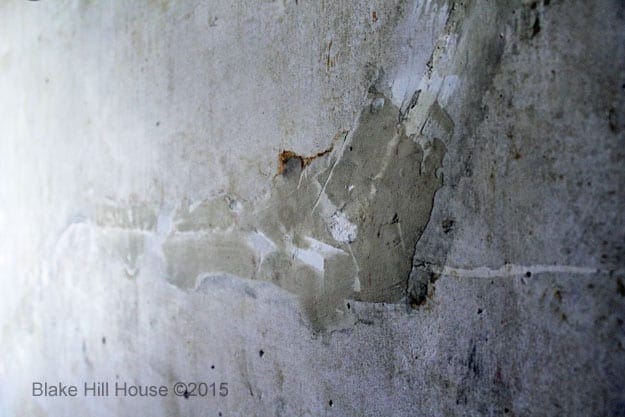
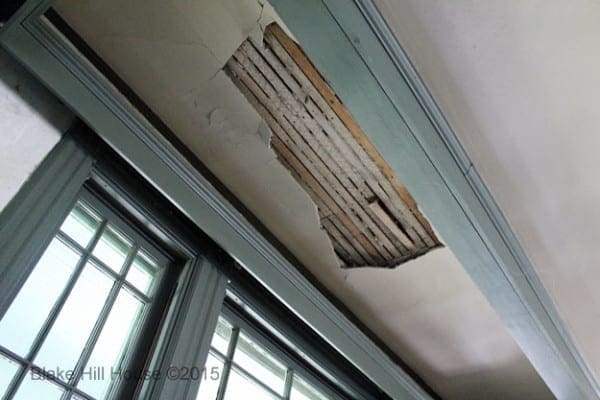
Next, we had to deal with a broken window pane, wall repair and a ceiling cave-in:
We ordered our new furniture and pillows in April. They all arrived by the middle of June, but we were still working hard on prep and painting, so everything stayed wrapped up in the foyer. The prep and painting, which we expected would take days, actually took weeks. I did not keep track of the hours we spent painting this room, but I would guess it took about 72 hours to complete. I spent several long, solo days painting, and Andy did the same while I was gone on vacation.
The room still needs a lot of details. The photos I am sharing are pretty tight shots that focus on what we have done vs. the whole space. At this point, we are re-grouping financially, and the rest of the room will come together over time.
Here is the master to do list for the living room project:
- Remove paint from the window hardware – DONE
- Get new furniture and rugs – DONE (Tables and lamps will be added in the future.)
- Fix window pane and replace broken sash cords on several windows – DONE
- Remove Wallpaper – DONE
- Repair wall cracks and gouges – DONE
- Clean the fireplace brick – DONE
- Clean the windows – DONE
- Paint all the woodwork – DONE
- Fix and paint the alcove ceiling after the cave-in – DONE
- Sew a cushion for the dance bench (in the alcove)
- Buy a coffee table and end tables
- Curtains and/or window treatments
- Fill out the room with accessories
With that little recap out of the way, it is time for the reveal.
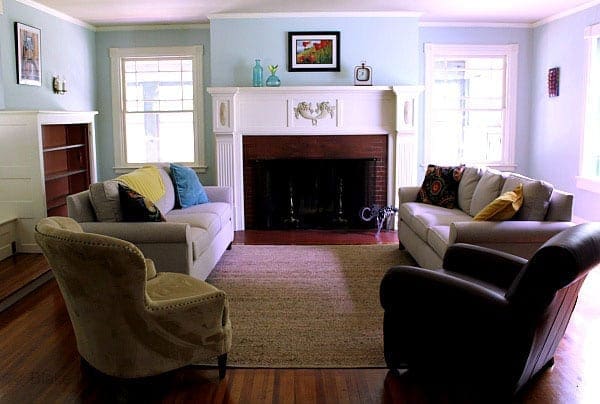
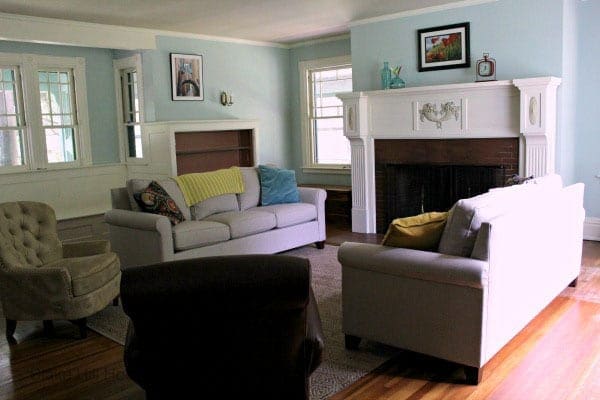
The wall color is Palladian Blue by Benjamin Moore. We jokingly refer to the color as NOT green. I will go to my grave swearing it is blue, but if you think it looks green we will get along just fine as long as you keep that to yourself.
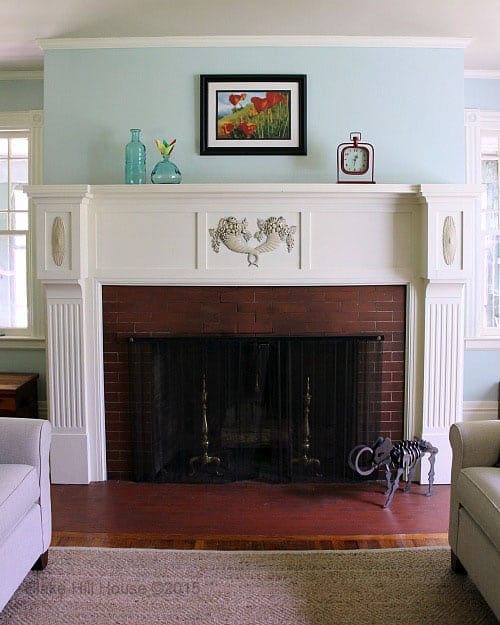
The fireplace bricks cleaned up pretty well. I still need to clean the inside of the fireplace and deal with the fire screen, but the exterior looks much better.
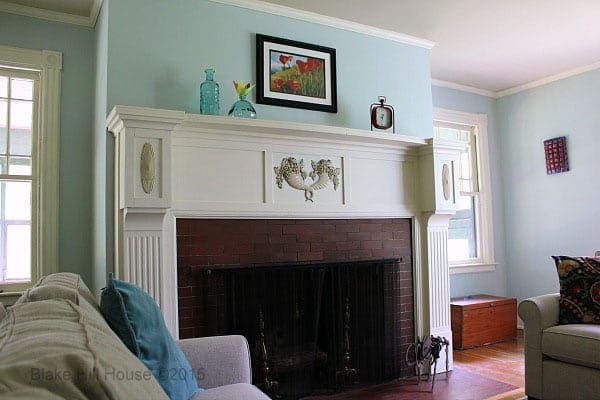
The furniture, rug and pillow covers all came from Pottery Barn.
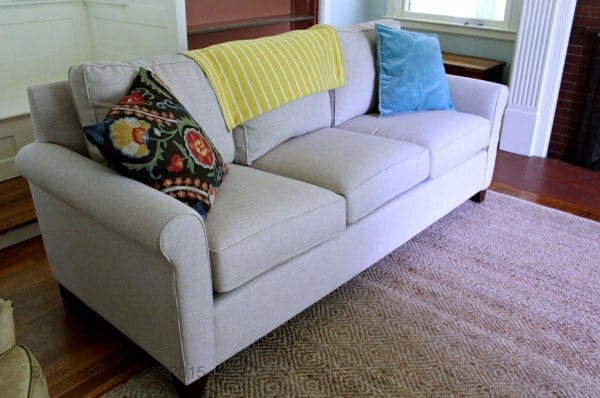
I picked up the throw at Marshall’s.

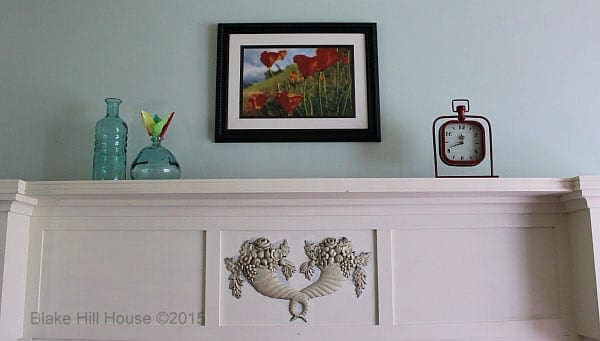
The mantle is my favorite right now. I took that poppy photo right outside our house in California. I wish it was a little bigger, but I love the contrast of the orange with the wall color. The glass bottles and clock came from Marshall’s.
The plan is to fill in the rest of the room over time. You’ll notice the lack of tables and the book shelves are completely empty. We are going to shop more locally for those items. We want some unique things to add interest to the room, and we are waiting to find just the right pieces to fill the space.
The living room is the largest room in the entire house. To date, it has been our most time-consuming project, but it has also made the greatest impact. The room looks fresh and smells good too. We are on our way towards completing our goal of creating a relaxing and comfortable house.



20 Comments
Ame Jo
It looks AMAZING!! Fantastic job! What a lovely pay off after all that hard work. So. Much. Trim. Painting. !!!
Stacy
So. much. trim. 🙂 Thanks Ame!
Lisa
Wow! I absolutely love it! Doesn’t even look like the same room. I had a hunch that was a Benjamin Moore color – we have a similar color in our living room (with a similar, smaller fireplace). Our color has the word ‘gray’ in it, but it is not gray, it’s blue 😉
Stacy
Blue! 😀 Thank you, Lisa. I would love to see pictures of your room. You have such great taste.
Ashley
WOW! That is amazing! What a transformation. It’s so light and airy but also keeping that cozy feeling. I love following the changes you are doing to that lovely old house. Keep up the great work!
Stacy
Thank you so much Ashley. It’s a good feeling to make progress.
Julia at Home on 129 Acres
It looks great. Such a calm, cheerful, yet energetic space. You did a great job.
Stacy
Thank you so much Julia. 🙂
Jamie
What an incredible transformation! The wall color is stunning (definitely blue!). And I think the white woodwork looks so fantastic. You can really see all the beautiful details on the mantle now that the color is lighter. Great work!
Stacy
Thank you, Jamie. 🙂
Amy S
Definitely not green! I love the color and the furniture, looking forward to seeing more progress on the house!
Stacy
Thank you, Amy!
Amy
I just painted my bedroom the same colour! I love it here in your living room too. Great job!
Stacy
Oooh! I’d love to see a picture of your room. Thank you for reading. I appreciate the compliment.
Jennifer
It’s beautiful!!! You have quite the eye for color and accessories.
Stacy
Thank you so much, Jennifer.
Andrea Matters
What a transformation! Palladian Blue is such an excellent color.
You may have fixed the dirty brick issue at some point that I haven’t reached yet as I read through your archives. But if it never worked out quite right, here’s what we did in our old house. I scrubbed and scrubbed with the stuff the chimney repairman gave us, but the mortar, especially, never came clean of its 100+ years of smoke updraft. Finally, I went to the paint store and grabbed a bunch of color cards that I thought might match the mortar. (It was really interesting to discover that the mortar was not at all the color I thought it was, and I am usually very, very good with color.) I recall that you have a full set of color cards from Ben. Moore, so you wouldn’t even have to leave home for that step! I found two colors that were very close, and just bought little sample cans of each. Then I stippled the discolored areas with a very dry brush, using both colors and sort of blending them as I went along. The result was more than satisfactory! Our fireplace has interesting patterns in the brickwork, plus two Batchelder tiles, and cleaning up the mortar in this way really let it all shine.
Stacy
Thank you for this tip! What a great idea. I washed the brick in a solution of diluted dish soap, and that helped. However, there is still room for improvement. Batchelder tile?!? That is really neat. 🙂
Andrea Matters
We love the Batchelder tiles! They must surely come with a long-forgotten story attached, though. They are two different sizes and two different themes. The smaller one is a Dutch boy in front of a windmill, from a series of Dutch-themed tiles. The otherwise symmetrical brickwork pattern was adjusted to accommodate its dimensions. The other one is a tree by a river, again from a series. So why did it end up like this? Did the builder let each of his children pick out a tile? Did the mason break one of the originals and just grab whatever he could find? Did nobody notice that they didn’t match until the point of setting them in the mortar, and then it was too late? Did a tile salesman go bouncing down the street in his Model T and call out, “I have only two tiles left, but they are really cheap”? We will never know. Actually, I think I might like the fireplace better this way, because of the brain-teasing mystery of it all!
Stacy
I love to imagine the stories too! 🙂 I think you are a kindred spirit.