It seems fitting that my first post of 2024 is a bathroom update. I feel like I’ve written about little else in the past two years. Writing my bathroom plans on the blog also seems to be the kiss of death.
Remember this mood board?

Let’s pretend I never shared it with you because that whole plan fell apart.
The bathroom isn’t quite ready for its big reveal, but today’s post is one of several updates I’ll share over the next few weeks.
For this project, I hired the same contractor (Chris) I used to lay the tile in the guest bathroom. He does excellent work, and I appreciate that he coordinates with my plumber (Dennis), his cousin. We all get along really well, and I trust them both. The collaboration between the three of us makes a project like this one so much easier.
The short story about why we had to scrap my original plan comes down to money. I thought I had explained everything to Chris well enough to get his estimate, but when he came over to look at the details, it became clear that what I wanted was very labor-intensive and, therefore, closer to a $25,000 to $30,000 remodel. No, thank you.
To be clear, my budget was less than $14,000, and we could have hit it if I had been willing to do all of the demo labor and rough-in. Despite that, I made the remarkably grown-up decision to opt-out as the muscle this time. Mentally and physically, I couldn’t muster the energy or enthusiasm with everything else on my plate.
So, I returned to the drawing board with a renewed commitment to function.

The New Plan
The items driving the price up were demo, plumbing, rebuilding the subfloor, and building the freestanding shower. It seemed obvious that the deepest cut to the overall cost would occur if we scrapped the freestanding shower and kept the clawfoot tub/shower combo. Building a new shower touched nearly every line of the budget. One of the main reasons we were doing this remodel was to gain a nice shower. So, letting that go was a difficult decision. However, if we didn’t build a shower, we could keep the toilet, sink, and tub in the same location and save a bundle—money talks.
Note: I have a habit of overexplaining at times to stave off the “Why didn’t you do _____ instead?” questions, but in 2024, Stacy is relaxed and confident. She owns her decisions and talks about herself in the third person. 2024 Stacy is dropping everything into a bullet list and answering questions as they arise.
Here’s what I decided to do:
- Remove the leaky tub and replace it with the tub from the guest bathroom.
- Inspect and repair the plumbing as necessary. It was all tucked under a painted plywood floor patch.
- While the floor was open, we would assess if the toilet could be moved over at least six inches to make more room in front of the vanity. (We were reusing the old toilet, which was less than two years old.)
- If we could move the toilet over, I would get a much wider vanity. The current sink top was only 18″.
- Buy new fixtures and pretty water lines.
- Lay the tile over the top of the wood floor (on hardibacker, of course).
Finally, Some Good News
With the new plan in place, the first step was to remove the floor patch and inspect the plumbing. Right out of the gate, Chris and Dennis ran into something weird. Chris discovered that the drain from the tub was not securely attached to the pipe. It fell off in his hand.
Since there was no apparent leak in the ceiling below beyond a water mark that has been there since we bought the house in 2014, we can only guess that the leak was slow. Another possibility was that the drain suction pulled the water down fast enough to keep the water mostly in the waste pipe. My daughter takes baths frequently, so it should have been raining down into the kitchen and dining room.
That was the first bit of good news. The second was that there was plenty of room to move the toilet over, and we gained nearly eight inches. That extra room made all the difference in the sink I chose, but I’ll get to that another day.
Dennis roughed in all the new plumbing, and Chris prepared the floor for the tile.
Old House Problems
There was one more crazy situation that is a testament to Chris and Dennis’s problem-solving skills and patience with old house problems. The plumbing for the tub below the floor was complicated by the rigid water lines I chose, and they had to do something very out of the ordinary with the tub and tile installation. It’s hard to explain in writing, but I did talk about it during a True Tales From Old Houses minisode that I recorded with Andy. Daniel was away that week, and Andy stepped in as a substitute co-host.
Here’s the link: Minisode #16 – Our Plumber is a Saint + Cute Dog Antics ( The plumbing talk starts around 11:54.)
The Tile
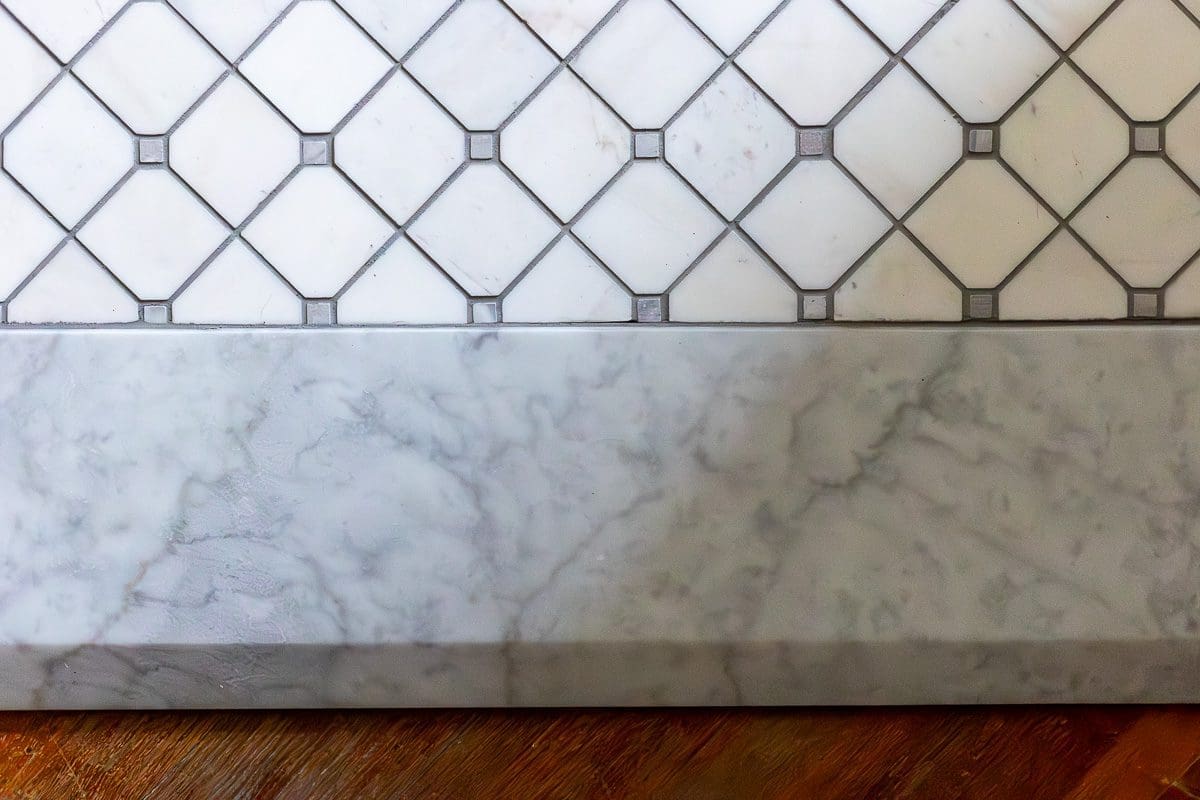
Since I cut back on the overall project, I decided to spend more on floor tile. I initially chose the same tile I used in the guest bath ($9/sq ft), but it was pretty bland for the main bathroom. I had my heart set on marble, and I did a lot of digging to find something that didn’t break the bank. Lowe’s to the rescue!

Try as I might, I couldn’t justify the expense of real marble, but the tile I found at Lowe’s was a very good dupe at about $13/sq foot. It also checked the rest of my boxes with its classic design and rectified edges. (rectified edges = flat vs. beveled) I paired it with Mapei Ultracolor FA grout in the color Iron.

Chris did a beautiful job with the installation. He corrected a few odd tiles here and there after I took the photo.

I ordered a custom-sized natural marble threshold and installed it myself. It’s not perfect, but in 2024, Stacy also lets things go. I wanted the front of the bevel to align with the back of the plinth blocks in the hall, and the door opening wasn’t quite square. I could have sworn I measured the opening’s front and back.
Since the measuring mistakes were my own, I decided to live with the threshold as-is. It was a splurge at $160, and spending that money twice seemed ridiculous.
I think it looks great overall, and after I paint the door jamb, no one will notice unless I make a big deal about it.

What’s Next
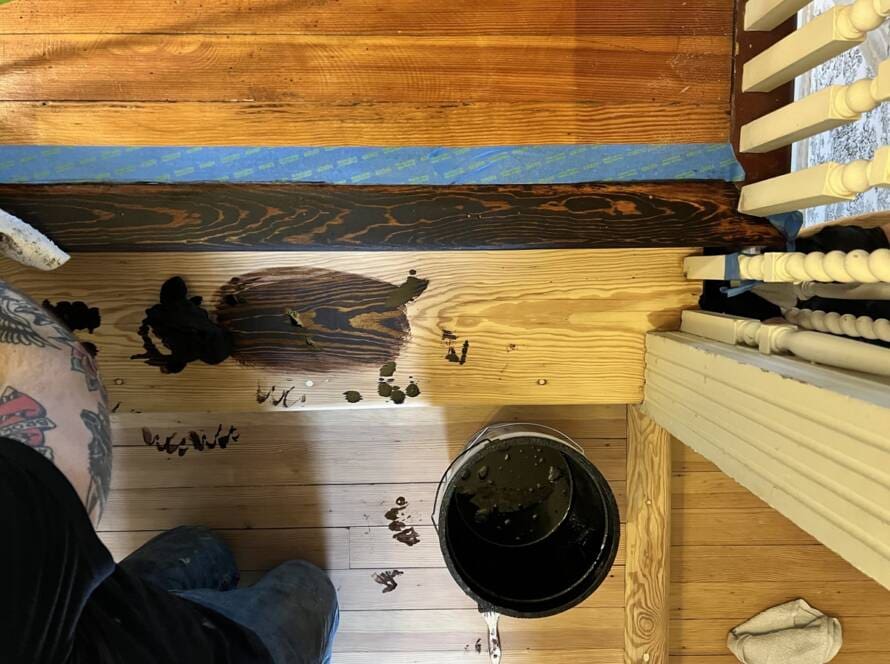
The next update will be about refinishing the original wainscoting with tung oil from Sutherland Welles.
Please let me know if you have any questions or comments about this project so far. I enjoy hearing what you think.
Thank you for being here.


8 Comments
Katie
Stacy, this is lovely!! The tile is perfect… it almost makes me sad to have run out of bathrooms at home.
Stacy
Thank you, Katie. I am very happy with the look and the price point.
Selfishly, I’m sorry you don’t have any more bathrooms projects too. I enjoy following along.
monica
Looks great! I love the tile and the threshold is beautiful. Am thrilled to hear about your good luck with the lack of “what could have been really bad” with the tub drain! Yay luck! Love your blog, instagram and the podcast – even though my own house is only 71 years old, I appreciate all of the work you do. I recently convinced a neighbor to fix up and the windows in their home (built around 1900) – based on info from you, OldTownHome and an episode of This Old House – they hired the woman that This Old House featured (I live just outside of Boston where This Old House is filmed) and they refurbished instead of replaced!!!! Thank you from the town of Arlington MA!
Stacy
Thank for your kind words, Monica. It felt so good to read them. 🙂 Kudos to you for spreading the word about window restoration over replacement! Your neighbor is in good hands with Alison. She’s one of the best!
Brenda
The tile is stunning! Excellent find!
Stacy
Thank you so much, Brenda!
SH
Nice progress on the bathroom. The grout color enhances that pretty tile rather well. And this new 2024 Stacy does seem more “c’est la vie” but still just as funny!
Stacy
Thanks, SH! I aim to be funny and chill. 🙂