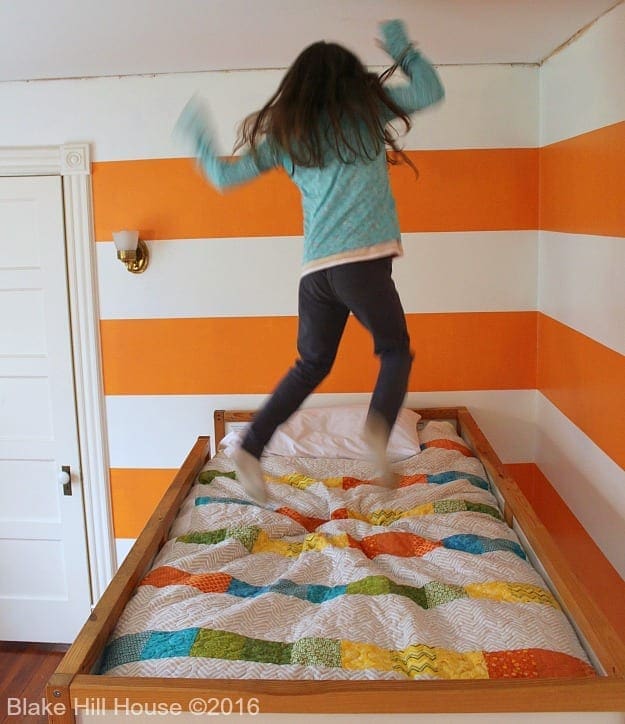
I once went to a quilt show with my mom, who is a very good quilter. There were rooms upon rooms of colorful, intricately pieced quilts. There were modern batik quilts, vintage quilt replicas, and even some quilts appliqued with entire outdoor scenes. It was a sea of color reflective of the skill, love and time that each quilter put into their masterpiece. In a sea of color, one quilt caught my eye. It was very different from the others. The first visible difference was that it was made from a simple nine patch pattern. For quilters, nine patch is probably the first pattern they learn. It is easy to learn, and it is the jumping off point for countless variations of design. What really set the quilt apart from all of the others was that it was made entirely in shades of white. White! Each block contained different white prints that gave the entire piece a great deal of perceived texture. It was the type of quilt that made you want to inspect it with a hand lens in order to see every little detail. Randomly placed throughout the quilt pattern were patches of white satin. The effect was a little shimmer here and there as the satin caught the light. It hit me that the woman who made that quilt was more than a quilter. She was an artist. She had taken a basic pattern in the most basic color and turned it into a work of art worthy of hanging in a gallery.
Now, in no way am I comparing the quilt that I made to that particular masterpiece, but that experience did open my eyes to the idea that sometimes a quilt project is more about the arrangement and fabric choice than it is about intricate design. I can still see that stunning white quilt in my memory. It inspired me to go simple and spend my time looking for just the right colors and patterns for M’s quilt. That memory made me brave enough to choose gray as the main body color.
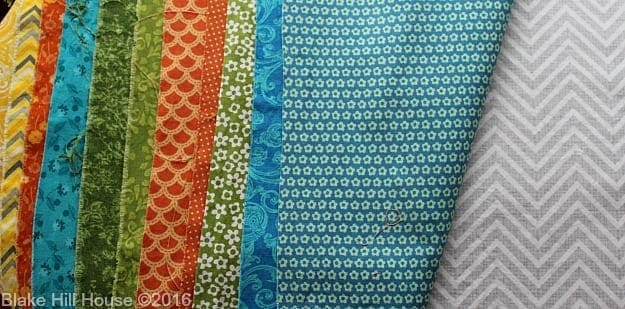
I made the classic mistake of buying fabric before I created the design. This, of course, created a large surplus of fabric which was not very cost-effective. In the fabric world, we call the leftovers, or any unused fabric our “stash”. As a self-described minimalist, I do not like to keep a lot of fabric on hand and certainly not something that does not have an assigned project. Currently, I am doing my best to use all of the leftovers in various ways.
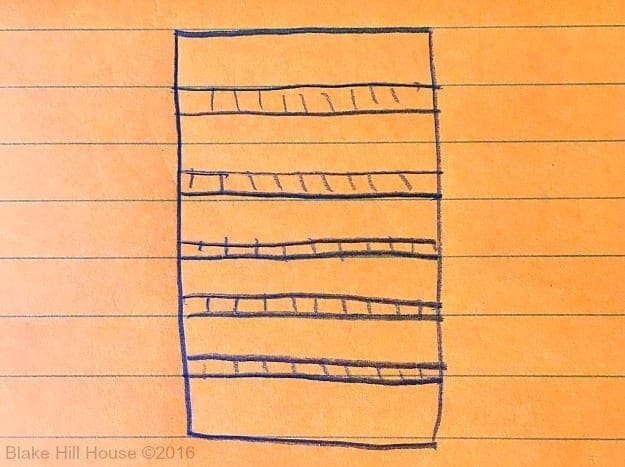
After I purchased the fabric, I sketched out the design. At this point, I knew that I wanted stripes of patchwork color, but I did not know how wide the patchwork squares should be or how wide the finished strips should be. All I knew was that I wanted wide gray stripes and narrow colored stripes.
Side note: There are two schools of thought about washing your fabric first or using it unwashed. Washing the fabric removes sizing and finish, and it also minimizes future shrinkage. I chose to wash and iron my fabric first. I knew I was only making one attempt at this quilt, and I did not want the unwashed fabric to be the cause of its failure.
For no particular reason other than the fact that I found it visually pleasing, I settled on four inches wide for each color block. To account for a seam allowance, I actually cut each strip four and one-half inches wide.
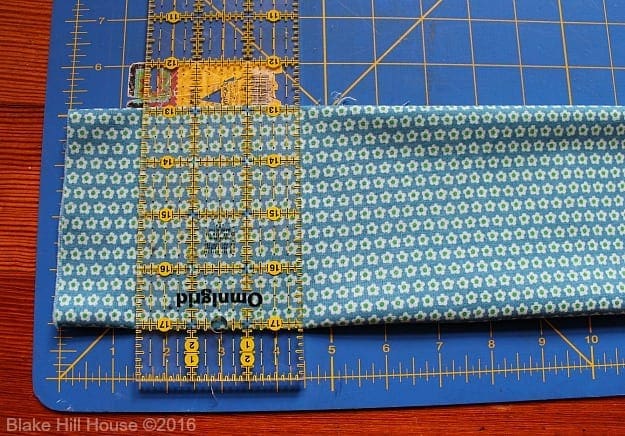
After I cut one print into the desired width and I was satisfied with my choice, I stacked up several prints in order to speed up the cutting process:
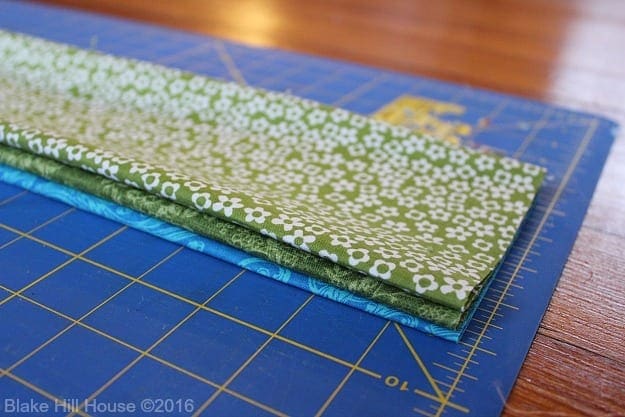
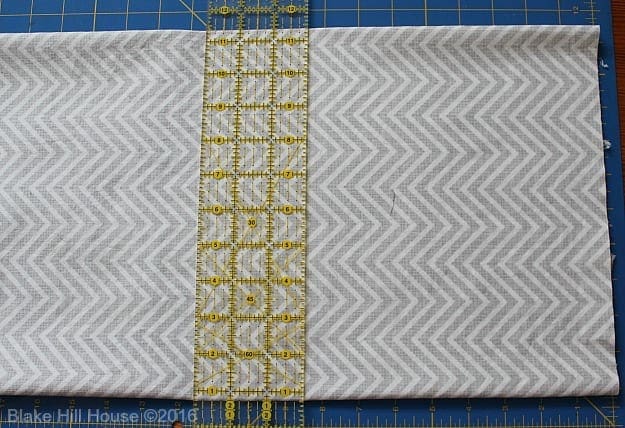
Tip: Always square your fabric pattern and edges first before cutting your prints to width. Otherwise, any patterns that are not multi-directional may be crooked, or your seam allowance made be reduced to the fringe edges which will not hold stitches.
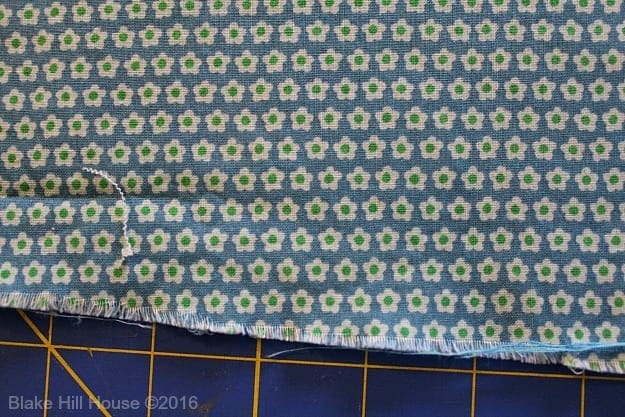
After I had my strips cut, I began to figure out how I wanted to sew them together to create the patchwork stripe pattern.
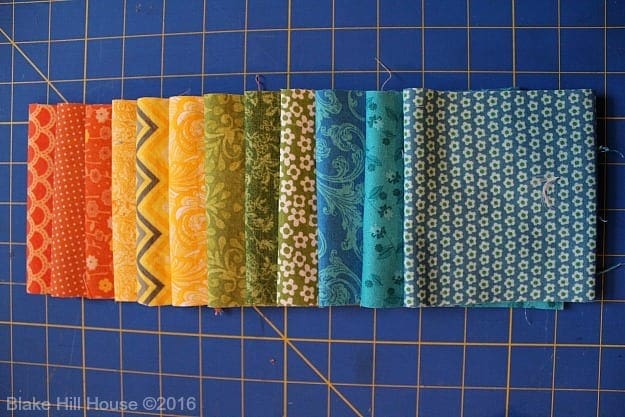
Then, based on the idea that I wanted only four color strips on the quilt, I arranged the pieces to reflect a variation of color on each strip.
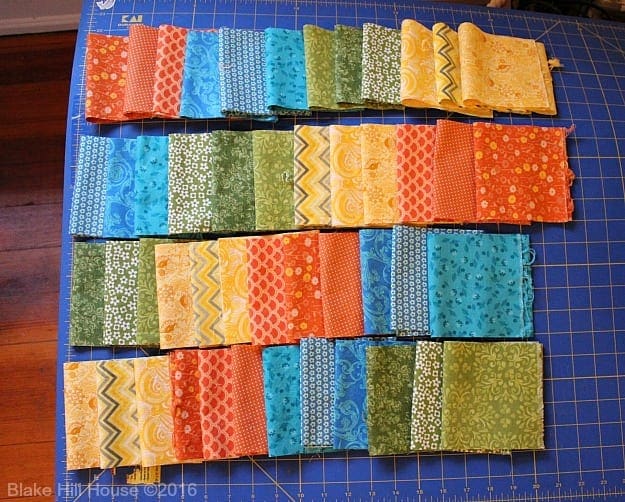
Once I was happy with the arrangement, with right sides together, I sewed the strips together in the order I chose.
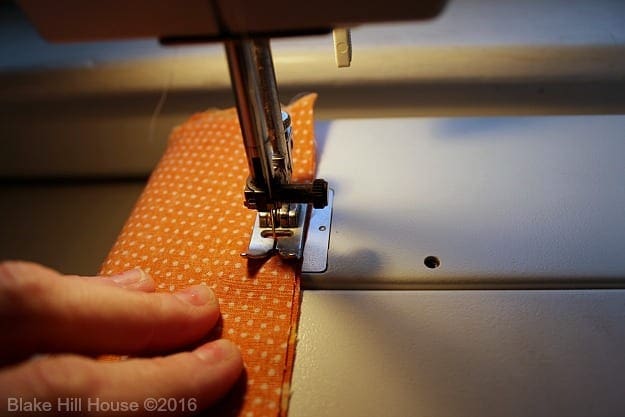
This process created the width of my patchwork strips which would span the entire width of the quilt. At this point, the height of each block strip was not determined. I squared off the top of each patchwork piece.
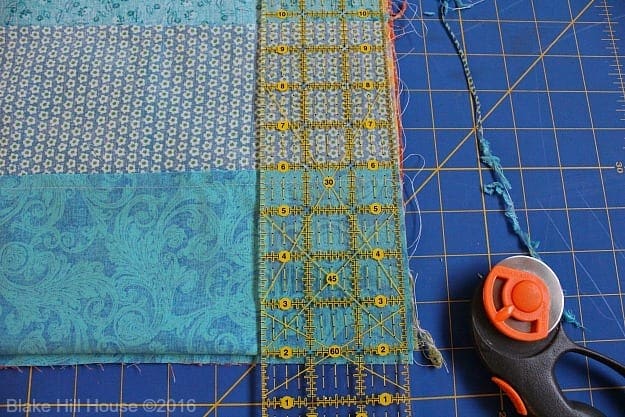
It was not necessary to square off the bottom edge because I was not going to be cutting down all the way to the bottom edge.
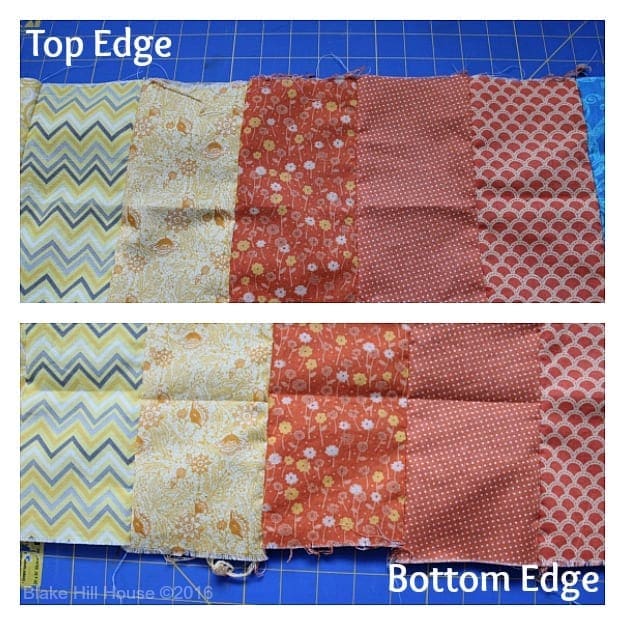
After some measuring and thinking, I settled on a block height of three and one-half inches finished (Four inches cut to account for the seam allowance). Initially, I thought I wanted each color block to be a perfect square, but once I saw what it actually looked like, I decided to make them slightly rectangular by cutting my height shorter than the width.
Tip: You can fold and stack these layers in order to speed up the cutting process.
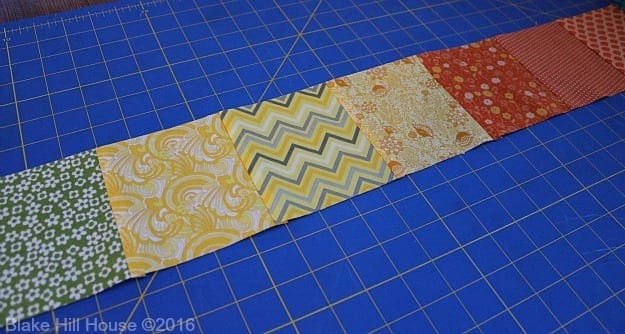
The next step was to decide how wide I wanted the gray stripes and cut those too.
After laying the colored strips out on the floor, I realized that six colored stripes would look better than four or five. This was when I started to do a whole lot of math.
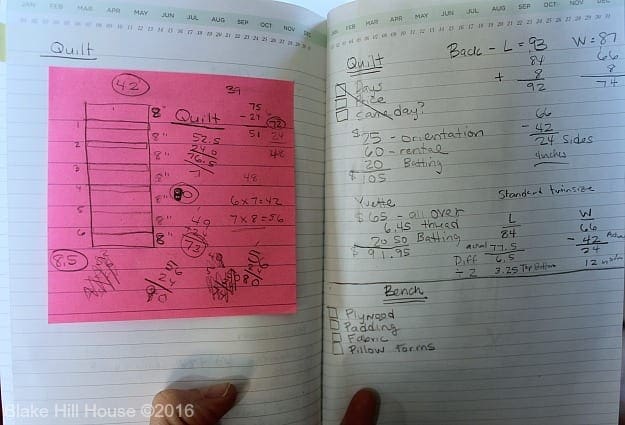
I measured the length and width of the mattress. (Approximately 38″ X 75″) The gray fabric, right off the bolt was 42 inches wide. This is pretty standard. The width of the entirely pieced quilt portion minus sashing (More on that later.) would be 42 inches. From the length of the mattress, I subtracted the height of all six colored patchwork strips. The amount leftover was the amount I would divide the gray strips into in order to complete the top.
After trying to divide with various whole numbers and laying out the fabric to see how those numbers translated visually, I settled on eight inches high (8.5 inches cut to account for the seam allowance) for the gray stripes, and I figured out that I would need seven of them. (Gray: 8″X7=56″, Patchwork: 3.5X6=21: The length of the quilt without sashing would be 77″) I tried to explain this method to my mom over the phone, and she practically told me to just stop talking. If reading this whole math process overwhelms you too, the basic process is to draw a picture and then lay out your fabric on a bed or the floor to finalize what you want it to look like once it is complete. It is just one big guess and check math problem.
Now that everything was cut, it was time to do the final piecing. I did not take a picture, but I laid out everything in order to figure out how to place the patchwork strips so the colors would stagger. M. loves orange, so I based my placement on the idea that a minimal amount of orange would be hidden when the sides of the quilt were tucked in on her loft bed. The strips were wider than the 42-inch gray fabric, but I just shifted the strips over in order to prevent one tiny strip of color on the far left or the far right of the pattern.
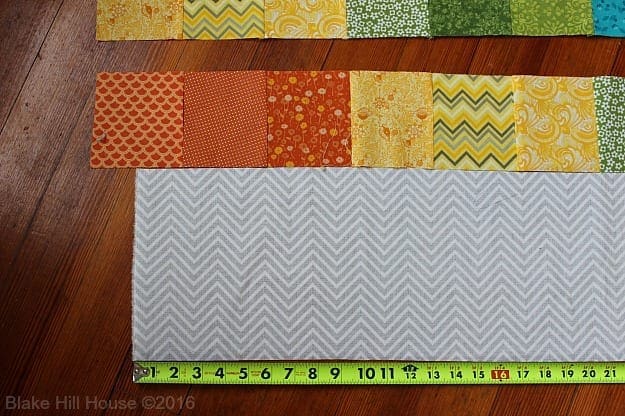
With right sides together, I stitched the patchwork strips to the gray strips.
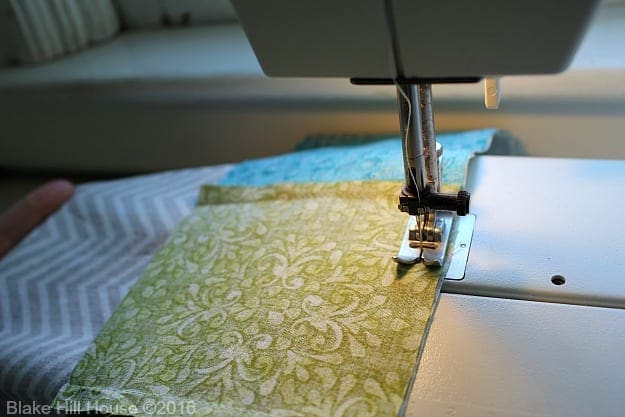
Finally, the designed portion of the quilt top was done.
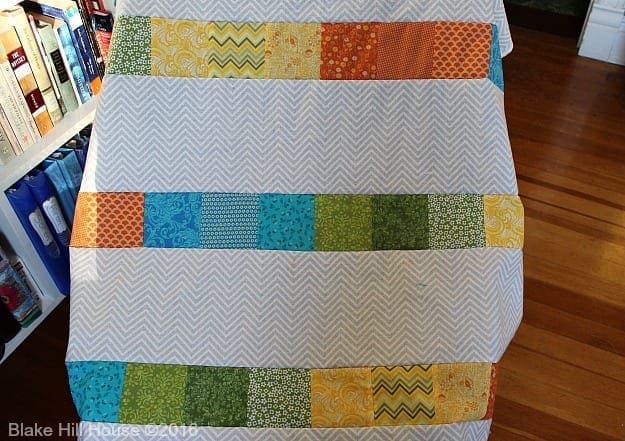
Now, I had a decision to make. I knew that if I hand quilted this project, it would never get done. I decided that I wanted to pursue machine quilting. I knew nothing about it, so I headed to my local sewing store. I found out that I had two options. I could hire someone to quilt it for me, or I could use the long-arm machine in the store. I weighed the two options carefully.
In order to do it myself, I needed to attend a two-hour orientation on using their machine. That cost was $25. Next, I would have to pay a rental fee of $20/hour. They estimated that a twin size quilt would take me 4 hours to quilt. It would all depend on how quickly I was able to load the machine. It was looking like that option would cost over $100 and 6+ hours of my time. Finding six hours of time would be difficult. I also still needed to buy batting and sashing material. The cost of this project was adding up in a hurry.
I was given the business card of several seamstresses who do long-arm quilting. I called one, and she explained her process. For an allover basic design, she charged $65. There was an additional charge of $6.45 for thread. She could provide batting for $20 or I could buy my own, but she was only willing to work with two specific brands of batting. The back of my quilt needed to be four inches larger than my quilt top, all the way around. To me, having her do the quilting ended up being the better option. It would take her about 2-3 weeks, but in the end, it would be finished, minus the binding and the total cost would be cheaper than doing it by myself.
During my conversation with the seamstress, she gave me the dimensions of a standard twin-sized quilt. It is worth noting that a standard size would not have been necessary for my project since it is being used on a loft bed and the sides are tucked in. I still chose to go with a standard size in case the quilt was ever used on a different style of bed.
Now, my quilt was still only 42 inches wide and 77 inches long. The dimensions of a standard quilt are 84 inches X 66 inches. This meant that I had to make up the difference with the sashing. Sashing is the strip of fabric that goes between quilt blocks and on the sides of the quilt. I bought a king-sized, 100% cotton white sheet set to use as my quilt back and sashing. While I did save some money by buying a sheet vs. fabric yardage, I do not recommend this method. Sheet fabric is quite thin, and it is slippery and hard to work with. After doing some math, I added the proper width of white sashing all around the quilt in order to bring it up to the proper dimensions of a standard twin-sized quilt.
I cut the back four inches larger as requested by the seamstress. Then, I dropped the project off at her house and washed my hands of it. Three weeks later, I received the call that the quilt was ready to be picked up. She did a beautiful job. I am sure that her work was far better than I could have done myself, and I imagine that there was less swearing too.
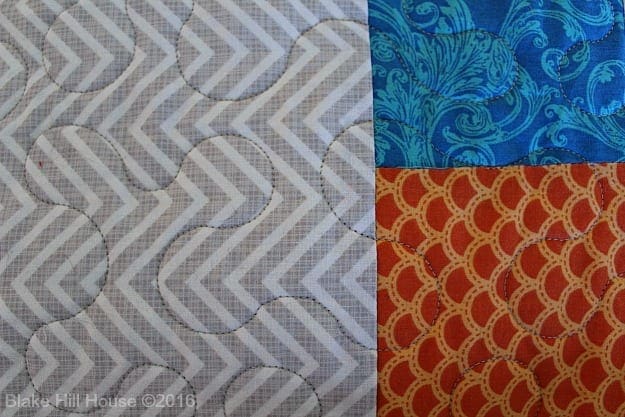
Right now, the quilt binding is still not done. My mom has offered to do the binding for me, and I am taking her up on her offer. Once I post the final pictures from M’s room renovation, hopefully, next week, I will send the quilt off to her to finish. I know that is not an option for everyone. There are many tutorials online about how to bind a quilt. If you get your own project to this point, the internet will not let you down. You will not have to send your project to my mother, but I imagine she might bind yours too. She is just that kind of person.
M. is very pleased with the quilt overall. She is more than ready to have this whole room renovation done, and we cannot agree more.
Here is the price breakdown for this quilt:
- Fabric for the top: $50 (I included the total cost which accounts for the surplus, but the cost could be reduced with proper measurements.)
- Sheet set for the back and sashing: $25 (purchased at Marshall’s.)
- Batting: $20
- Thread: $6.45
- Long-Arm sewing: $65
Total: $166.45
This is not exactly a bargain, but the end result is more meaningful than something I could have purchased at Pottery Barn or Marshall’s. In addition, I spread the cost out over a couple of months. My wallet did not take the hit all at once.
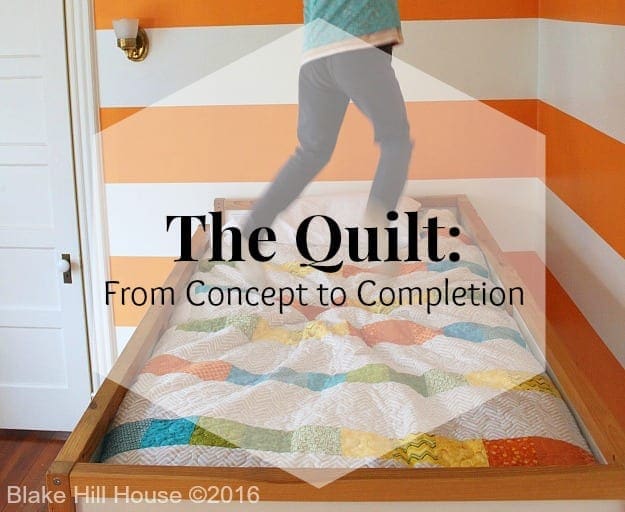
Here is a handy image for you if you are feeling Pinteresty.



2 Comments
Ame Hughes
Loved reading this! But yes, the math portion made my eyes cross a little. I’ve made exactly one quilt, crib-sized, and I only measured and fussy cut the first pieces for the squares. I eyeballed everything else – as a result, it’s really crooked and uneven, but I’m happy because I didn’t have to do any math 😉
And I’d say M’s quilt was a bargain. Hand made by mom and bound by Grandma? That’s a priceless family heirloom, right there.
Stacy
I would love to see your quilt. I am guilty of being a little too detail-oriented, but I am motivated by never wanting to have to do things twice. 😀
I’m really glad my mom will have a hand in this too. The vintage quilts I have were made by my grandma and my great grandma. I feel like it is really special if more than one generation has their hand in making a quilt.