This post contains affiliate links. Please click here to read our full disclosure.
We have been working on and off on the front door and entryway for nearly 18 months. In most of my posts, I show off the street side of our house since it is complete.
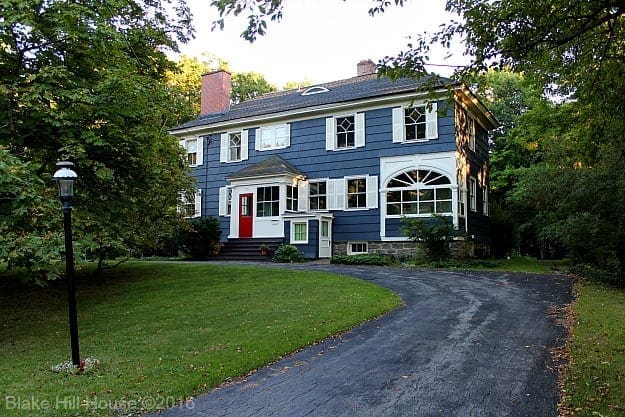
However, the main entrance of the house is actually on the side of BHH.

When we had the house painted this past summer, we did not have the door or sidelights painted. We saved that for a DIY project. I have questioned that decision in the past months, but our reasoning was that there were an awful lot of little details to attend to on that section of the house, and we did not want to have another layer of paint to deal with during the repair process.
2015
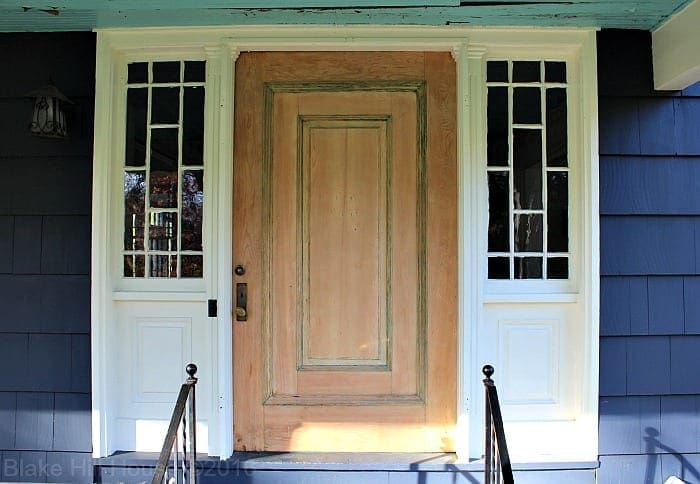
During the summer of 2015, using a heat gun, I began stripping the paint off the front door. (Layers of horror, I tell you!)
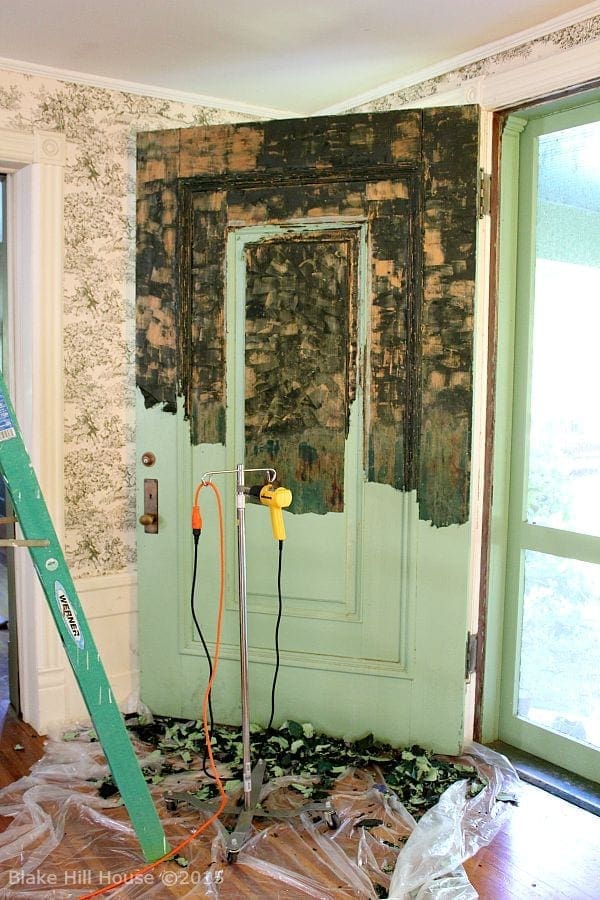
Our door, allegedly built by a Roycroft artisan during the Arts and Crafts Movement, is no ordinary door. It is around 5 feet wide and over 8 feet tall.
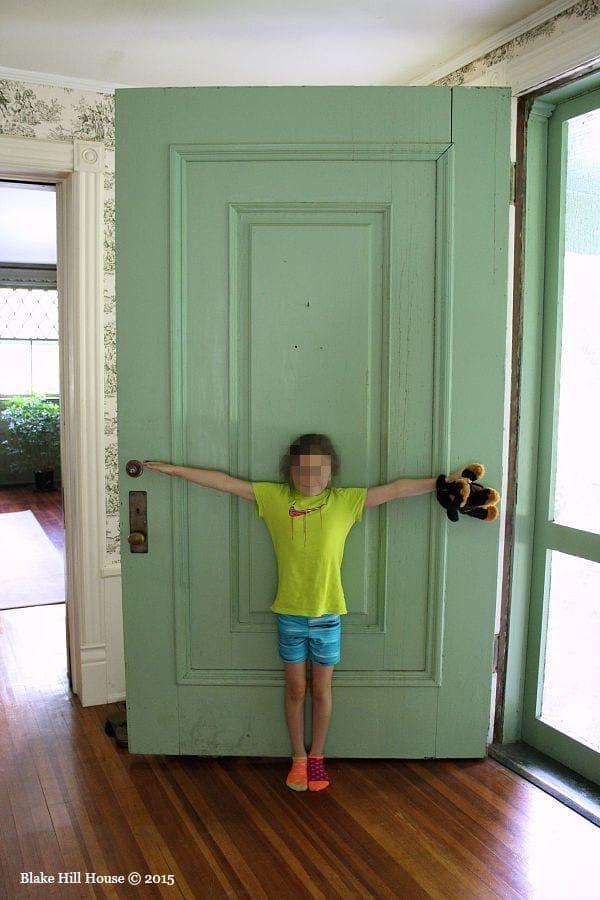
The process hummed right along, except the crevices. Layers of oil paint and varnish were embedded deeply into the woodwork.

Before we could finish the door in 2015, the weather turned, and our work on the door had to be set aside until spring.
2016
When warm weather rolled around again, sometime in June, Andy took the reins and began working on the door again. Using the woodworking equivalent of dental tools and some very strong paint stripper, Andy patiently removed more layers of paint from the nooks and crannies. He made a lot of progress, but sadly, there is still more scraping to do. Summer ended, and once again, we did not get to finish the door.
Both Andy and I have considered just slapping a coat of paint on the door and calling it a day. Painting would be the easy way out. However, we have put so much work into the project already that I hesitate to quit now. I have my heart set on staining the door a dark walnut to match the handrail of our foyer staircase. (Photo from summer of 2014)
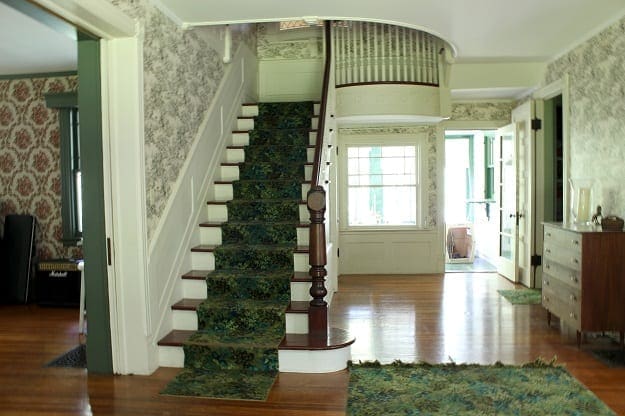
I cannot seem to let go of the idea of this as a restoration project, and even though we did not finish the front door, we did make progress in other areas.
Screen Doors & Hinges
We removed the screen doors and replaced the broken panels with new screen and machine cloth for durability.
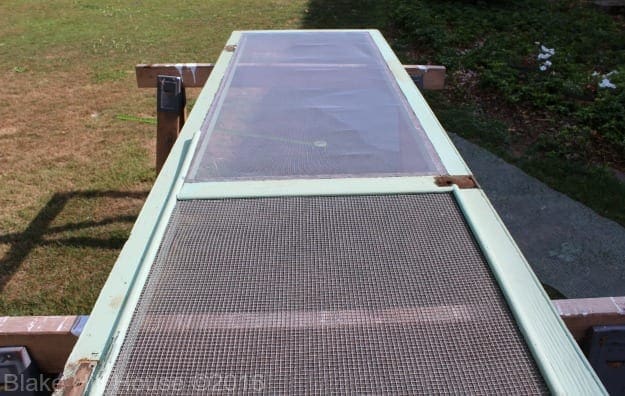
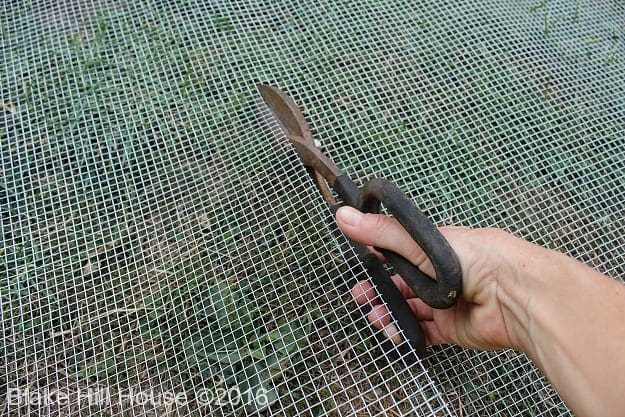
We painted the frames red to match the door on the street side of the house and set them aside.
While the doors were off, I removed layers of paint on all of the hinges and latches. That process revealed beautiful Eastlake hardware. I honestly had no idea there was even a pattern on the hardware. I had a hunch, but there were so many layers of paint on each piece that the surface was completely smooth.
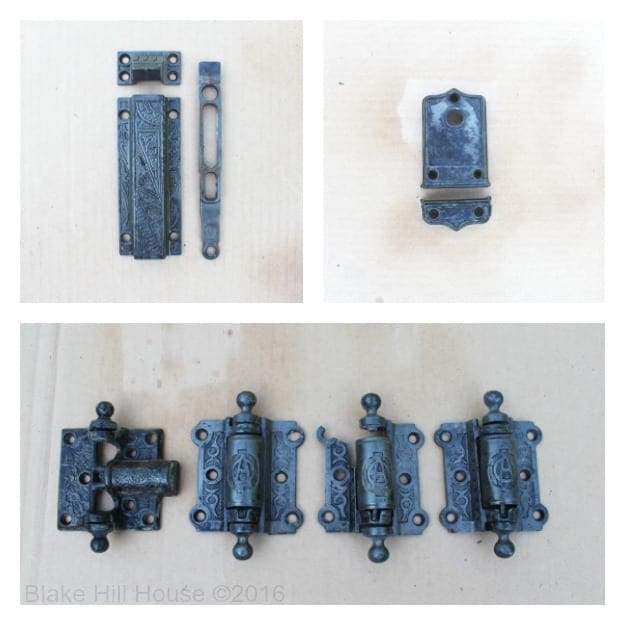
A date stamp on the far left hinge reads 1885. It must be original to the house since BHH was built circa 1885. The other hinges are Victorian-era. Everything in this house hides a story. Why are there three different hinges? When were they replaced? Why? I did not even know that the left hinge was different until after I removed the paint. Crazy!
(Tip: If you love the look of this hardware, House of Antique Hardware sells replicas. I might replace that odd hinge. I have not decided yet.)
Sidelight Windows
After we had repaired the screen doors, we worked on the sidelights. First, we removed the fixed storm windows.
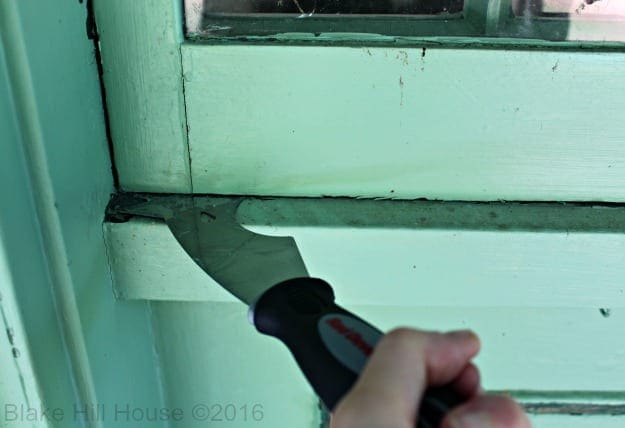
Once we removed the storm windows, we painted them and set them aside. Using my heat gun again, I softened the glazing putty around the broken pane of glass on the interior window.
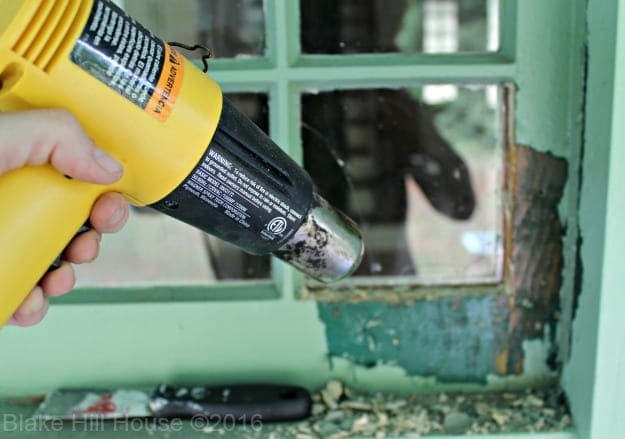
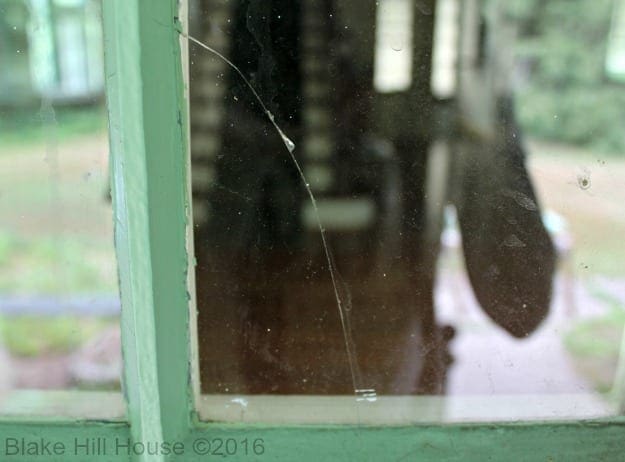
I used the heat gun carefully to make sure that I did not crack any of the surrounding glass or set the wood frame on fire. Heat guns are potentially dangerous tools that require a great deal of caution.
Once I chipped out all of the softened putty, I carefully removed the broken pane.
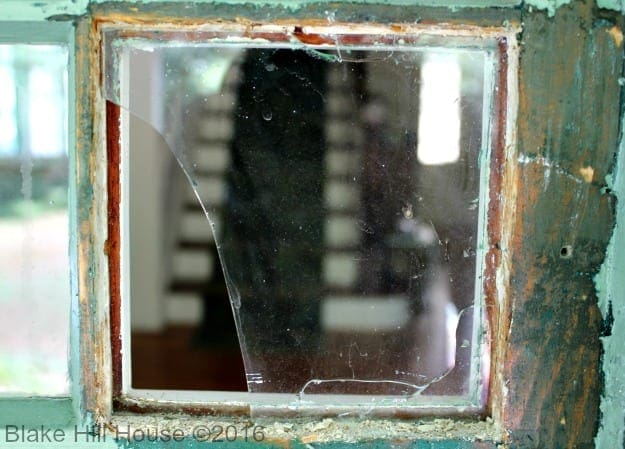
Typically, I try to replace broken panes with antique glass rather than new glass because it looks more authentic. My favorite local glass shop sells wavy glass recycled from old buildings. The owner gave me a replacement pane of authentic antique glass for free. I love developing a rapport with local businesses.
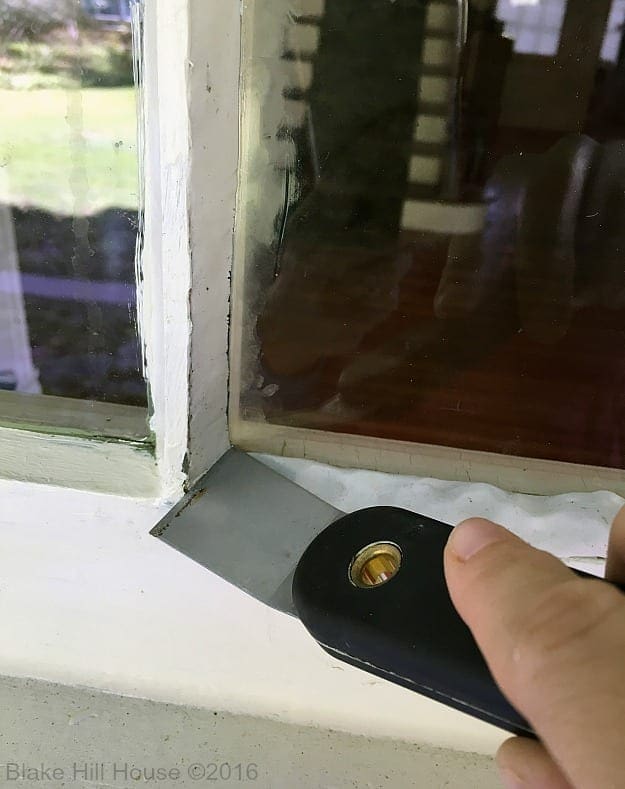
I popped the new window pane into place, secured it with glazier’s push points and putty, and smoothed it with my window repair tool.
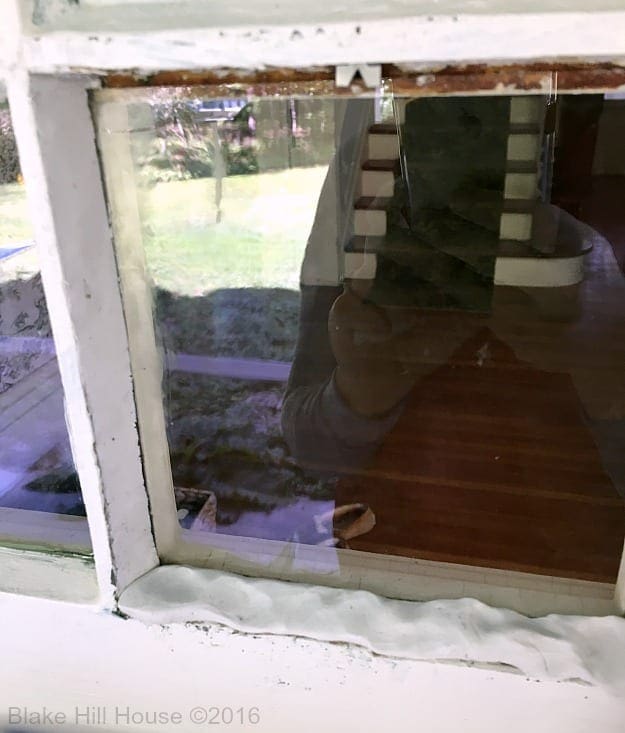
Fall 2016
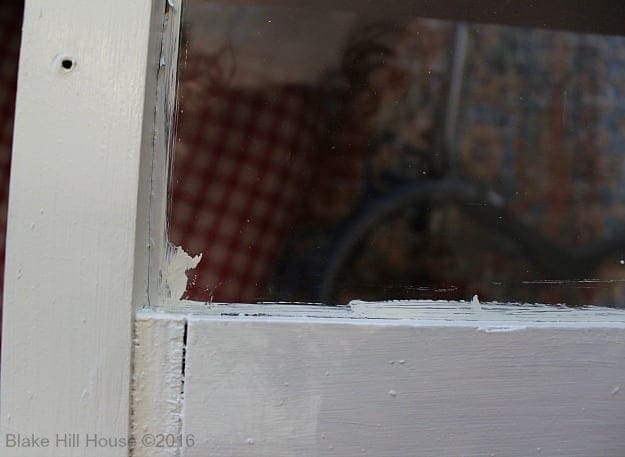
I let the new putty dry for about six weeks before I finished painting. On a warm day about two weeks ago, I touched up the interior windows and scraped off stray paint from the windowpanes.
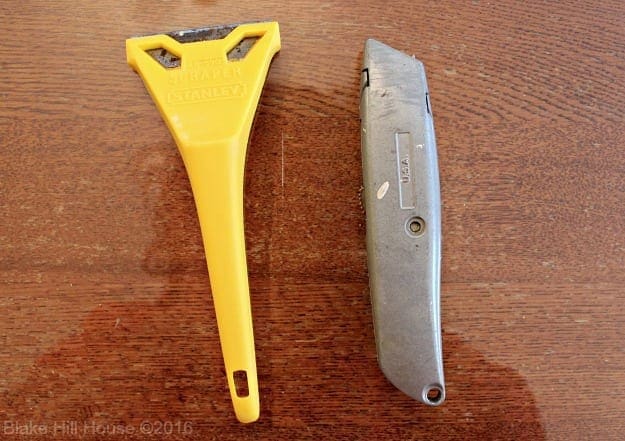
This week, I finally got back to the storm windows. Andy and I were very sloppy with our painting, so I used a window scraper and a utility knife to remove the extra paint. These tools make the job easy.
Despite all of this progress, there is still plenty more to do. Now that the windows are repaired and painted, we need to reinstall the storm windows and caulk the gap. Also, we need to secure the screen doors and all of the hardware back on the doorframe. The porch ceiling needs to be repaired and painted. Lastly, we will need one more season to work on the front door.
The entryway is a far cry from magazine-worthy at this point, but we are getting there. That said, it is always one step forward, two steps back with this project. As of this writing, the front doorknob has fallen off, and I have set it aside to fix over the weekend. Not everything is smooth sailing here at BHH.
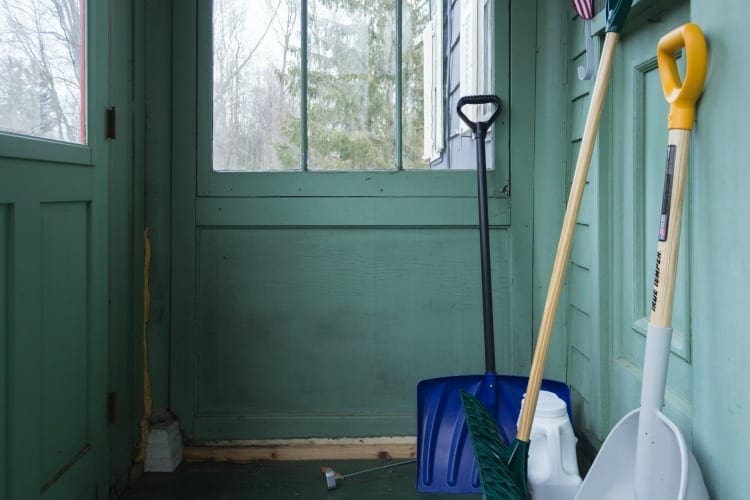
The end of this saga requires a picture. Right now, the main entry looks like this:
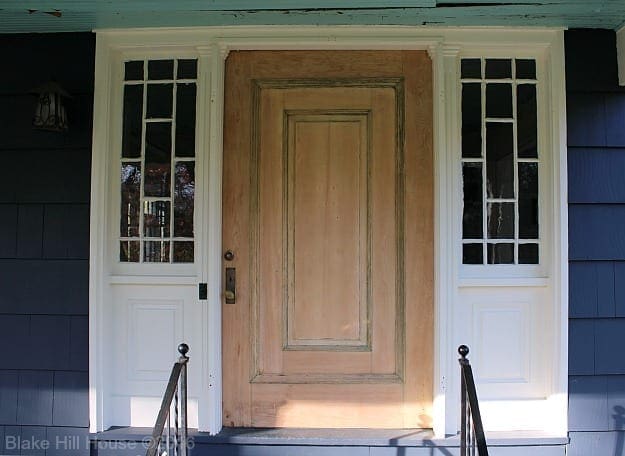
I can imagine the finished project in my mind. It is going to be beautiful. We just have to have the patience to see it through.


6 Comments
Ame Jo
That door will be stunning once restored. I can’t imagine you ever saying to yourself, “Gee, I wish hadn’t seen this through to the end point of staining it,” but I can imagine you regretting painting it after all the work put into stripping it.
All that said – there’s a furniture restoration guy about half an hour from me, in Greensboro, who strips doors/windows/shutters/furniture/etc for people who want to refinish the stripped item themselves. Is that something you’ve considered for the front door? Or would the sheer size of it be prohibitive for such a thing? I remember you once saying that in BHH, things don’t always go back together easily once they’re removed, so I could totally see not going that route with the door. And with that kind of artisanal history, too, I’d want to be super cautious with it…
But, it does look loads better already. And you’re inspiring me to fix the broken pane in my toplights (been avoiding it).
AND (sorry for this super long comment), are you going to reinstall the storm windows and caulk them this year or wait til spring? I need to reinstall the storm window to the toplights that I removed for cleaning and painting over the summer, but I was concerned about the caulk and the outside temperature. I figure if you can do it up there and make it work, it shouldn’t be a problem down here!
Stacy
Thanks, Ame. For our interior doors, I am considering taking them to be stripped professionally. Typically, this is done by dipping the shutters, doors, etc…into large vats of stripper. I need to price it all out. The big door is a no-go. I tried to calculate the weight of it but got kind of lost trying to figure it out. Not only is it around 5’X 8′, but it is also almost double thickness at around 4″. I do not think it would go back into the jamb as well as it is right now, and I would also have to hire people to help carry it and transport it. After that, we would have to have some temporary plywood in place when the door is gone. I am not entirely opposed to the idea, but I am still thinking it all through.
I am going to reinstall the storm windows this year, but I will only caulk if we get a warmer day. Right now, it is too cold for the caulk to cure. Also, I typically would not caulk storm windows since they are meant to be removed. However, since everything is painted and fixed, and the sidelight windows cannot be open, I am putting the storm windows back in more permanently. It is unlikely I will have to remove them again for 10+ years.
Andrea Matters
Stacy, what a wonderful blog! I just came upon it last night, and started reading from the beginning. (I’m up to Feb. 2015 right now.) You are such an excellent writer: clear, concise, amusing, and instructive. This might be my favorite bit so far:
Living in an old house generates a constant stream of questions: “What’s that smell? Do you hear that sound? Is that normal? Should that be wet?” Coincidentally, those are the same questions we had when we brought home our first baby.
Our wonderful old Craftsman house in Spokane, WA is but a whippersnapper compared to yours (1913), but many of the challenges and joys are the same.
Thanks so much for sharing your old house adventures with the world!
Stacy
Hi Andrea, I am so pleased that found us and that you are enjoying the blog so much. I love the Craftsman style. I bet your house is just beautiful.
Devyn
The door is absolutely wonderful! Definitely not something easily replaced. I completely understand that it takes multiple seasons to accomplish what seems like a basic thing to do.
I love that your thoughts are around restoration rather than renovation. Just because something is old does not mean that it cannot be restored and continue its life. So often I see old homes renovated to the point that all of the character which gives them that special quality is stripped away leaving nothing but laminate floors, sheet rock, and pot-lights for future generations to shrug their shoulders at and wonder why instead of spending the extra effort to do it right, even if it takes a few seasons.
Stacy
Thanks, Devyn. I also appreciate the support regarding restoration vs. renovation. I suppose we are doing a combo of both, but I always keep the idea of restoration in the forefront. I really am tired of this door project, though. 😀