When I outlined this year’s plan in January, I included monthly organizational tasks separate from the larger quarterly projects. So far, I am on track for the year, but barely. Typically by this time in March, I’ve lit my planner on fire, pandemic or not. So reaching this milestone is making me feel pretty smug right now. My high horse should be departing the stable shortly. Let’s talk again in May.
This post contains affiliate links.
During March, there were three items on my organizing schedule: The pantry, kitchen, and hazardous waste disposal. Last weekend, I marked the pantry off my list. I recorded the entire process and saved it in my Instagram highlights, which you can still watch. However, I wanted to document the project here with photos because those highlights won’t stay there forever.
The kitchen pantry was actually my very first One Room Challenge project in 2016. The entire room was yellow. Surprise! There was a space in BHH that was not green. During that first pass, I removed a set of diagonal DIY shelves that did not serve our needs, and they blocked the light. I also replaced the existing lead paint-covered shelving with new boards stained to match the original cabinetry.

Note the watermark on the bottom of these photos. I was so sure someone would want to steal my crummy pictures and pass them off as their own. That never happened.

It is always fun to look back.
Fortunately, I did not have to do any significant maintenance in the pantry this time, although I did put a few items on my list. The insides of the cabinets need to be sealed and repainted. That is a project for a later time.
To tidy and clean, I took everything out of the pantry and tossed anything super expired or unsanitary. Although you can use food past its expiration date, that’s not really a problem here. We move through all consumable household goods pretty quickly. Andy I both took ServSafe training in our restaurant days, and we use FIFO (first in, first out) religiously with the food in the pantry and refrigerator.
I did remove a few items and packed them up for the local food pantry. During the Instagram highlights that I mentioned before, we had a very productive conversation about what types of food to donate to a food pantry. To distill it down, give food pantries good food that you would want to eat too. Food pantry users should have access to appetizing, unopened, and unexpired foods.
Several readers also mentioned that some pantries publish a list of their needs to help educate donors. I checked my local pantries online, and I could not find any lists, but that may be an option in your area.
By the end of the weekend, the pantry was back in business.
We use the left side mostly for honest-to-goodness pantry item storage such as dry goods, baking supplies, and canned goods.

I use the canning jars for a little bit of everything including actual canning.

Items on the right side of the pantry move fast. We use the lower shelves for fruit, snacks, cereal, and bread. I took these photos today, and it’s looking a little bare. My son asked me, “When is the next shopping trip?” When I told him that I had no idea, his response was, “I was afraid you would say that.”

With six adult-sized humans living here, we can sure plow through the food.
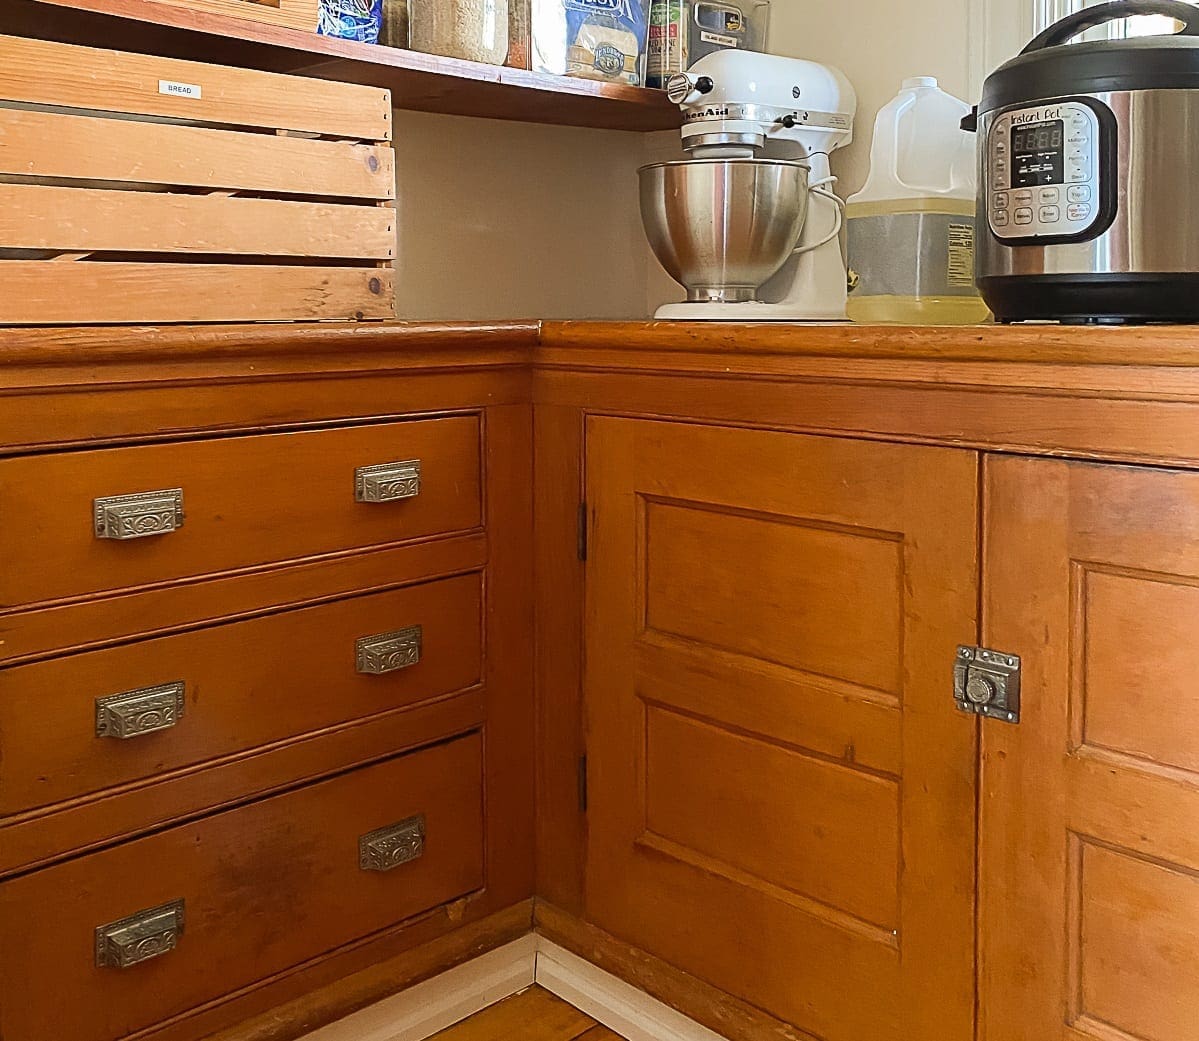
The snacks continue in the cabinet underneath. I also keep some extra baking supplies there to replenish the canisters.

Continuing the cabinet tour, Millie’s favorite cupboard is located to the left of the snacks.

We keep all her food, meds, and treats there and her travel containers and supplements. When that cabinet opens, she comes running.
In the cabinet on the other side, we store odds and ends including water bottles and birthday supplies.

Finally, we have a small bank of drawers. That’s where we keep our extra silverware and an odd assortment of items that cannot be categorized with anything else.

Note: The hardware is all original!

There was some evidence of previous rodent activity (Mom, don’t read this part!). We usually have a mouse or two that we rarely see during the seasonal changes. None of them seem to get into any food. They are just out and about on a scouting mission.
I mixed up a basic hydrogen peroxide cleaning solution and gave the cabinets a good scrub.
Hydrogen Peroxide Cleaning Solution
1 gallon of water
1 squirt of dish soap
1/2 cup of Hydrogen Peroxide (3%)
I also decluttered a few water bottles, which I will offer to my Buy Nothing Facebook group.
Here are a couple more photos before I wrap up for today.

The Six Million Dollar Man lunchbox was Andy’s from when he was a kid. The Log Cabin Syrup tin came from my Grandma’s house.

I know that decanting everything into similar containers and organizing food within an inch of its life is very popular now, but I just can’t. Food moves pretty quickly here, and taking the extra step to decant feels like too much work. We are more into eating the food than displaying it, and I am all about function.
I do want to add that I love to look at super-organized pantries, especially the rainbow-colored ones. If you organize your pantry that way, I love you for it. Sometimes, I peruse Pinterest for ultra-organized pantries because it serves as a calming meditation for my busy brain. In our pantry, keeping everything clean and tidy scratches the same itch, and that is good enough.
Here are a few helpful items that I use to organize our good enough pantry.
- Canister Set – Several years ago, we switched to these from large glass jars. I have zero regrets. They are dishwasher safe, and they seal tightly. The brown sugar bin includes a terra cotta disc that you soak in water. Pop it back in the container, and it keeps the brown sugar from getting clumpy or turning into a solid mass of sugar.
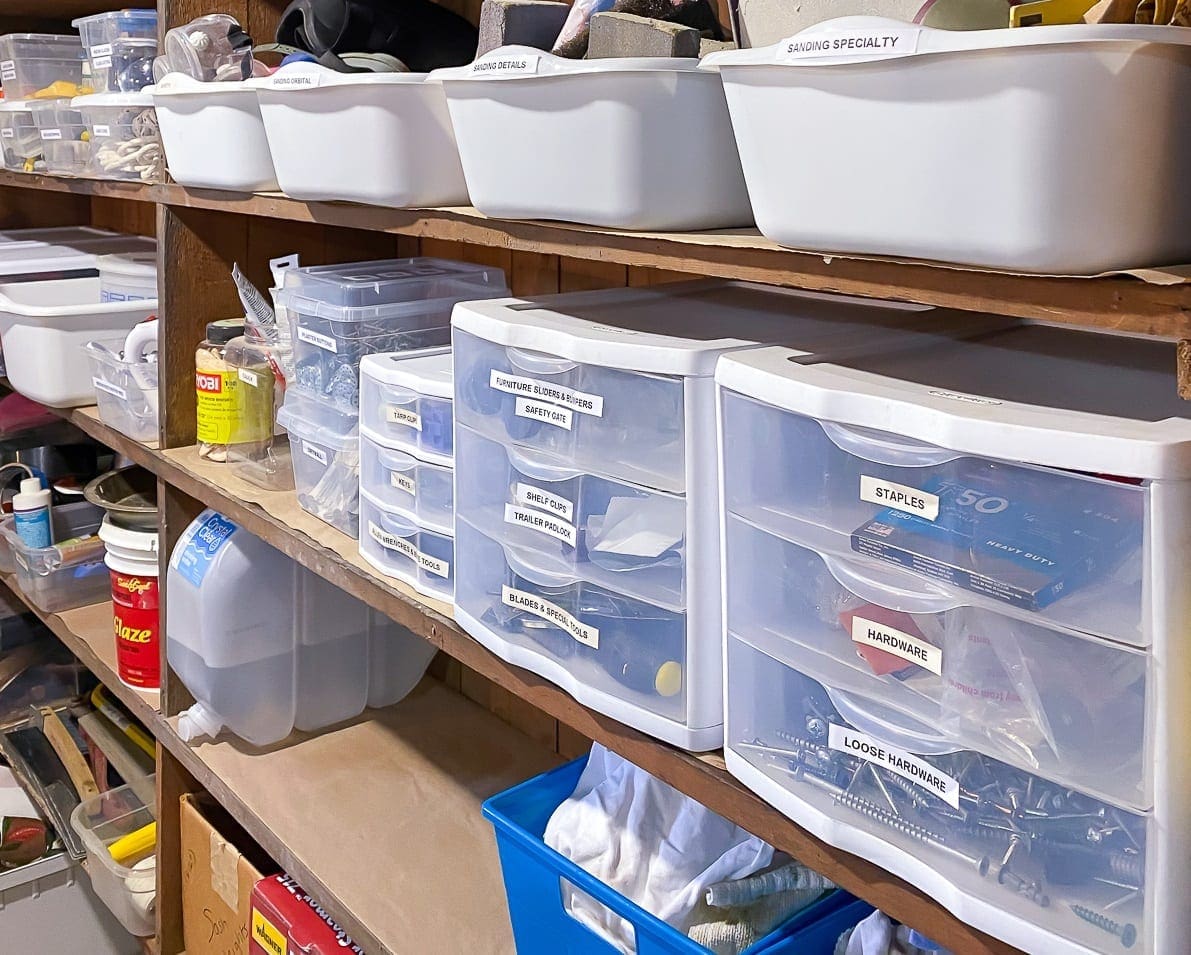
- Dish Tubs – I use dish tubs to corral many things in and out of the kitchen, including the items in my workshop. Dish tubs are sturdy, inexpensive, and versatile. Although I typically choose plain white to keep things simple, these similar bins would work great. This set of four similar tubs looks like a deal, but I am uncertain about the quality.
- Clear Bins – While I do not feel like everything needs to be in a bin, I do like using clear ones for bottled liquids and smallish, bagged dry goods. The bins keep oil and vinegar from leaving sticky rings on the shelves. Storing bagged dry goods in clear bins keeps them upright, and it is easier to pull a clear bin full of small dry items down from a high shelf to find what you need. Then, you can use the lower shelves for heavier items such as canned goods.
- Chip Clips – I use these for everything, including the bags inside cereal and cracker boxes, as well as salad greens in the fridge. Basically, if something includes a bag without a fastener, I clip it. The weather here turns food stale in a matter of days. The chip clips prevent that.
Organizing the kitchen should take less time than the pantry. I have been pretty good about decluttering and rearranging throughout the year, but everything does need a good scrub. I am crossing my fingers that I can put another checkmark on my to-do list soon. March is quickly winding down.
What is your organizational philosophy? Do you have any go-to supplies or tips to share?

Let’s continue the conversation in the comments below.


