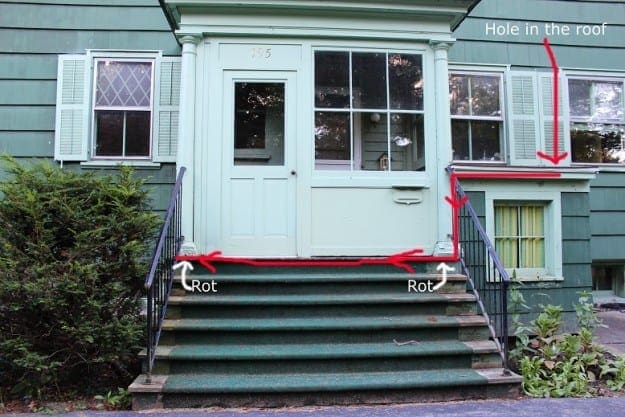
The first day of this project left us with a pillar that looked like swiss cheese:
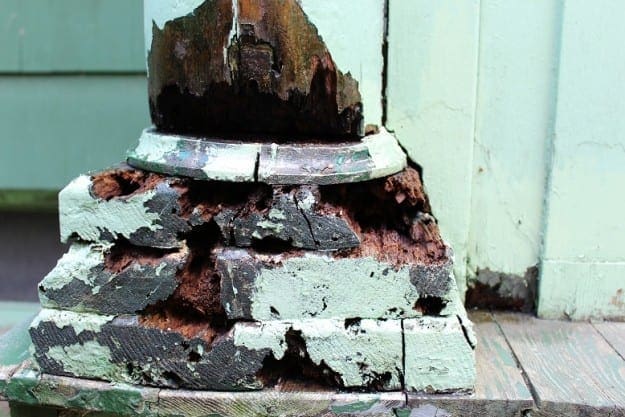
I hit the local hardware store for some wood hardener. Minwax products get mixed reviews, but I decided to use their product anyway because it was readily available, and the price was right for a first attempt.
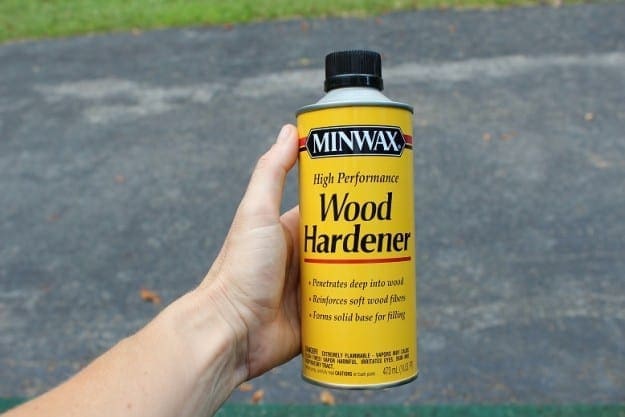
Despite following the instructions, after a 24 hour period, I still had spongy wood that I did not feel comfortable infusing with any filler product. In addition, I was finding that a sufficient quantity of epoxy wood filler was going to be cost-prohibitive since I had to rebuild the column and fill in the base.
I did not want to do it, but I decided that the best course of action was to completely remove the base and rebuild it from new wood. How was I going to do that? I had no idea yet. I would salvage the decorative circle from the bottom of the column, and then reconstruct the column with the epoxy wood filler product. The project felt enormous.
With Andy out of town, I recruited my son, A. to help me with the demolition. First, we braced the porch roof as a precaution. Because the porch has walls, the bracing was probably unnecessary, but I erred on the side of caution since we are inexperienced.
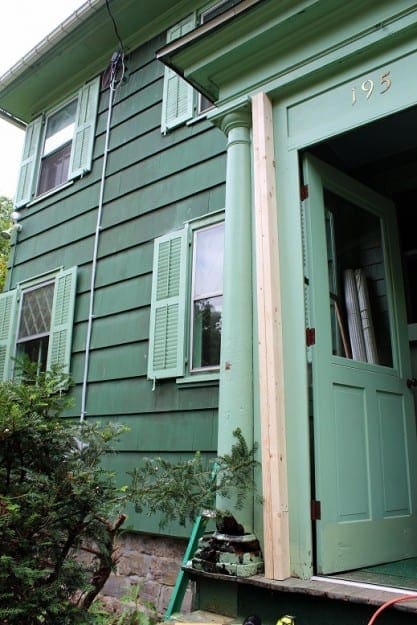
We used two 2X4s on each side. I screwed the 2X4s together, and then we gently hammered them into place for a tight fit. For added stability, A. placed screws through the porch walls and into our support boards.
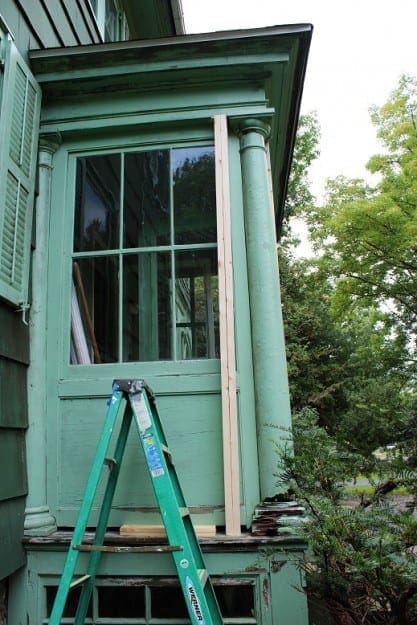
Confident that the porch roof was secure, we began the demolition. I let A. do the honors.
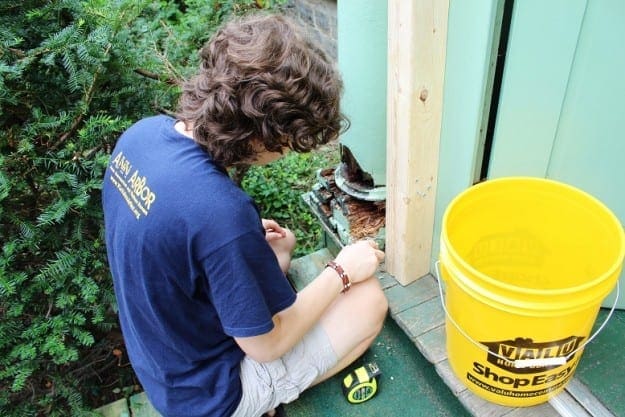
At first he was kind of timid, but soon we were breaking off great chunks of the wood and having a grand old time. We found this odd, paper-thin “something” inside. I immediately began looking for any sign of insect infestation. I did not find anything.
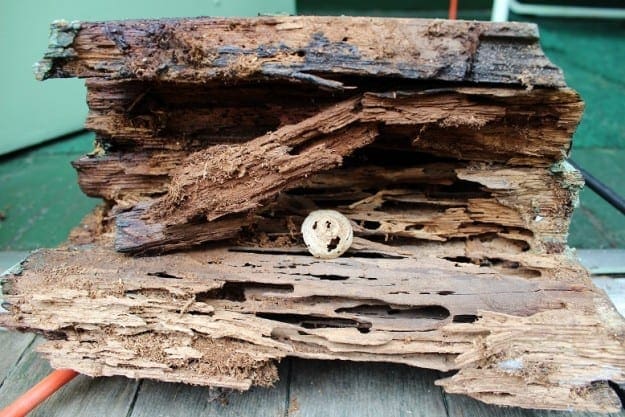
Our initial demo left us with a gaping hole and some more bad news.
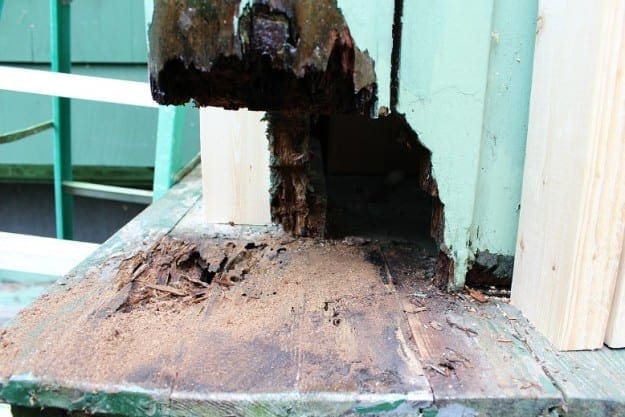
The floor underneath the pillar was also affected by rot.
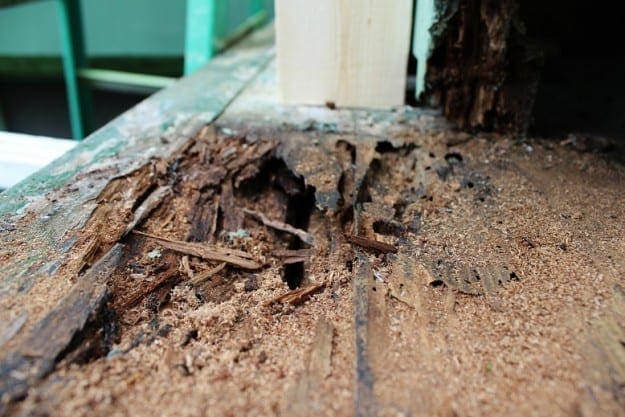
This was very discouraging. Now we were going to have to replace some floorboards, and I needed to find out whether or not the supporting framework for the porch was compromised. If so, this project was going to get a lot more costly, and we were going to have to get a building permit and maybe even hire someone to help us.
* * *
It was important to find out why this rot happened, so we could avoid a repeat of this work in the future. From my kitchen window, I could see the top of the small room that leads to the basement, and I knew it had a large, indented crack in the roof. I glared at it every time I washed the dishes, willing it to close up on its own. The crack looked like someone had accidentally dropped a heavy tool on it, or a boot heel had punched through. I suspected that the water was entering through that hole in the ceiling, and seeping through the insulation which was pressed up against the porch floor.
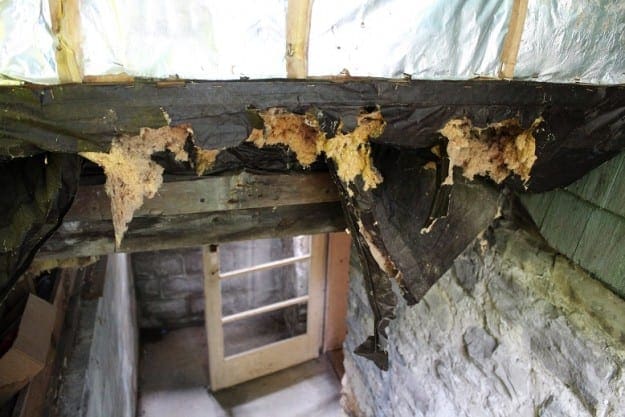
A trip to the basement confirmed my suspicion. The insulation was falling off of the ceiling, and it was thin and damp with moisture.
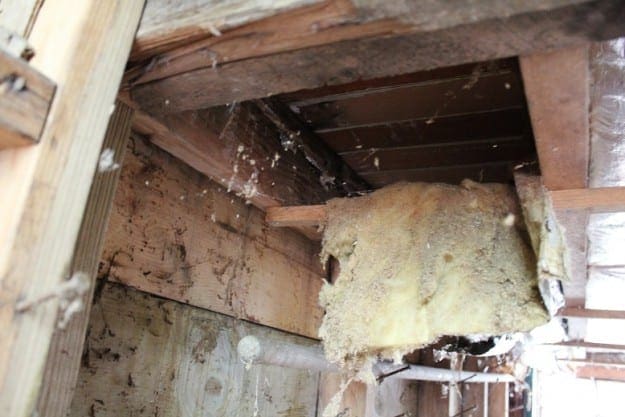
Wearing a protective suit, goggles and gloves, I removed the damp pieces. Sure enough, the porch floor was moist underneath.
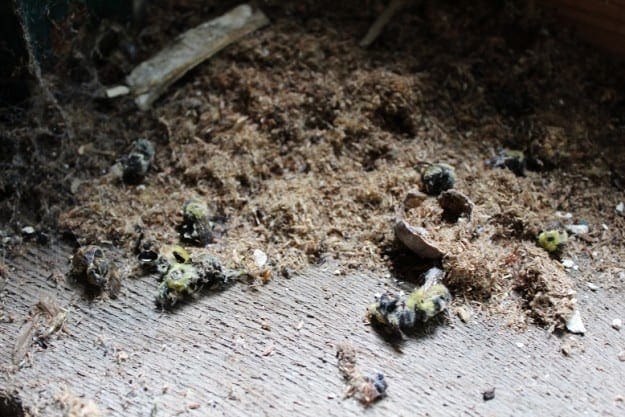
There was also evidence of a previous carpenter bee infestation on the windowsill, but there was no current insect activity, thank goodness.
Despite this turn of events, there was a very bright spot. The support structure of the porch was sound. The rot had not traveled that far. In addition, the floor underneath the other pillar was damp, but sound. Once I repaired the roof, the water would stop traveling, the tongue and groove floor would dry out from below, and then we could replace the insulation if it was necessary. The stopping point for this project had been determined, and I was going to be able to fix it myself. Good news!
Things were looking up.


1 Comment
Jan Elizabeth
You are one intrepid lady! I’m so impressed at what you wade in and tackle.