Rather than sit and watch the adhesive dry on the walls of our One Room Challenge bedroom project, I decided to make myself useful by completing a straightforward furniture repair instead. In a house with six people, something is always either breaking, broken or will be broken soon. I do not think that we are particularly hard on things. I just believe that it is simply a combination of excessive use mixed with a dash of Murphy’s Law.
As a case in point, I offer this story about the dresser in our foyer. Andy and I use it to hide most of the junk that we take in and out of the house on a daily basis.
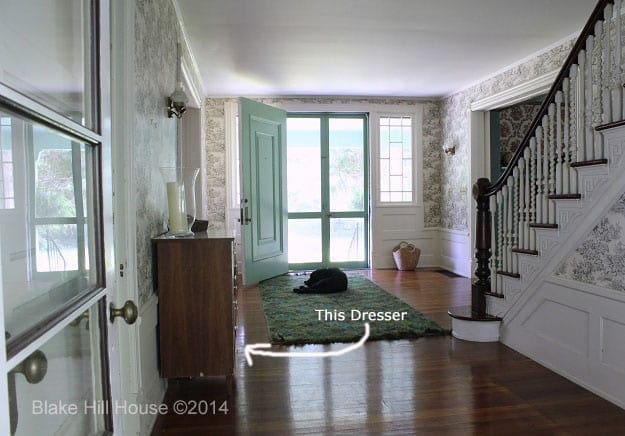
The photo above was taken during the house tour over the summer. I had made a careful, but weak attempt at styling the dresser by going to HomeGoods and buying a lovely glass candle holder and a candle. I know. I have a lot to learn. I also bought a small wooden box at a local antique fair in our town. The last addition to the top of the dresser was a gold unicorn that I received from one of my sons for Mother’s Day a few years ago. I love my kid, so naturally, I adore that unicorn. That’s how it works. It’s a mom thing.
Right after I took that photo, the dresser took a floor dive. My oldest was trying to move it away from the wall to find an electrical outlet. Both front legs snapped off. The dresser fell right over, and all of the decorative items crashed to the floor. The candle holder smashed into a million pieces. In fact, I still find glass now and then. The candle broke into chunks. The wooden box survived (old stuff FTW!), but the poor unicorn’s horn was severed. My son and I both looked at each other with stunned expressions on our faces. Recovering quicker than I, A. stammered, “Well, that was unexpected.” He sure got that right.
Fixing the dresser was put on hold until recently. It finally made its way to the top of the queue. If you are not into the details, here are the quick steps:
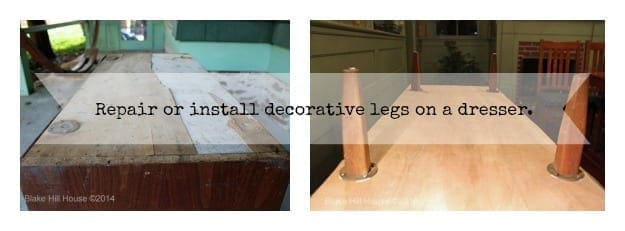
- Adhere a 1/4 inch thick panel, cut to size, to the bottom of the dresser. Use wood glue.
- Measure, then mark with a sharpie, where the legs should be. If a center hole is necessary, mark it during this step.
- Drill the center hole if needed.
- Screw the legs into the metal plate and place them on the wooden dresser base, in the marked spot. Orient the legs correctly so they will face the proper direction when the project is complete. Mark the screw holes. Aligning your furniture legs is not necessary if they are round.
- Drill small pilot holes for the screws.
- Screw in the metal plates.
- Screw the legs into the metal plates to finish.
- Pat yourself on the back.
If you do love to read all the details, you are in luck. I am rarely at a loss for words, and I wrote over 500 more of them for you to read.
Step 1:
Our dresser needed a new surface for the metal leg plates to adhere to. The legs had been repaired once already, and the previous repair did not hold due in part to the condition of the underside of the dresser.

At Home Depot, I bought a small panel of project plywood that was 1/4 inch thick. It is the same wood that is often used for the bottom of cabinet drawers. It was approximately $9. Using my jigsaw, I cut the panel to the same size as the bottom of the dresser. Before I adhered the new panel with wood glue, I placed a mark so I could line up the repaired legs with their previous position since I liked how they looked originally. It would have been appropriate to place them in a new spot if desired.
I used a generous amount of wood glue, and I clamped the panel to the dresser where possible, and placed heavy paint cans on the rest to to tightly bond the new panel to the old wood as it dried.

Step 2:
After the dresser had fresh wood to drill into, I marked where the metal plates for the legs should be reattached. I lined up the first one with the mark on the back of the dresser.

Using those measurements, I placed the rest of the metal plates, and I marked the center holes with a sharpie. I did not mark the screw holes at this time. I will explain why not during Step 3.

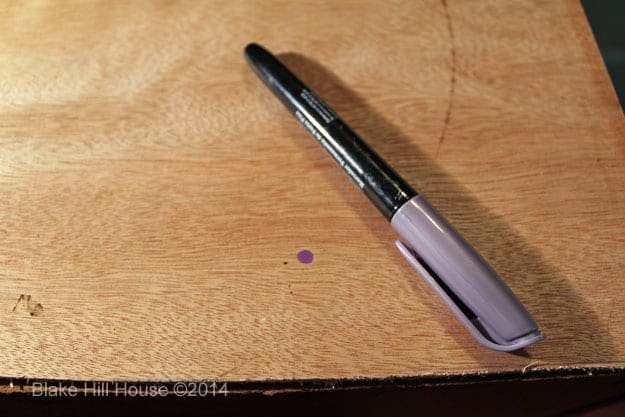
Our metal plates that secure the legs have a small threaded lip. The actual legs screw into those threads. Because of that threaded lip, I had to drill a center hole that the lip would slide into so the metal plate would lay flush with the wood. That may not be the case with the installation of new furniture legs. Inspect the plate in order to decide how to proceed.

Step 3:
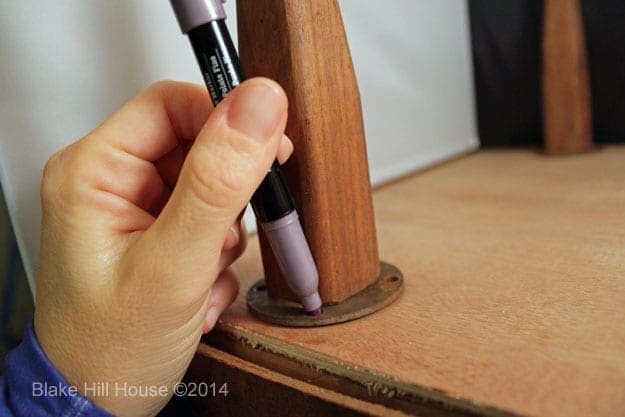
Now it was time for a very important detail for the aesthetic of the project. The legs on our dresser have square sides. Before I marked the screw holes, I needed to actually screw the legs into the metal plates all the way. Then, I oriented the legs so they would be facing the right direction at the completion of the project. By doing this, all of the legs would be aligned the same direction for continuity. If you are repairing or installing round feet, this step is not important. Once I had the legs in their proper position, I marked where the screws should go.
Step 4:
It was time to drill the pilot holes.

Step 5:
I put a drop of wood glue into each pilot hole for added strength. I did not put glue in the center hole because I wanted the legs to continue to be removable in the future.

Step 6:
I screwed the metal plates into the dresser and the legs back into the plates.
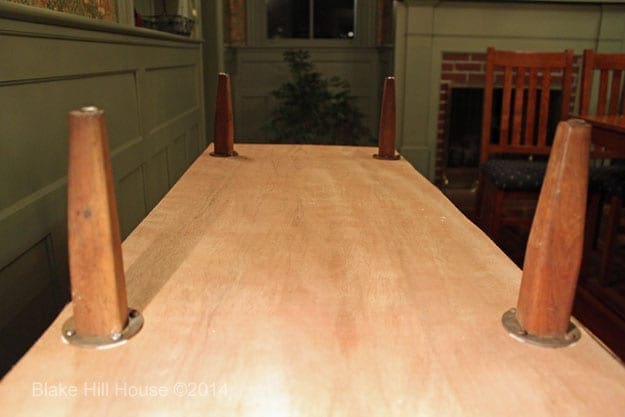
With that, the project was a wrap, and our dresser was back in business.
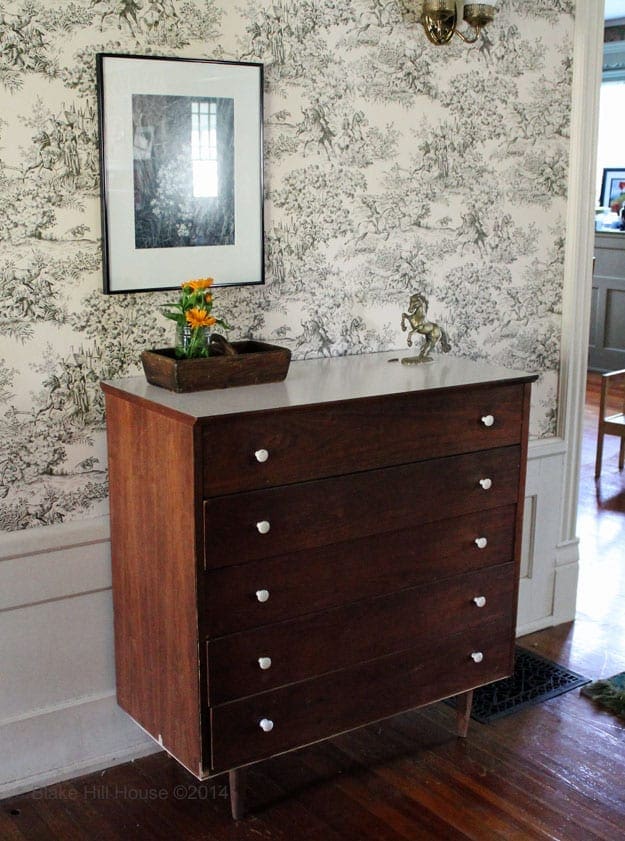
It is still pretty beat up, and I need to glue the poor unicorn’s horn back on its head. However, the dresser is functional, and that is exactly what we need right now while we consider whether or not we want to do further repairs on this piece or replace it altogether.



2 Comments
big al
That dresser is a survivor. It has been around since 1959!
Good job! M.
stacyfg@gmail.com
We keep breathing life back into it. 🙂