While I am working away on the Breakfast Nook for the One Room Challenge, I find myself grateful for two particular things:
- The room is small (unlike the library that we restored for the spring One Room Challenge) and,
- The breakfast nook only has one paint-covered sash window.
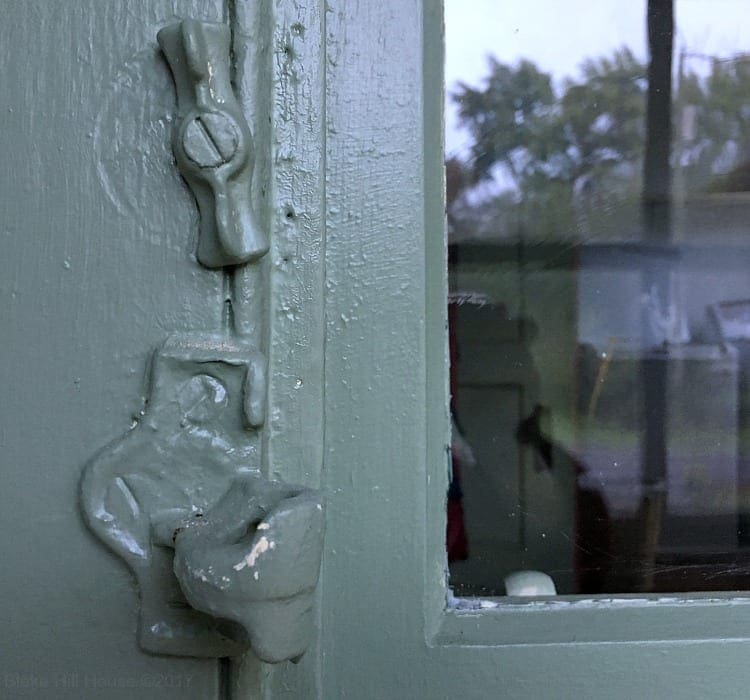
The upper full-turn fastener holds the original storm window in place. The lower shutter hinge (pintle holder?) is also original and supports the idea that this was once an open porch. An enclosed room would not have a shutter on the window.
I suspect that all of those layers of paint on the shutter hinge are hiding a pattern of some kind. At this stage, it is just a guess, but I will soon find out when I remove the hardware and get rid of all of that yucky paint.
Over the years, previous owners painted doorknobs, hinges, locks, and bin pulls here in BHH. I used to think it was pure laziness when people painted hardware. Now, I know apathy is only partly the truth. In fact, old hardware needed quite a lot of upkeep to maintain its shiny perfection and paint solved the upkeep problem. Now, many people prefer the natural patina that comes with age, and flawless hardware is not the goal.
Room-by-room, we are restoring paint-covered antique hardware following the same simple steps we are sharing today.
Supplies
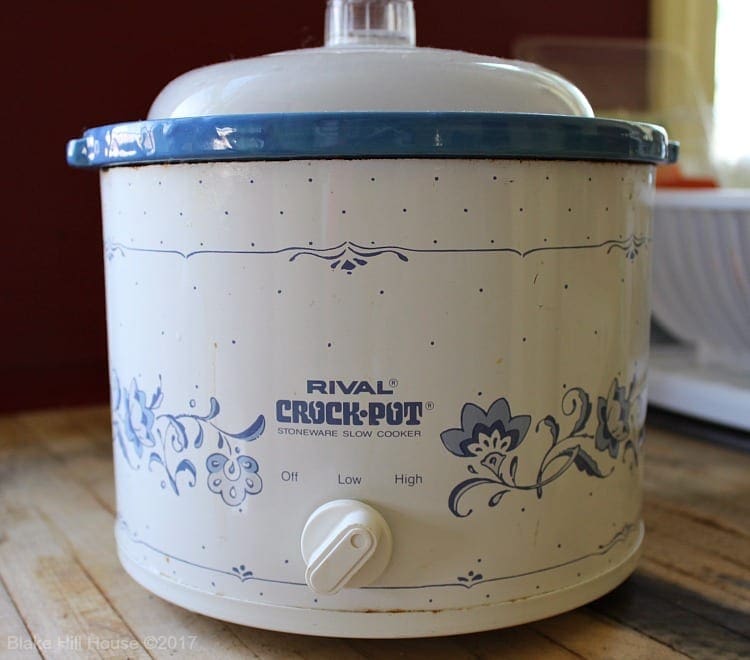
- An old crock pot
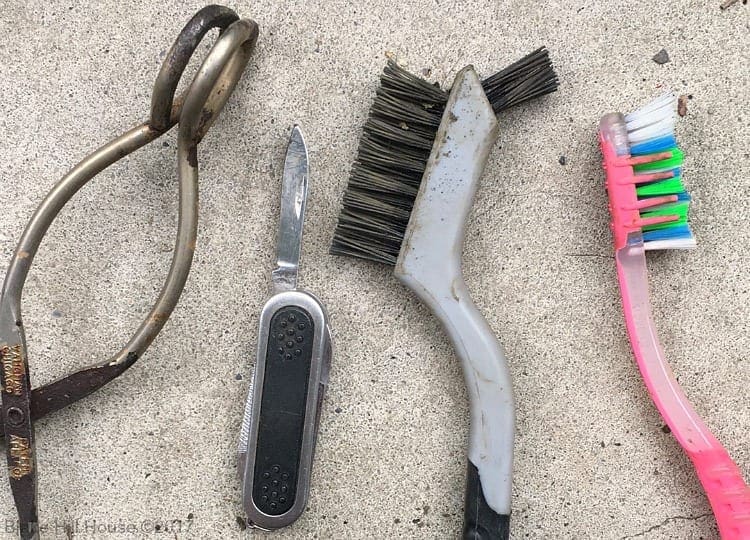
- A variety of scraping tools such as an old toothbrush and a small pocket knife.
- 0000 steel wool pads
- buffing cloth or rag
- Tongs
- Baking Soda (optional)
- Bucket full of water
- An old hot pad
Optional Supplies for Stubborn Paint:
- Chemical resistant gloves
- Chemical stripper (Less toxic products work well.)
- Safety Mask & Eye protection (Read the mask descriptions carefully to purchase the correct one. Mask filters serve different purposes.)
- Cheap bristle brush (Stripper melts foam brushes.)
Optional Supplies for Rust
- Naval Jelly (Use chemical resistant gloves.)
- Cheap bristle brush
Optional Finishing Supplies
- Furniture Wax (paste)
- Spray Lacquer
Steps for Removing Paint
Step 1: Place the hardware in an old crockpot and cover it with water and a generous squirt of dish soap. (Note: Your crockpot will no longer be food safe. Thrift stores are a good source for used crockpots.)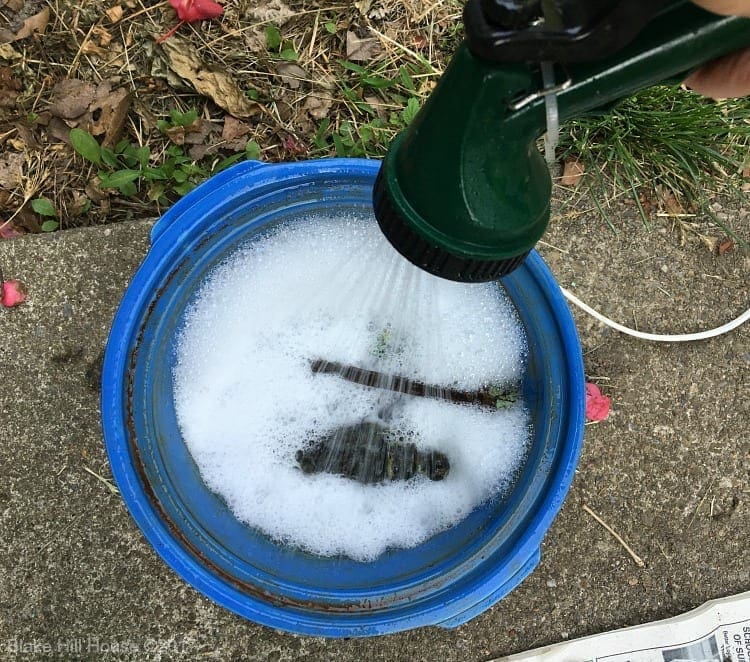
Step 2: In a ventilated room, turn the crockpot on and walk away for a few hours. Add water as necessary.
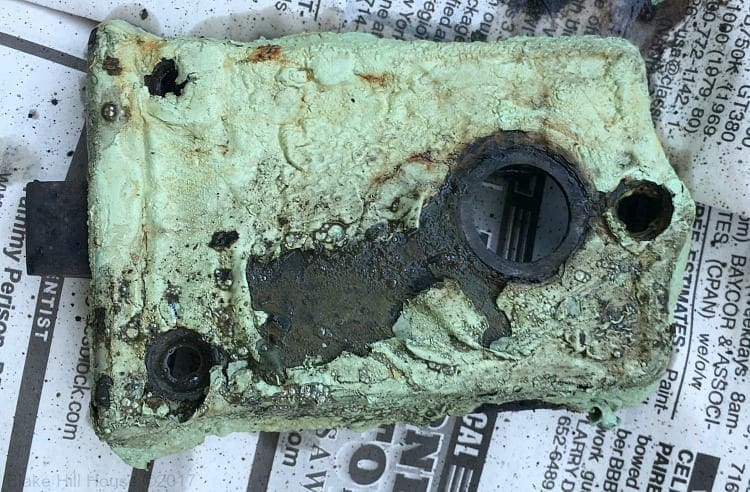
Step 3: Periodically, using tongs, fish out a piece of hardware to check for progress. When the hardware is ready, the paint will be very soft and bubbly. It should be peeling away from the metal. There is no hard and fast time limit, but it will take several hours.
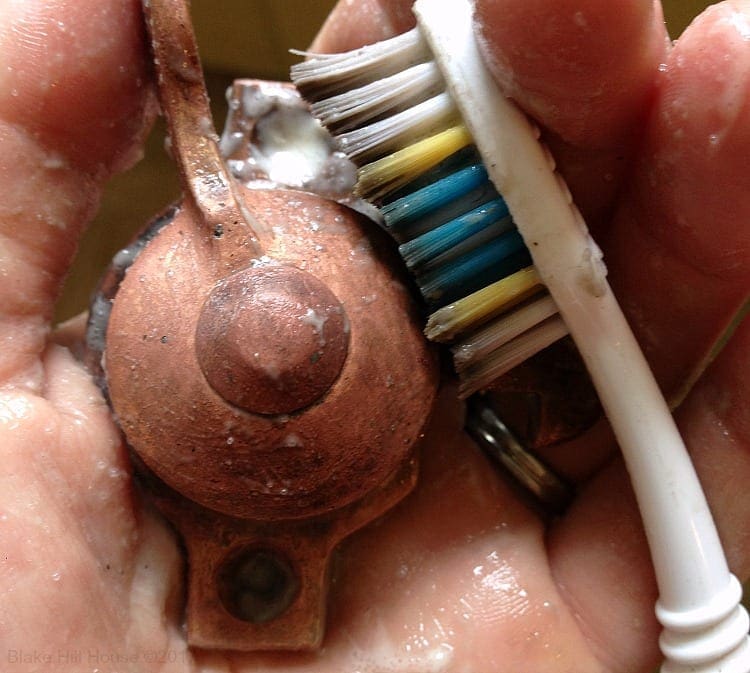
Step 4: Remove one piece at a time with tongs. Let the hardware cool for a few moments or hold it with a hot pad. (Tip: Leave the remaining hardware to soak in the unplugged pot, or the paint will begin to adhere to the metal again.) Peel off the easy layers first. Then, using your scraping tools over a bucket of water, gently scrub the paint residue out of the grooves while dunking the hardware in the bucket of water to rinse.
Alternately, you can mix up a baking soda and water scrubbing paste. Rinse often.
Important: Antique hardware is often plated with a very thin layer of a softer metal such as copper. Aggressive scrubbing may remove the plating. Work gently. Sometimes, no matter how careful you are, the plating wears through anyway. We call the new look “character,” and move on with our lives.
Step 5: Repeat the process if necessary. If you don’t get results with a second crockpot bath, a chemical stripper is an option. Follow the manufacturer’s directions.
Step 6: Dry each piece thoroughly and immediately. Since antique hardware is often cast iron underneath metal plating, it will begin to rust within hours if it is left to drip dry in a humid climate.
Step 7: Buff the dry hardware with 0000 steel wool. At this stage, the metal should have a soft shine, and it may even look nearly new again.
Finishing Options
The shine will diminish over time, and the metal will tarnish and change depending on the type of metal plating (copper, nickel, etc.). If you are okay with that, stop here and enjoy the fruits of your labor. If not, read on.
Option 1: Paste Wax – Using regular paste wax, apply a coat to each piece and leave it on according to the manufacturer’s instructions. Buff it off with a soft cloth. The wax coating will retard the natural chemical reaction of rust and tarnish on the metal.
Option 2: Clear Spray Lacquer – This is not my favorite option because it is semi-permanent. Think of the spray lacquer as clear paint. If you ever want to take it off, you’ll need to use the crockpot method again. Spray lacquer can be a good option for outdoor hardware.
A Note About Rust
To remove rust, Naval Jelly is a tried and true product. However, it is acid, so follow the manufacturer’s instructions carefully and completely.
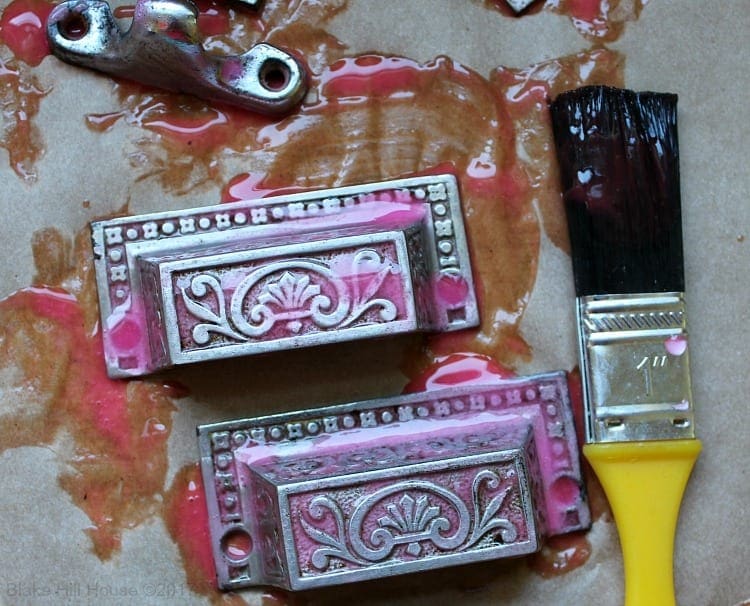
Eastlake Bin Pulls Covered in Naval Jelly
Some of Our Favorite Pieces
Here in BHH, we have run across our share of beautiful and unique pieces of antique hardware. These are a few of our favorites as well as a description of the method of restoration we used.
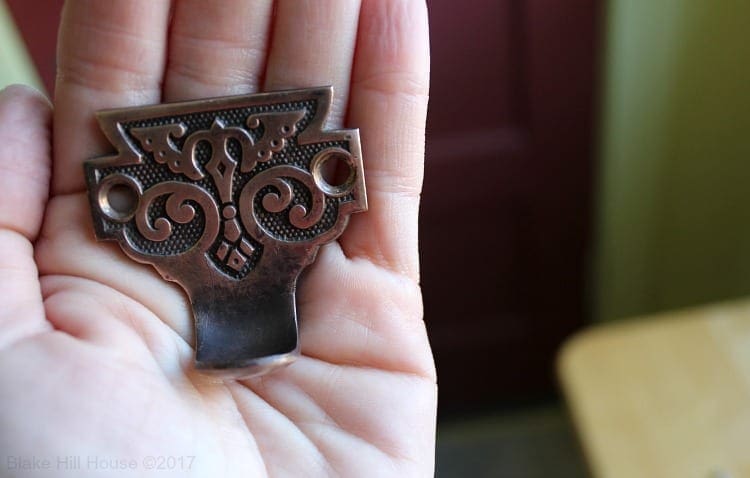
Copper-plated Sash Lift – Crockpot + Steel Wool
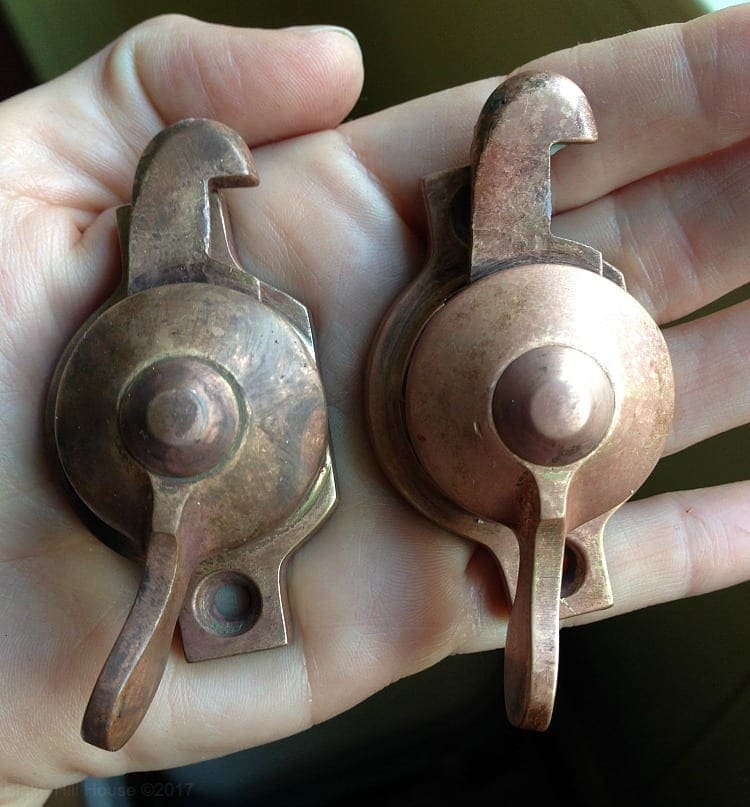
Copper-plated Window Locks – Crockpot + Steel Wool (Note the lack of copper plating on the left lock.)
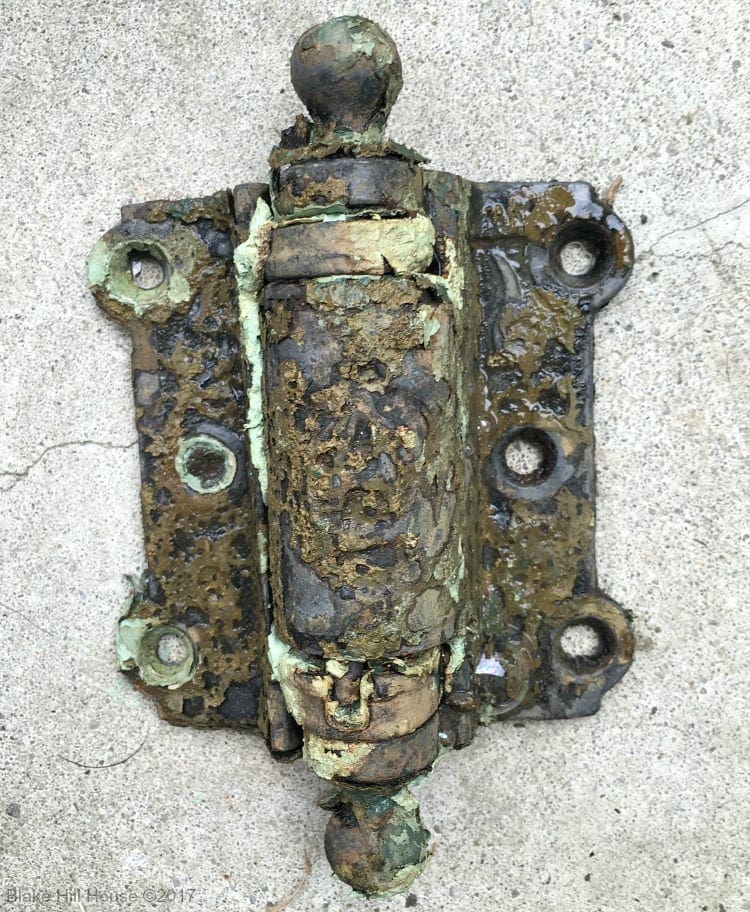
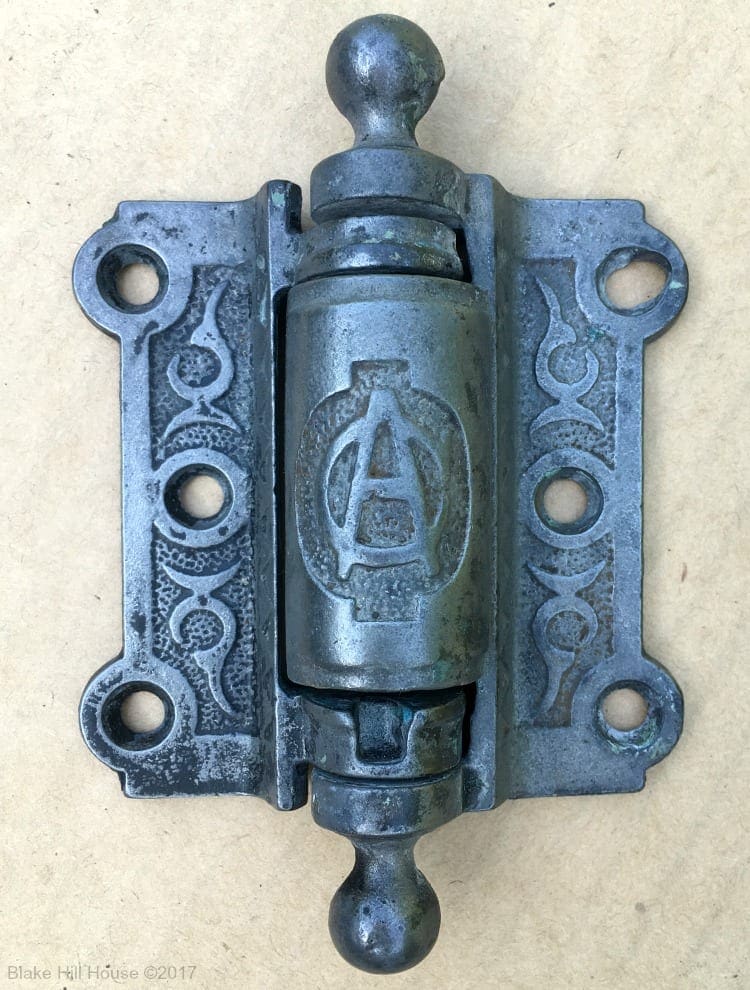
Screen Door Hinge – Crockpot + Chemical Stripper + Steel Wool + Clear Spray Lacquer
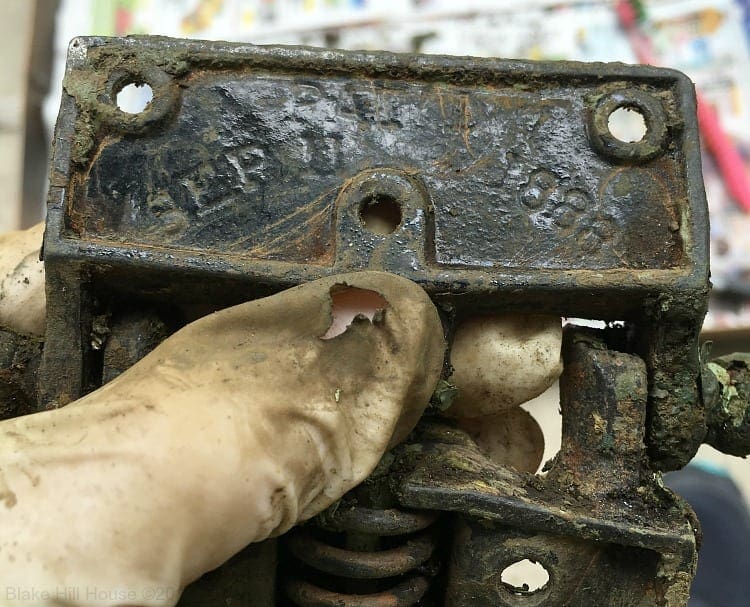
Check out the date on this similar hinge.
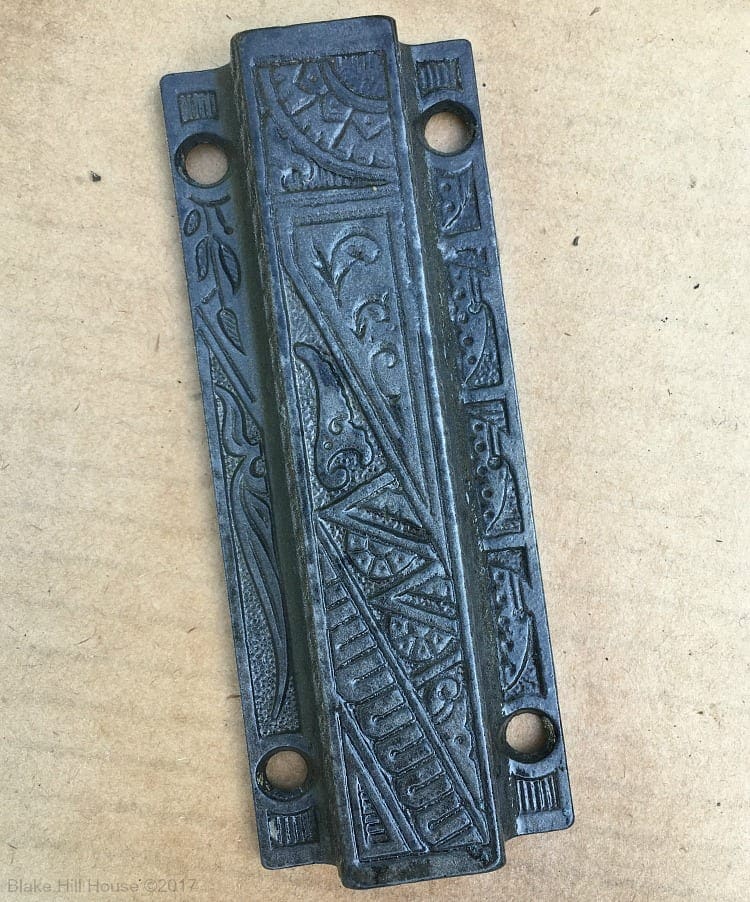
Eastlake Design Screen Door Top Latch – Crockpot + Chemical Stripper + Steel Wool + Clear Spray Lacquer (This piece had so many layers of paint on it that I had no idea it was patterned. I thought it was smooth metal. Crazy!)
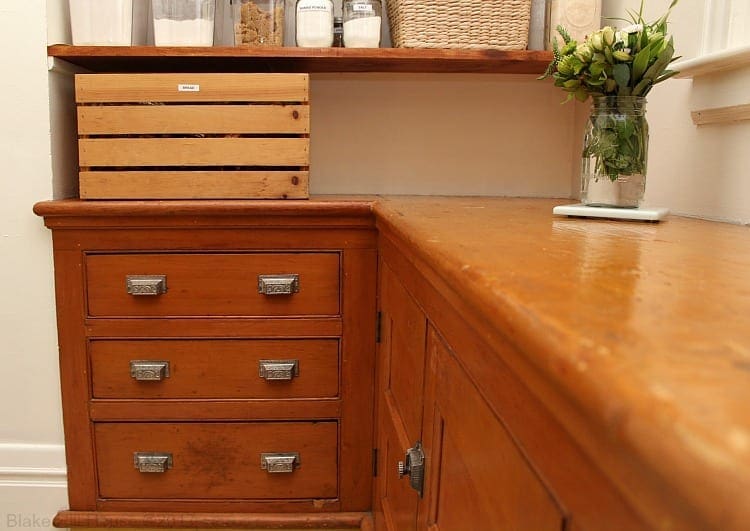
Eastlake Design Bin Pulls – Naval Jelly + Steel Wool + Paste Wax
What I appreciate the most about this simple method is that toxic chemicals are the last resort, not the first. With a little bit of time and determination, antique hardware can look nearly new again.
If you find this article useful, please feel free to pin it for later.


9 Comments
SH
Thanks for doing all the research and testing for us. Every piece is a work of art.
Sharon@LaurelhurstCraftsman
Wow, you were so lucky! All our old painted hardware was ugly, worn-out plated stuff. I ended up replacing most of it. 🙁
Stacy
We did get lucky for the most part. We have a lot of plain hardware that has lost its plating too. I was surprised that all of the window lifts and latches in the living room, foyer, and dining room are simple while the kitchen and even an upstairs closet have ornate Eastlake hardware. I have considered that some of the fancy stuff may have been switched out by a previous owner.
Melissa
“We call the new look “character,” and move on with our lives.” Stacy I love that! I’m applying it to all of my DIY projects. And you have the same crock pot my Grandma gave me for my wedding almost 20 years ago 🙂 Thank you for taking the time out of your busy life to keep us updated on Instagram and here.
Vanessa
Those are so lovely Stacy, and that is roughly the method I use too. I never know if the baking soda makes a difference but I throw some of that in there anyway.
As for the year, 1888, on that one piece that is the year my Irish grandmother was born! I often see that number around on old buildings and things.
Stacy
Thank you, Vanessa. 🙂
Kelly
The hardware in your home is amazing! Such a wonderful thing to see all of those pieces brought back to their true beauty! This will likely be a winter project at our home as soon as I score an old crock pot – didn’t have luck with yardsales this past summer. 🙂
Stacy
Thank you, Kelly! I hope you find a crockpot soon. 🙂
Laura @ Homespun by Laura
Wow, that’s some really beautiful hardware! What a great reward for the hard work of soaking and scraping…and scraping some more!