(This post contains affiliate links.)
It is too dry to pull more weeds outdoors, so I am working on some easy indoor projects until the next rain storm.
***
Throw pillows are expensive! As I was searching for pillows for the guest room, I had two problems:
1. I could not find exactly what I wanted in a ready-made option, and
2. My alternate choices cost around $50 per cover, and I needed one pillow for each bed.
I was not paying $100 for two decorative pillows. Determined to find a budget-friendly option, I began taking a peek at everything from vintage linens to kitchen towels when I was out and about doing my regular shopping.
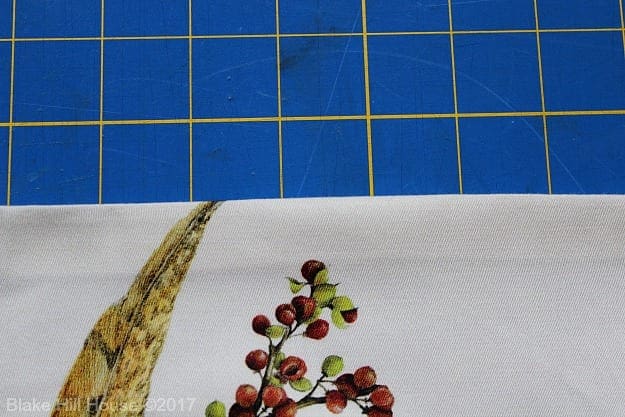
I finally struck gold while I was on a window shopping adventure in Myrtle Beach. I found a set of four 22″ Juliska Forest Walk cloth napkins for $25. Being a lover of all things related to the outdoors, I fell in love with the nature journal style drawings. I decided to use two of the napkins for the guest room and hold the other two for a future project. I had found my solution.
It took a little over an hour to cut and sew two envelope back pillow covers. If you do not sew, but you have always wanted to learn, this would be a super project for a beginner.
Supplies
You will need:
- One square pillow front – Any typical throw pillow size (12″-24″ or more). You can purchase fabric and cut it to size, or you could use a square napkin or pre-cut panel like I did.
- Pillow Form – Use a form that is the same size as your pillow front or slightly larger to make a nice, firm throw pillow. TIP: If you have a smartphone or receive the sale flyer from your local fabric and craft store, it probably has a 40-50% off one item coupon available. I never pay full price for pillow forms.
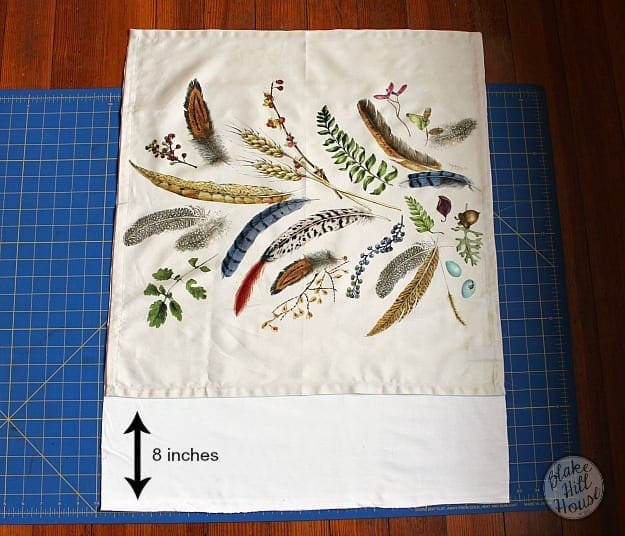
- Fabric for the back of your pillow – Your fabric needs to be as wide as your pillow front and longer by 8″ or so. I used plain old cheap muslin, but any woven fabric will work. You could even repurpose old linens for the back of your pillow.
- Thread
Before you get started, wash and iron your fabric. The washing step is hotly debated among people who sew. I am not going to tell on you if you decide not to wash your fabric. However, do not skip ironing. The fabric needs to be free of wrinkles to keep everything square.
Sewing Your Pillow Cover
Step 1: Cut your pillow front to the desired size. (Note: I used square cloth napkins, so I skipped this step.)
Step 2: Using the front square as your guide, cut the fabric for the back of the pillow exactly as wide as your square and 8″ longer than the length. (Note: You can make a rectangle pillow if your pillow form is that shape. These same adjustments to the back piece apply.)
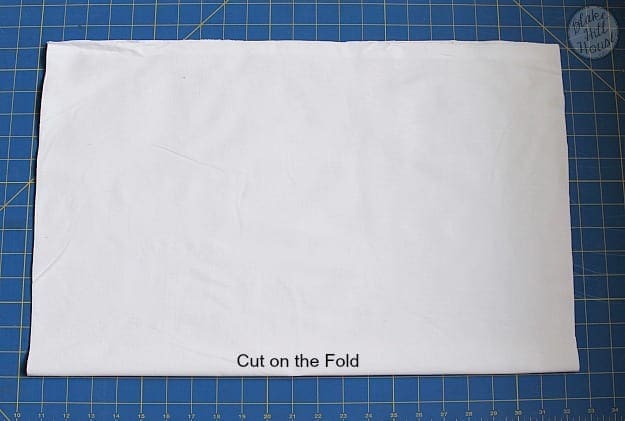
Step 3: Set the pillow front aside. Fold the pillow back in half and cut it carefully on the fold. You will then have two rectangle pieces.
Step 4: Fold over the edge of the long side of the rectangle pillow back (about 1/4″) twice. Press and hem. Do this for both pieces of the pillow back.

Step 5: Lay out the pillow front print size up.
With right sides together, place one piece of the pillow back on top of the pillow front, lining it up with the top edge.
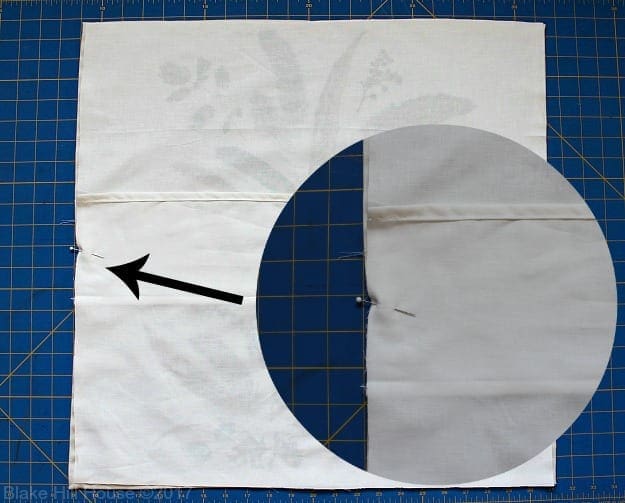
Take the second piece of the pillow back and line it up with the bottom edge. The pieces of the pillow back will overlap. Pin the overlap to the pillow front to keep it in place. (TIP: You may pin around the entire perimeter if you prefer.)
Step 6: Using a 1/2″ seam allowance, stitch all the way around to secure the pillow front to the pillow back. When you reach the overlapping portion, go slowly, so the fabric does not bunch or pucker. Remove the pins as you go.
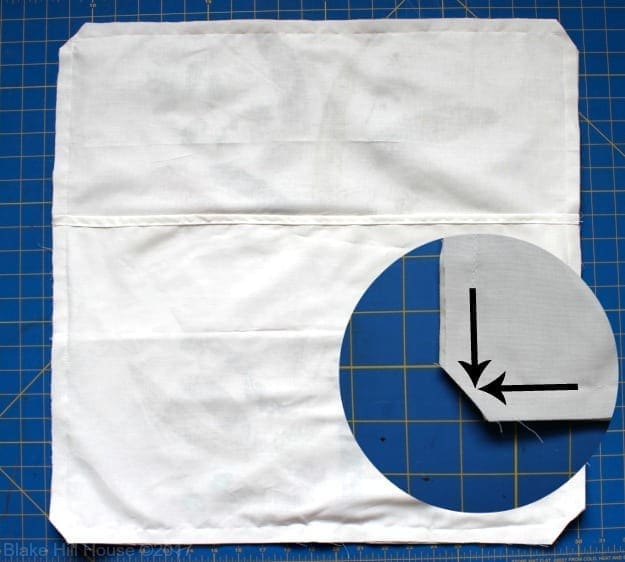
Step 7: Clip the corners for sharper points when you turn the pillow right side out. Be careful not to cut your actual stitches.
Step 8: Turn your pillow right side out and iron. As you are turning your pillow right side out, push out the corners with your finger or gently with a chopstick.
Iron the fabric of the back of the pillow towards the back so it won’t be visible from the front of your pillow.
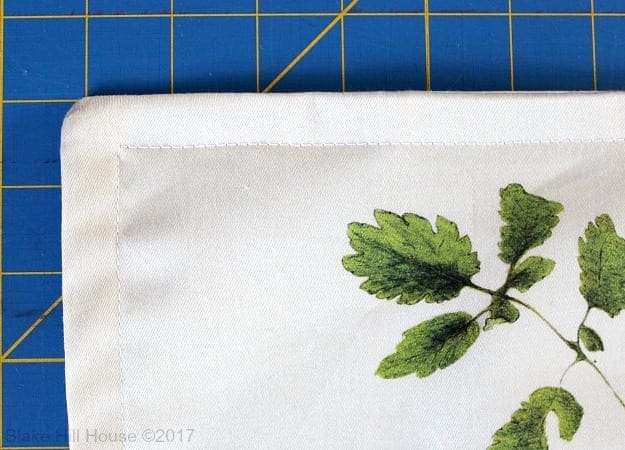
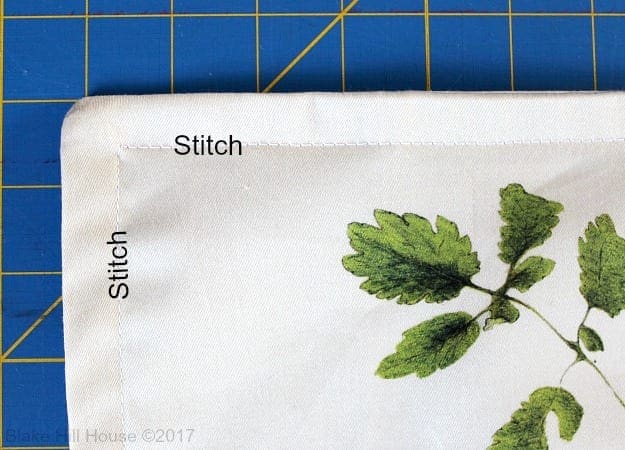
Step 9: One you have ironed your pillow, top stitch about 1/2″ from the outer edge. (Note: If you do not want a decorative edge, skip to Step 10.)
Step 10: Stick your pillow form into the finished pillow cover via the envelope back, and it’s done!
If you need clarification on any of these instructions, do not hesitate to contact me. Also, if you decide to sew some pillows, please feel free to post a picture of your project in the comments section. I would love to see it.
And as always, if you love it, pin it for later.
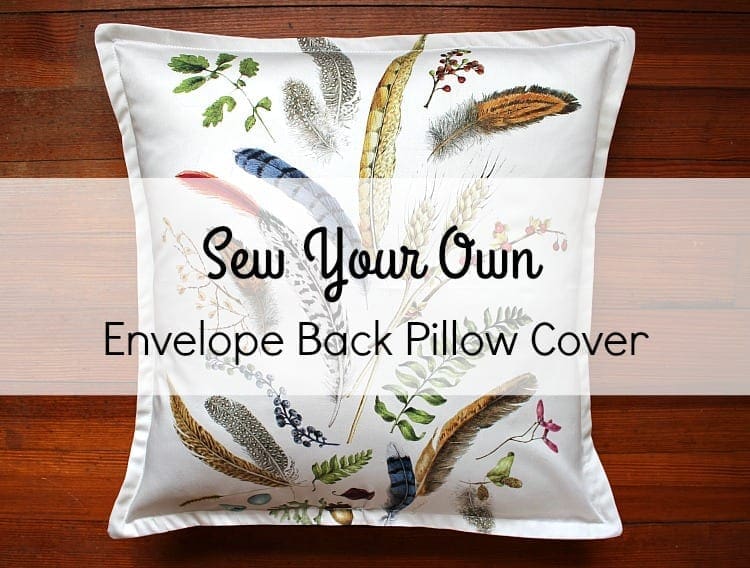
The total cost of the pillows that I made four our guest room was about $30 ($15 each). Not bad!








6 Comments
Ame
Fabulous solution! Throw pillows *are* expensive, and your covers are gorgeous.
(sorry for inundating you with comments – life’s been busy, and I finally have a lazy morning to catch up.)
nancy s.
“Step 4: Fold over the edge of the short side of the rectangle pillow back (about 1/4″) twice. Press and hem. Do this for both pieces of the pillow back.”
I think these are the long/cut sides….
Stacy
I may have explained it poorly, and I’ll see what I can do. However, the short sides are hemmed because the long sides overlap and get sewn to the front on the side seams. Does that make more sense? Perhaps I’ll add a drawing for that step.
Stacy
Good grief! My brain finally kicked in, and you are 100% correct! I have edited the directions. Thank you for being the voice of reason. 🙂
Devyn
Very nice! You scored well on the napkins given that they seem to retail for $15 each.
Stacy
I thought they were a steal!