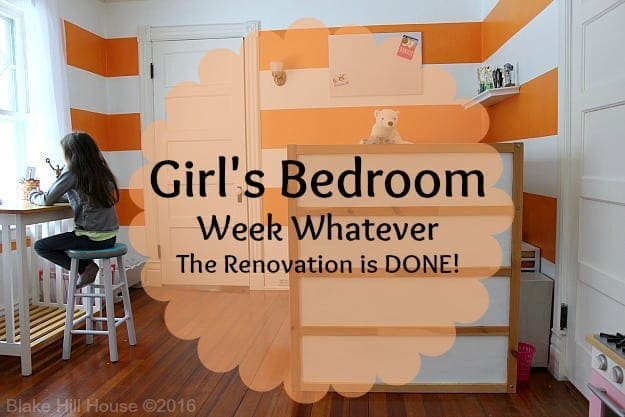
It feels so good to say that M’s room is finished. I am a little embarrassed that we started this room renovation in January, and now it is already April. However, we actually have four inches of snow on the ground today, and it feels like January. The weather creates the illusion that no time has passed at all.
Let me remind you of what the room looked like before we started:

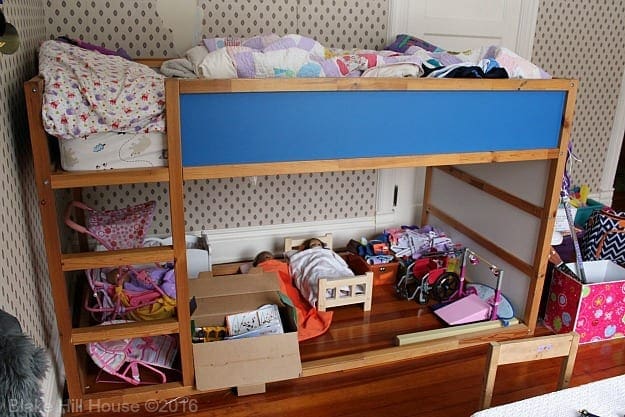
The room had peeling wallpaper and water damage on the exterior wall. In addition, without proper storage, M’s belongings were everywhere and nothing had a place to live permanantly. M really wanted a place for her stuffed animals and an apartment for her dolls. I wanted her to have a way to display her trophies and ribbons, and I had a secret project in mind.
Are you ready?
This is now the view from the hall. We added a bulletin board that I had in storage. M decided that ALL the certificates and ribbons should go on this board. She cares nothing about room staging. I admire that. I blurred out her name on the top of the bulletin board, but we spelled it out with letters in different fonts.

The reading corner was my secret project. M got a bit of a late start with reading proficiency, but now she is a very avid reader. I wanted her to have a nice cozy place to sit and snuggle in with a book. Even though she did not ask for it, this is probably her favorite part of the room. I find her here with her nose in a book most mornings before lunch.

All of her stuffed animals live in the white bookcase. She has them separated by family or adopted family. She did not want anyone to feel left out because of their species. I love this girl.
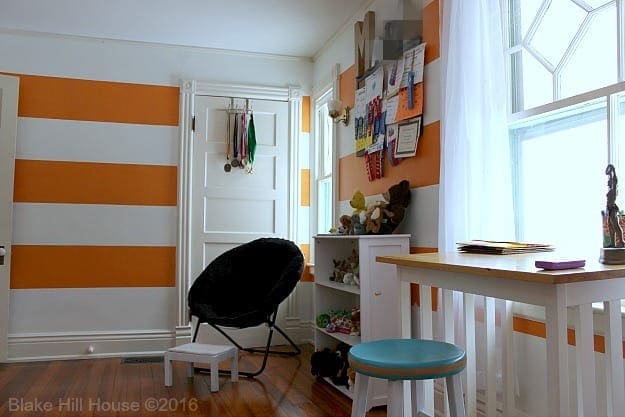
We ended up hanging her gymnastics medals on this over-the-door hook. This door is not used, and it saved the plaster walls from more holes.

M utilizes the desk a lot. She likes to do her schoolwork here, and she also pretends that she works in an office.
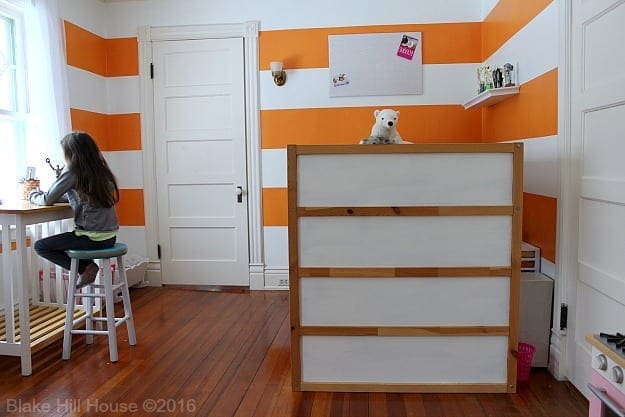
I made a super easy fabric-covered bulletin board to put above her bed. I used the leftover fabric from her quilt. I simply wrapped a piece of foam core from the dollar store with the leftover fabric and attached it on the back with hot glue and duct tape. I used Command picture hanging strips to attach it to the plaster wall. It is very lightweight. M can hang more ribbons or anything else she deems important.
The shelf was leftover from our house in California. It is not ideal. It tips forward a little. It will work for now. I think I would like to put up two long shelves with brackets along that wall. Visually, it would look more appealing. Shelves with brackets would be sturdier and allow more room for more trophies and also some books.

We placed her play kitchen to the right of the closet. She still enjoys playing restaurant.
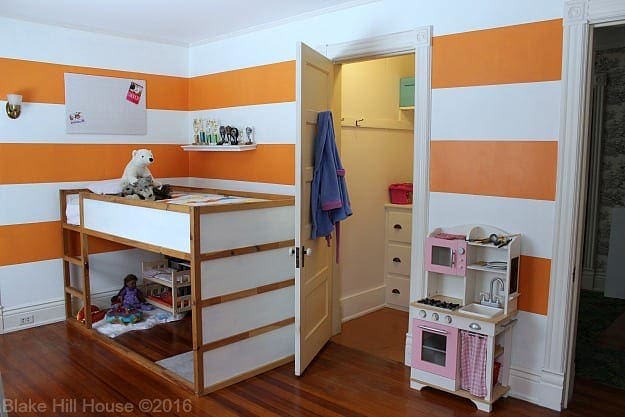
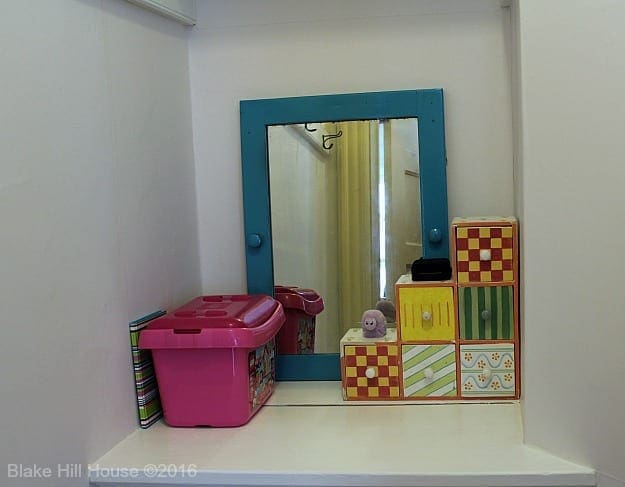
I thought a lot about hanging our scavenged mirror on the wall behind the door to the bedroom entrance, but I finally came to the conclusion that free or not, it is not the right piece for this room. The walls are too fragile to support it properly. My friend K. suggested I look for a mirror at Ikea. I think that is a good idea. Our closest Ikea is in Canada, and I may be up that way this summer. For now, I put this little mirror in the closet.
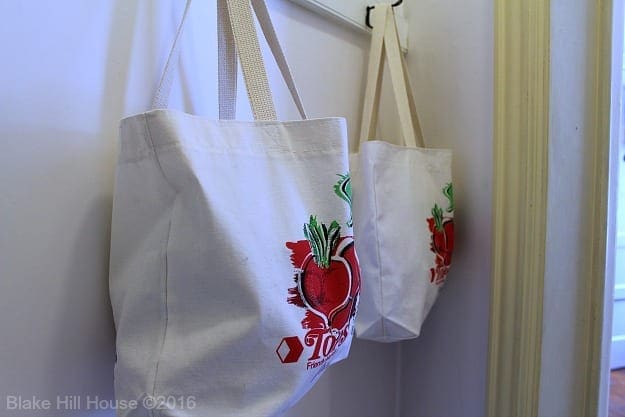
I also purchased these two canvas bags for her play food and dishes for her little kitchen.
The project we enjoyed the most was the doll apartment. M and I came up with a seemingly endless amount of ideas. Even though their first apartment got flooded, I am actually glad it did. This doll apartment is much better than the original. This space is so. much. fun.

When I sat down to edit pictures and write this post, I realized that there are so many things I want to tell you about how we made the doll apartment and so many pictures I want to share. However, this post is already so picture heavy and I am out of time for writing. I hope you will forgive me for putting all of the details and photos in a separate post. It will all be on the blog tomorrow. (updated 2/5/18: Click here for the doll apartment tour!)
M is very happy to have her room done. She plays in it for much of the day just as I hoped she would. Before we did this renovation, she barely spent any time in her room. Now, if I have not heard from her in a while, I know just where to find her.
Due to the budget, we had to set some of our big plans for this room aside. However, I think we managed to accomplish most of our goals for storage and fun anyway.
Here is the final cost break-down for the bedroom. I will post the cost of the doll apartment tomorrow.
Quilt – $166 (This was the big ticket item.)
Paint – $80 (I actually had the gallon of white on hand, but I included it in the cost.)
Patch – $20 (I also had this in the basement.)
Chair – $45
Misc Items – $10
Wallpaper steamer rental – $60
Total: $381

This post contains an affiliate link.


8 Comments
Kelly
I wish I could come hang out with her in her room. It is beautiful, bright and spunky – probably just like her! Love it!!
Stacy
Thank you! You guessed right. She is bright and spunky. 😀
Gram
What a happy room!
Love it!
Stacy
Thank you! Come over the play. 🙂
Amy S.
Looks great, those stripes are impressive. I also have to commend you for taking the time to make that closet looks so good, hope she enjoys her beautiful room for many years to come 🙂
Stacy
Thank you so much. In the moment, the work was not always fun, but I am really glad that we took the time too.
dave more
I really like the flooring !!! Very nice , great job !!!
Stacy
Thank you, Dave. The floor in this room is in great shape. It just needed a good cleaning. 🙂