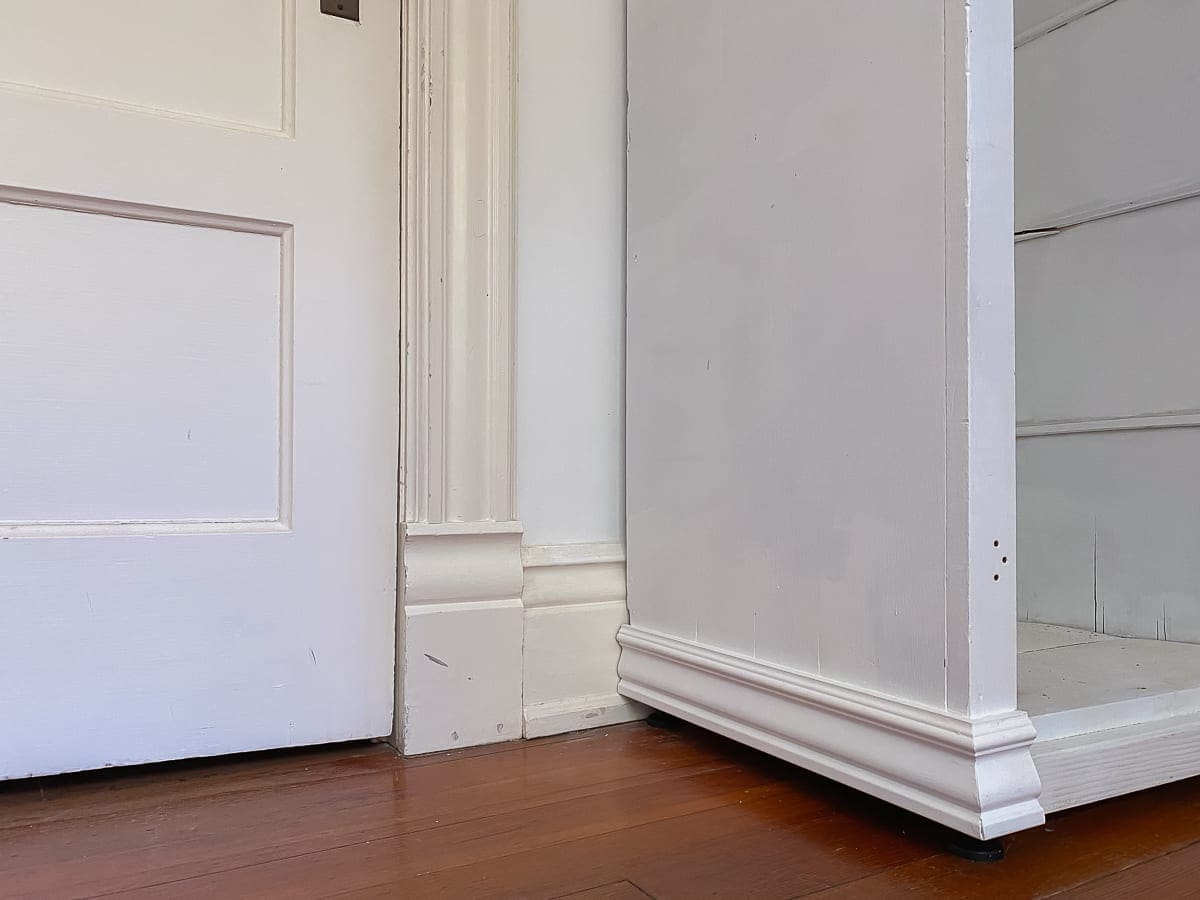
Last week was a prolific week for reveals, but this week, we will have to settle for some excellent progress instead. I am not sure from an outside perspective if it looks like I get a ton of things done or if I am all over the place. It might be a little of both. Typically, when I leave something unfinished for a length of time, I am still actively planning ways to complete it. That was the case with this cabinet I brought up from the basement. It had plenty of problems to solve.
This post contains affiliate links.
Dumpster desk had such a nice ring to it, and I have been trying to come up with a name that accurately describes this basement find. All I could come up with was the crappy cabinet. Please add your submissions in the comments. Anyway, this cabinet was rotten on the bottom, presumably from a few basement floods.

After a good scrub and fresh paint, it looked much better.

However, it was still pretty junky, a stark contrast to the mural and the freshly finished dumpster desk. So, I abandoned the cabinet for a bit to think about solutions.
Recently, my enthusiasm for this underdog returned, but we discovered another problem. Old houses often have issues with sloping floors. Fortunately, in BHH, it is just a case of settling over time. Even so, the cabinet looked funny and uneven pushed into place.

With shorter furniture, it is not very noticeable. Tall pieces look like they are tipping over.
Check out the bubble in the level. Perfectionists, avert your eyes.

Like most project curve balls, this one forced me into immediate action, which also sparked a solution for the cabinet base ugliness.
I ordered these heavy-duty leveling feet.

Since the bottom edges of the cabinet were too unstable to drill into, I built a new base out of scrap 2X4. The photo below shows the base pieces before I attached them.

The feet were super easy to install. First, I drilled a 7/16″ hole for each.

Then, I hammered the metal part into the hole.

Finally, I screwed the feet into place in the lowest position.

To attach the new base pieces, I drove screws from the top of the bottom shelf down into the 2X4s.

The new base improved the stability, but it still did not look very pretty. So, I headed to the basement to look for something decorative. Luckily, I found a piece of primed MDF. I don’t even remember why I bought it in the first place, but I prefer to use real wood for BHH projects. Putting it on the bottom of this cabinet was the perfect use.

The angles were not perfect 45-degrees, but they were close, and wood patch works as a decent cover-up on a painted furniture.

It is a little tricky to see, but I also added a 1/4″ thick piece of flat trim across the face of the 2 X 4. It’s the unpainted section.

I also caulked the seams, and once the caulk and wood patch dried, I sanded those areas and painted it all.
My son helped me scoot the cabinet into place, and I rotated the feet to level it.

Success!

I wish I could say this is the end of the story, but here’s where I make it clear that this is a process post.
Once we pushed the cabinet in place, my daughter and decided that it would look better painted the same color as the room trim.

I am not sure what color that is since it was here when we bought BHH. However, an excellent dupe is Sail Cloth by Benjamin Moore. I have some in the basement, so we will get right on that. Also, I am pretty sure I am going to have to rework the bottom of the door just a little. I will take a look this weekend.
M’s teen bedroom makeover is moving right along. The last major projects are the headboard and the window restoration. I hope that we can make good progress on both during the rest of this week.
Are the floors sloped at your house? M’s bedframe rocks so much it is practically a cradle. I’ll be adding some leveling feet to it as well.
Thanks for sticking with me during all of this. I know this makeover is taking forever.


11 Comments
Gina
So awesome Sracy. I love the idea of using the heavy duty levelers. I know this will definitely come in handy in my old house. Some of the floors have quite a slope. I would call this the Castoff Cabinet ?. Adding the molding at the bottom really elevated it to such a beautiful, functional piece.
Stacy
Thank you! I can think of about three other places I can use the leveling feet. Also, I love the name Castoff Cabinet. 🙂
SH
We live in newish construction (15 yrs old) and floors slope terribly in some rooms too. This could be a handy tip. The new trim was genius and adds so much to it.
Stacy
Thanks, SH! I hope the leveling feet will come in handy for you. It is strangely comforting for me to know that sloping floors are not exclusive to old houses.
Diana
I second Castoff Cabinet!
I’m renovating a 1940s house that was moved in the 80s. It feels reasonably level but when I took a few of the doors off the hinges and leaned them against the well I was scared they would fall over because they are nowhere near square. Just like with the tall cabinet, it’s pretty evident when they’re hung as well, if you look at the top of them. Loved the quirks of older houses.
Stacy
Hi Diana, Castoff Cabinet, it is! The tall items look so precarious on crooked floors. 🙂
ryan
We have some leveling, mostly on the South side of the house. It’s not so noticeable on the floors but the gap at the top of the dining room/hallway door is nearly nothing on one side of the door and at least an inch on the latch side. At my sisters house I helped her rearrange furniture in the kids’ room and when we put a bed in the front dormer the floor sloped so much we used a 2×4 under two legs to bring the bed back up to level. I think the room was originally a sleeping porch and the dormer was sloped on purpose since the front windows would have just been screened. There’s no heat in that room either.
Stacy
You have a lot of experience with unlevel floors. 🙂 My daughter and I joke that her bed rocks so much that it is practically a cradle.
Thank you for the comment on the mural too. Texture is the name of the game with this room makeover. The cool thing about the adhesive painting is that I can take it down and reuse it somewhere else. It won’t fit another wall exactly the same way, but I could cut it smaller or do panels.
ryan
I forgot to mention – I’m loving the canvas texture of the wall mural. I’d really like to paint a mural on the wall in our second bedroom but it might be more likely to happen if I use an adhesive mural instead of waiting for me to get around to designing, prepping and painting one on my own.
Sarah White
What an awesome project and a creative way to problem solve with the sloped floors! I just got the cabinets in my kitchen refinished by a local cabinet refinishing company but after seeing your process, I really want to try and DIY something! We have some old furniture in our basement that I’d like to and try and flip, and now I finally have some motivation to do it. Thanks for the inspiration!
Stacy
Thank you, Sarah. I am glad that the post served as inspiration. I appreciate your comment. 🙂