I was so excited to post the pillar project wrap-up yesterday, but the WordPress portal was offline for the entire day. Wasn’t I just talking about unforeseen circumstances in my last post? I suppose that piece of writing contained inadvertent foreshadowing.
***
The pillar was covered up for about two weeks. The kids and I enjoyed beautiful weather and plenty of outdoor activities while the pillar sat, protected in plastic. We knew our nice weather days were numbered, so we took full advantage of the warm sun. Sure enough, I looked at the forecast one day, and I saw that the high temps looked something like this: 75 degrees, 74 degrees, 75 degrees, 73 degrees, 54 degrees.
There is was: 54 degrees. That was the drop dead day for the pillar project. If I didn’t get it finished in four days, I might miss my chance until next spring. With that information, the project went into hyperdrive.
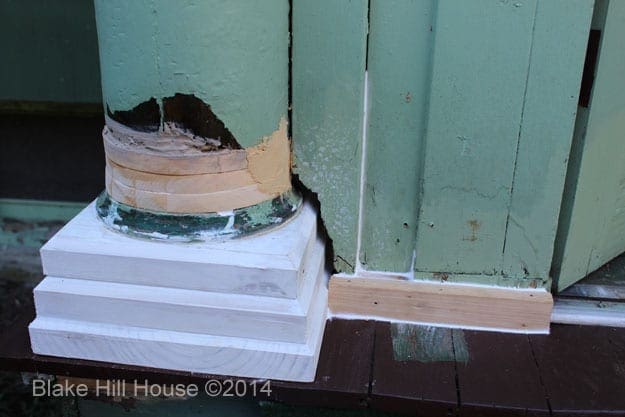
Andy, who travels a lot for work, was finally home for a weekend to lend a hand. I worked on filling the gaps in the new pillar. I ended up adding one more solid wood circle for a tighter fit between the new wood and the old wood of the pillar. I used two different filler products. I chose Minwax High Performance for the rough gaps because it is very durable when it dries. I used Minwax wood filler for the smaller gaps because it could be sanded. The two different products are visible in the photo below.
While I worked on the pillar, Andy painted the trim and the siding.
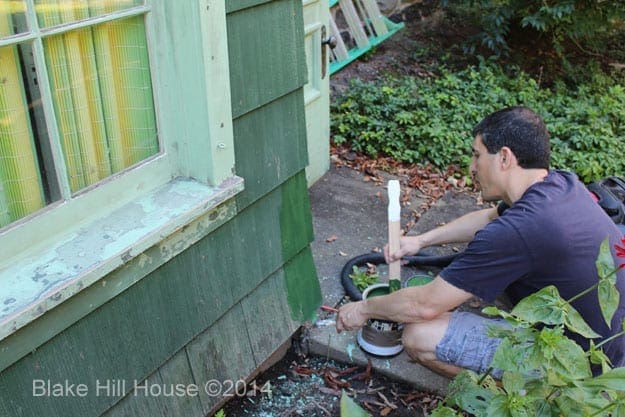
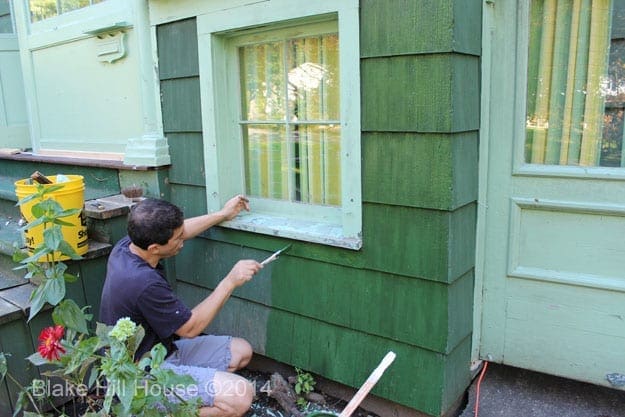
So much drying time is required for a project of this scope. The waiting around can get frustrating. Our climate is naturally damp, so drying feels like it takes forever. Being a desert girl. I am used to construction products drying in record time. Here, I feel that I truly understand the expression, “watching paint dry” to describe something that is incredibly boring.
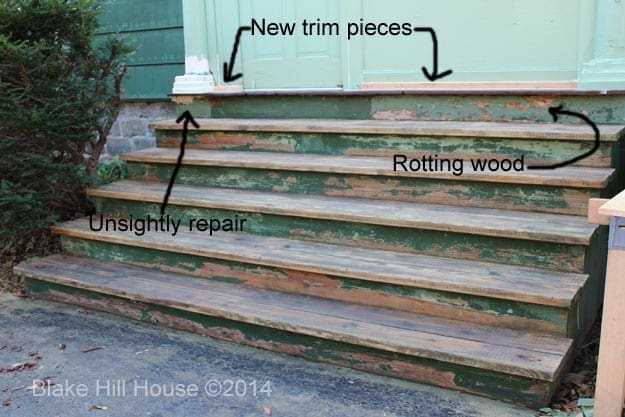
While we waited, we installed the new trim pieces:
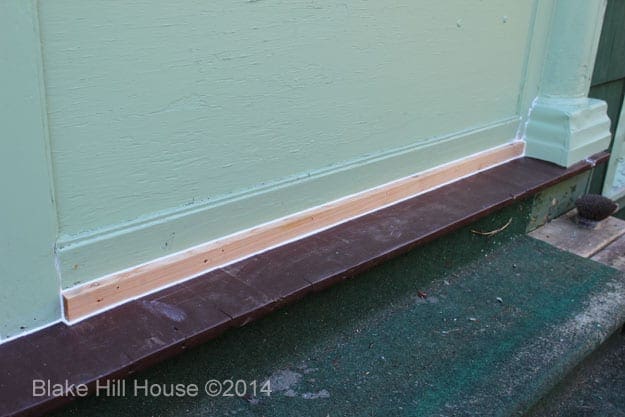
The project required trim in three places. This new trim would keep the snow from seeping under the porch walls. I chose cedar again, and the backs were primed before Andy secured them with finishing nails. Each piece was thoroughly sealed around the edges with a high-performance caulk.
Together, we pulled off the unattractive indoor/outdoor carpet on the stars.
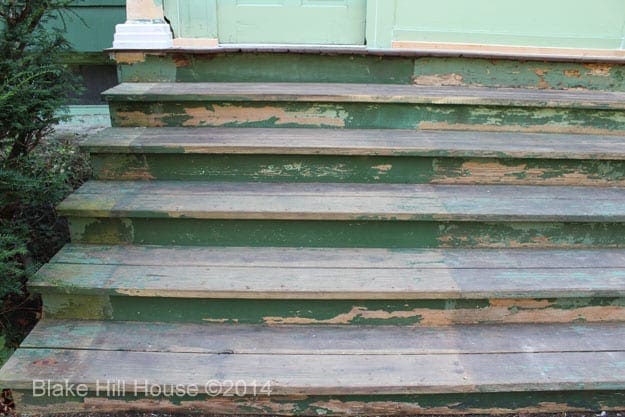
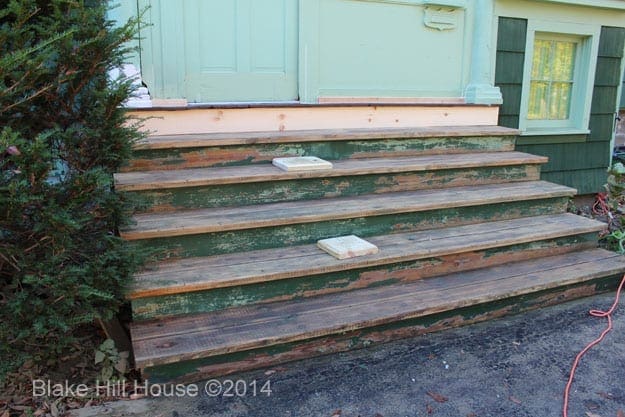
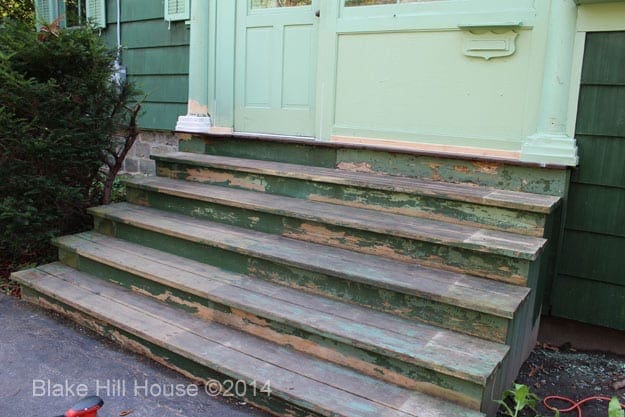
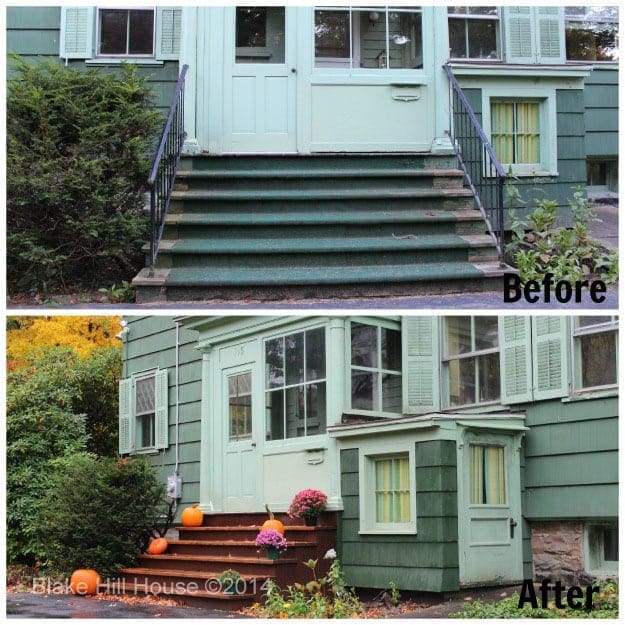
The stairs were in reasonable condition. They did need one new board to cover some rot on the right side and my messy repair on the left. The conditions for rot had been corrected, so I felt comfortable simply covering the mess up with a fresh cedar board.
After sanding the Minwax wood filler on our pillar cake, I realized that the product was not going to give us the smooth finish that we wanted. The Minwax product also disintegrated when I used very fine sandpaper. That resulted in the cracks re-emerging. I switched to UGL 222 Spackling Paste which is approved for outdoor use. This product was easy to work with, and I could sand it as smoothly as I needed. It is also a pure white product, which made it easier for my eyes to spot variances that needed to be sanded. All-in-all, it took about three applications of the Minwax wood hardener, and about four light layers of the spackling paste to achieve a smooth result. Our Cake Boss pillar was nearly ready for its fondant paint finish.
The project took the entire weekend. The kids played way too many videogames, and the mom guilt was strong. Andy went back to work on Monday, and I busted out the sanders. I sanded and sanded and sanded for nearly eight hours. I was so over sanding, but I knew it had to be done that day because it was the last day before our drop-dead date.
Once the sanding was completed, The entire project had to be cleaned up in preparation for painting the next day. The stairs, and all of the wood around them, needed a good wipedown to get rid of the sawdust. After vacuuming and wiping, I lightly cleaned everything with a tsp substitute. After a ten-hour day, the pillar, stairs and trim were finally ready for painting day.
***
Painting day went smoothly except for my mild freak-out about the colors that I chose for the stairs. I chose to paint the risers the same chestnut brown as the porch floor, and I stained the treads with a transparent cedar-colored stain. When I was thinking about the project, the idea of using the two different products seemed as if it would be classic and beautiful. In addition, by using paint on the risers, I did not have to remove all of the old green paint. I only had to sand it smooth. However, once I started painting, I had the sinking feeling that the colors were all wrong with the black wrought-iron handrails, and my choice to mix products seemed amateur and unattractive. In addition, I would love to paint the house a deep gray someday, and the porch colors will not go with that at all.
I contemplated running to the store to buy new paint, but I talked myself down off of the ledge. In the scheme of things, paint is cheap. I will change it in the future if we want to. Deep breath…
With a rainstorm rolling in overhead, my brush touched the wood for the last time. The pillar and trim were green. The stairs were chestnut and cedar. The project was complete. My back hurt. My knees hurt, and it all felt wonderful.
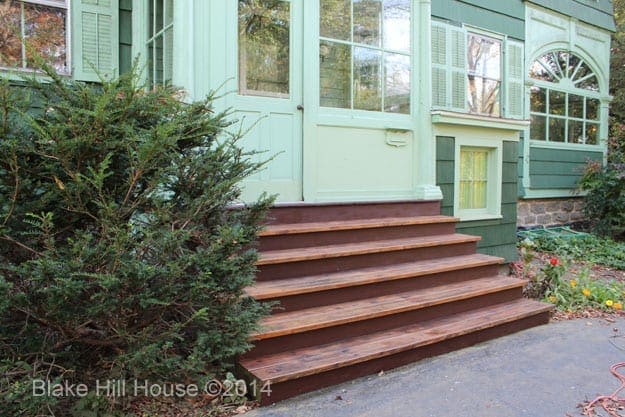
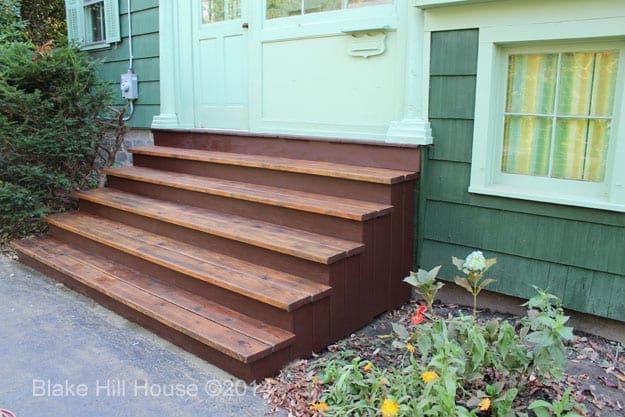
After it was dry, I had very little time to stand back and admire it. Because we expected three straight days of rain, I had to create a plastic tent over the whole thing in order to protect the fresh paint and stain from the moisture. The instructions on the container of stain stated that it needed to dry for 72 hours before getting wet. Thus began several days of wringing my hands and babysitting plastic sheeting on our freshly finished porch.
This was our first really big project here at BHH. The teen bedroom was time-consuming, but the work was pretty straightforward. There were no real surprises. During the porch project, we ran into a few snags that held up the process. It took a lot of brain work to figure out the best approach, and the variety of products we needed was much larger. I am so glad that it is finally finished. With a satisfying flourish, that bad boy is officially checked OFF of the to-do list.
For the next post, I will write more in-depth about the products we used for this project. Have you ever done a project like this one? Have you also ended up down the rabbit hole once you started what seemed like a simple repair? I would love to hear all about it.


5 Comments
Linda
looks terrific! I love your thought of dove gray for the house one day. You go girl! No rain on your parade.
stacyfg@gmail.com
Thanks Linda!
Deb
GREAT job! It really looks amazing! What a huge difference!
stacyfg@gmail.com
Thanks Deb!
Jan Elizabeth
Wow! It turned out just fabulous! Great job.