Since we are diving right into two bathroom renovations, the main bathroom, and the guest bath, I wanted to highlight three of my favorite products for minor plaster repair. Last weekend, on IG stories, I talked a little bit about them. Today, I am discussing each product in-depth.
Over the years, we have used plenty of products that made our lives harder. We learned our lesson, and these three are now our go-to choices for minor repairs to plaster,
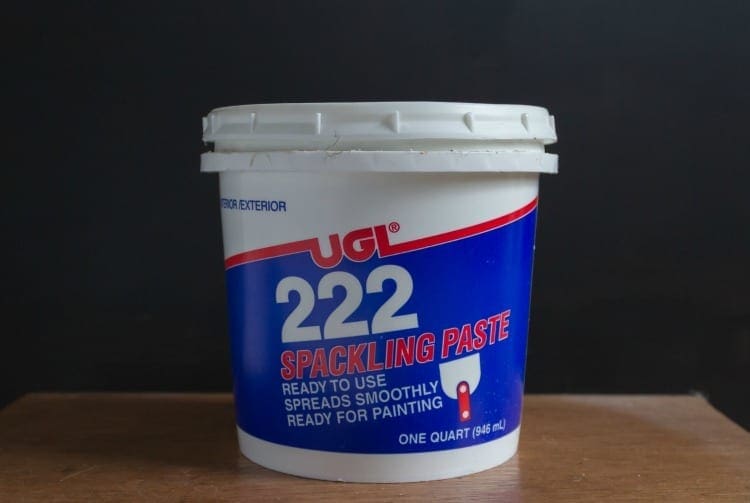
UGL Spackling Paste
UGL brand spackling paste, readily available at big box stores, comes in both a lite and traditional formula. During stories, I said that I did not have a favorite spackle. However, that’s not entirely true since I always seek out this brand.
I prefer the regular 222 over the lite when I need to apply it with a putty knife. It sticks to the knife well and spreads smoothly and evenly. The lite version often crumbles and falls out which is frustrating. The lite version does work well for small holes as long as I am not using a putty knife. I find that my finger is the most effective tool available for filling small holes and divots.
(Tip: I use finger cots (affiliate link) to protect my finger when I apply spackle this way. These little latex covers are also available at your local pharmacy.)
I prefer UGL spackle over other brands because:
- The consistency is uniform every time I open the container, even when I am down to the last inch or so in the bucket.
- It smooths on easily with a putty knife or a finger. (See my tips for regular 222 vs. lite up above.)
- It dries without cracking even when I use a significant amount in the deep holes.
- UGL spackle sands easily.
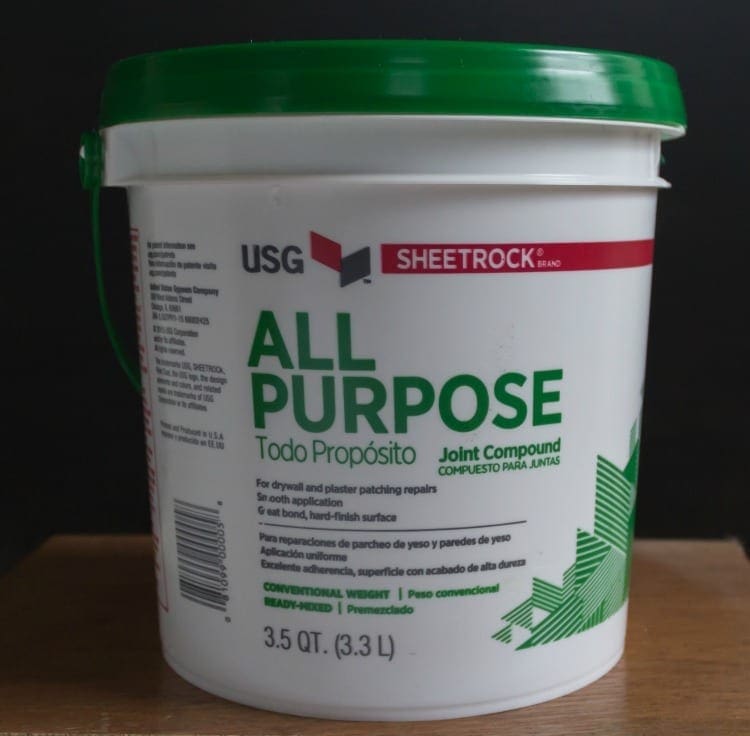
USG All-Purpose Joint Compound
When I discovered this product, it completely changed my outlook on minor plaster repair. Before I found the USG brand, I used to dread the process of repairing the walls in BHH. All of the other skim-coating products that we tried were thick and sticky, dry and crumbly, or were difficult to sand. Wall prep took ages.
I cannot even remember which room I was working on when I used the USG All-purpose Joint Compound for the first time, but we always keep a bucket of it in the basement now. It is available at big box retailers in ready-made and mix-your-own formulas. The mix-your-own is cheaper if you are working on an extensive project. I buy the ready-made bucket since I use it only for small repairs, and it keeps well as long as the lid is secured firmly in place.
I like USG All-Purpose Joint Compound because:
- It smooths onto the wall like butter. (like buttah!)
- It sands easily,
- After proper sanding, this joint compound blends in perfectly with smooth plaster. The wall looks flawless and ready for a primer or sealer and paint.
Note: As a general rule, here at BHH, we try not to skim coat entire walls. So far, it has not been necessary. Knock on wood. For full plaster repair, Big Wally’s Plaster Magic and Master of Plaster offer excellent products for complete restoration. Alex, at Old Town Home, has used both products very successfully. Check out his (and Wendy’s) blog for tips and tutorials. When/If we ever need to repair chunks of plaster instead of cracks, we will learn the restoration process.
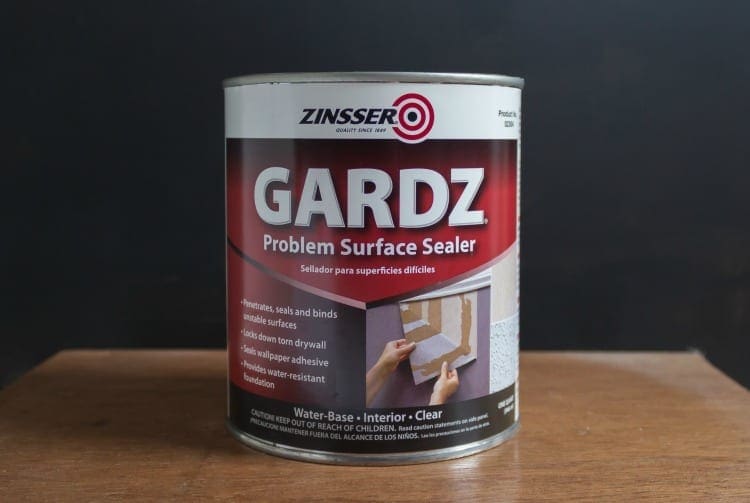
Zinsser Guardz Problem Surface Sealer
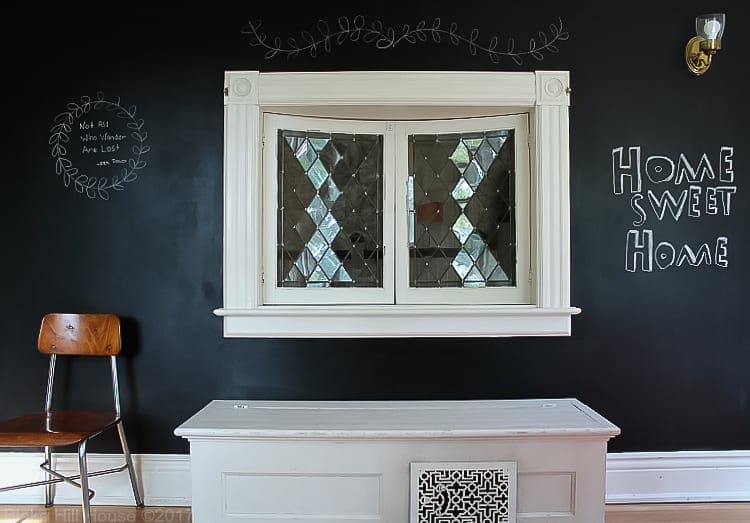
The Zinsser Guardz is a new-to-me product. We first used it on the chalkboard wall in the library during the 2017 spring One Room Challenge.
After we removed the wallpaper, spots of adhesive residue dotted the entire wall. I made the mistake of priming and painting right over that in M’s bedroom. Now, the paint in her room is bubbling in some places, and it came off altogether in a few spots where I taped things to the wall. That’s a dilemma to solve at another time. I was not anxious to repeat my mistake in the library, so I took a chance with the Zinsser Guardz, and It worked like a charm.
Zinsser offers a wide array of problem surface primers and sealers. The Guardz is the consistency of thinned glue, and it dries mostly clear. A little goes a long way. I bought two quarts, and I used about 1/3 of one quart for the wall in the library. This sealer is a little harder to find in a big box store. A small chain store such as Valu or Ace is a good place to look. I have noticed that Ace seems to stock more specialized products like this one.
I will be using this sealer in the main bathroom since Andy removed the wallpaper. Just to be cautious, I called Rust-Oleum, who makes Zinsser products to see if the Guardz would hold up in a humid room like a bathroom. I wanted to make sure the paint would not bubble in the future. They assured me that since Zinsser Guardz is formulated for all types of rooms and climates, it is perfect for our bathroom project.
Zinsser Guardz is a useful product because:
- It coats problems surfaces so paint adheres properly.
- Applying it with a roller is easy.
- A little goes a long way.
The Steps We Follow For Minor Plaster Repair
Now that I have outlined the products that I use regularly, it might be unclear how each one fits into the process. For each minor wall repair, we follow these steps in order:
- Remove the wallpaper.
- Wash the walls with tsp-substitute.
- Fill small holes and divots with UGL Spackle.
- Sand
- Skim coat thin cracks with USG all-purpose Joint Compound. (Wide cracks may require the Frankenwall method or a full restoration using the Big Wally’s or Master of Plaster that I mentioned above.)
- Sand
- Sand the entire wall to perfection. I make sure that the texture of the walls looks and feels exactly like I want it to before I paint.
- Roll on a coat of Zinsser Guardz as if it were a traditional primer.
- Follow the Zinsser Guardz with the latex paint.
If you have any questions about these products or the method for using them, please feel free to ask. I find that while each room may look different upon completion, the basics of prep for each one stay the same.
Have you used any of these three products? If so, I would love to hear about your experience.



9 Comments
Katie
This post is so timely – I am a new homeowner and just added spackle and a putty knife to my shopping list. I will definitely check out the UGL brand!
Stacy
I’m so glad the post was helpful. Congratulations on your new house!
James Olson
Last month we just finished a 5 gal. bucket of USG Sheetrock Brand Joint Compound (collected from several not quite empty buckets, that had been thrown into the dumpster after our drywall crew had finished, back in 2012). A sheet of plastic wrap helped ensure an airtight seal and I always made sure the joint compound had a nicely leveled surface before sealing.
A flooring trowel (to hold 1/2 to 1 cup of compound) and a 4″- 6″ wide, flexible putty knife seemed to work best. I use narrower, stiff putty knives only for stripping paint off wood.
This Spring I’ll be trying the Zinsser Guardz as the primer for our 55 gal. (reused car wash soap) rain barrels ($20 ea.) before painting them to look like tradition wood barrels. I was told Zinsser Guardz was the thing to use to help ensure the paint doesn’t come off the plastic barrels so readily. We’ll see how it goes.
Stacy
I am not surprised that it lasted! I applaud your thriftiness. Please update after you paint the rain barrels with Zinsser Guardz. I want to hear what you think about the product.
Barry E. Holland
I really appreciate that you shared this amazing post with us, thanks for sharing and keep up the amazing work.
larry moyer
what works best on 1900 year plaster to fill in holes
Stacy
Hi Larry, Thanks for your question. Could you give me some more information about the size of the hole you’d like to fill? I would treat large chunks of missing plaster differently than small holes created by a nail or screw.
Ted
Extremely helpful, thank you. One question. I have a small hole in a plaster wall…relatively deep…through to the gap…about 3 ” long and maybe 2 inches wide. (The front of a skateboard did the damage…dented through the plaster) Other articles talk about using a PVA bonding agent at the very outset…before filling. I don’t see that here in your article. I suppose it couldn’t hurt? Also not sure in your sequence how long to wait between sanding and adding the next coats of either the joint compound or the primer? Thanks so much =)
Stacy
Hi Ted, I just saw this question. For some reason, my blog no longer notifies me when people leave comments. So, I apologize for the delay. The repairs I’m talking about in this article are very small such as holes from hanging pictures. The PVA bonding agent is fine but not really necessary in this context.
The PVA bonding spray is most often used when you need to adhere the plastic back to the lath, which might be the case with your skateboard hole. When you drill holes along the sides of the cracks, the bonding spray goes in the holes to consolidate the dust and debris. That is followed by adhesive in the holes. Then, the plaster is pulled back to the lath with the screws fitted with plaster caps. The adhesive adheres the plaster back to the lath. Once it’s all dry, it’s time for the finish work.
Here’s another article that might help: Repairing Plaster: A Hybrid Approach
I’ll be honest that the hybrid method is not restoration. If you want to restore the plaster, I suggest Wally’s Plaster Magic, which will have the proper lime-based finish coat.