I mistakenly almost titled this post as a mid-year check-in. Then, I realized that August is already half over. In the same way that my pandemic brain now registers the first four days of every week as Monday, the last three months have all felt like June. June is mid-year, and that’s where I stopped counting.
The year-of-the-window doesn’t look anything like what I planned, but I still have progress to share. It has been so fun to see everyone’s window projects on Instagram. Many people embraced the challenge, and they have a lot of restored windows to show for it. For some people, committing to the learning process was their first step, and I have loved being a part of that.

Since I often present my window work in a disjointed way, I thought it would be fun to show all of this year’s progress in one post.
Porch and Basement Windows
This is one area where things are moving along pretty well. Unfortunately, I can’t seem to find a before photo of the basement window covered in plywood. It looked just as terrible as it sounds. Last year, my son accidentally cracked the glass. Then, earlier this year, I closed the door too aggressively, and the pane shattered completely.
A couple of weeks ago, I replaced the window, and this weekend, I will paint the glazing putty. The whole door needs work, but I am staying focused. You all know that it is not easy for me. Squirrel!

Although it is not finished quite yet, I have made progress on the patchwork window that belongs under the porch on the opposite side. I am taking the original window with eight panes, and grafting (is there a better word?) parts of a salvaged window onto it to replace the rotted sections.
Please excuse the quality of this video still.

Three years ago was the big street side front porch reveal. Remember when that One Room Challenge project went sideways? I still laugh when I think about it. The patchwork window belongs underneath the porch, which means it has been missing for three years. The fact that I do not even notice the plastic covering the hole anymore makes me feel like a real old house owner. I’ve gone blind to the glaring problems and broken parts.

I hope to have it back in place before the snow piles.
Library Window
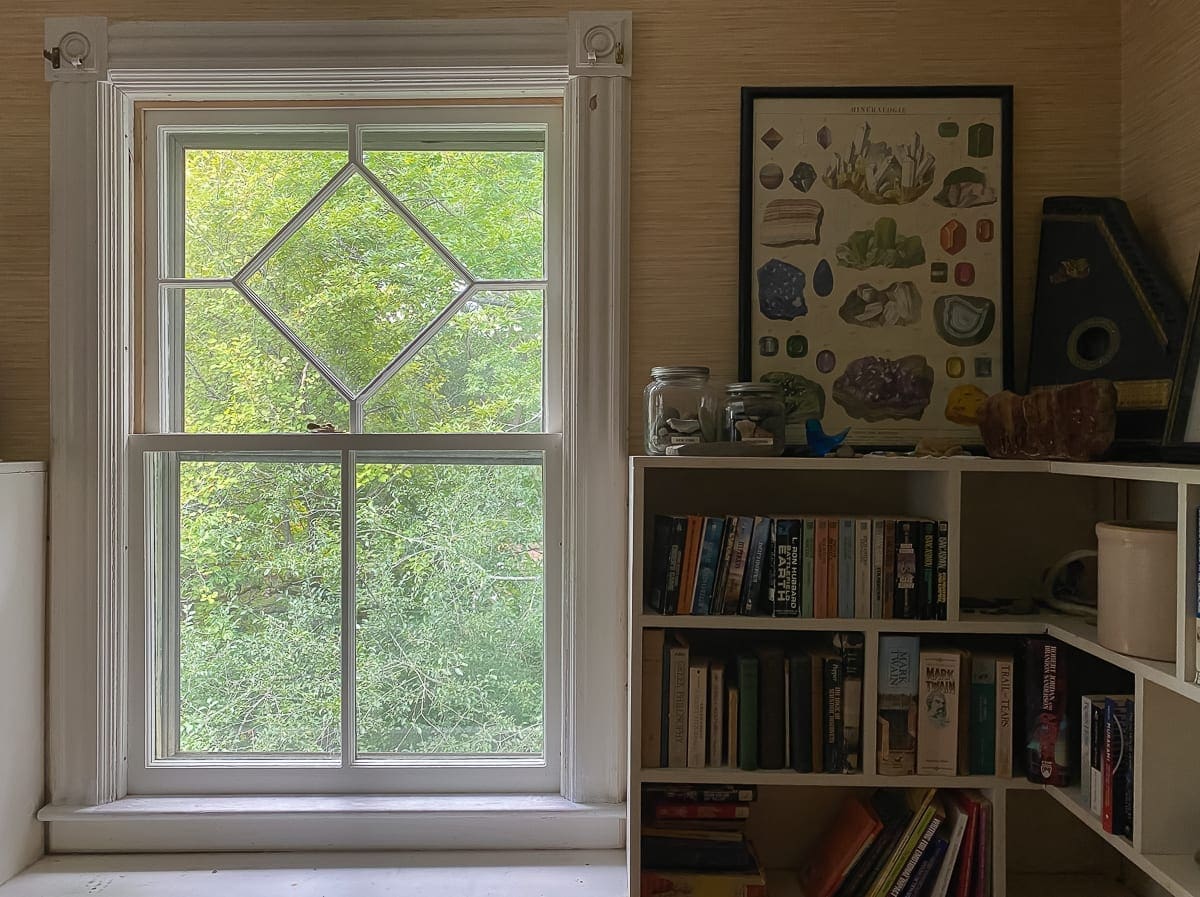
The window in the library was one of the first windows I repaired after we moved to BHH, and it never was quite right. Although it was in decent shape overall, I have no idea what happened during installation. (Did I even do this install? I’m not convinced.) The top sash sagged, and the meeting rails didn’t meet. I walked by it for years, feeling annoyed. Note: I never considered fixing it until this year. Apparently, feeling annoyed fits squarely in my comfort zone.
Last month, when I tried to make a small adjustment, one of the sash window cords slipped out of the lower sash.

I decided that the best course of action was to take both sashes out and reinstall them correctly. When I was dismantling everything, I discovered that the ropes were too long, and the upper and lower sash weights were crossed and mismatched. One one side, the heavier weight was attached to the lower sash instead of the upper. (What the heck?)
Now, it’s all functioning perfectly, and I added a sash lock too. To be honest, the two other windows in that room still need work, but progress is progress

Double Diamond
I am very excited about this one. For a long time, I purposely put off working on this style of window because it has so many intricate details: ten panes of glass, delicate muntin profiles, lots of nooks and crannies. Each one weighs about 25 lbs with glass, and we have five double diamonds like this one and five or six single diamonds too.

Over the past few years, I sharpened my skillset in preparation. I did lose a few panes of glass when I removed them, but none of them seemed to be old wavy glass. There is no way to tell when this sash received its last makeover, but it is clear that a lot of the glass was replaced at some point.

Currently, I have the upper sash prepped for primer. After I prime it, I will put the glass back in.

I feel like I am finally patient enough to restore the unique windows of BHH. That’s a good thing because there are plenty more that fit that category.
Here’s something fun: The window I am working on is the upper left one in the photo below. The photo was taken around the turn of the 20th century. I wish BHH still had a wraparound porch, and cedar shingles, and dark paint on the shutters, and and and.

Window Restoration Resources
While my work is merely a drop in the bucket, I have created quite a few resources this year. My hope with the year-of-the-window was that I would get a lot of restoration work done here. However, my overarching goal was to offer a bunch of content to explain the process and show my old-house-loving friends that they are capable of restoring original windows as a DIY project. Nothing makes me happier than receiving a message from someone who feels ready to tackle window restoration after watching my videos or reading my posts.
Since that content is all over the place, I’ve compiled it below for easier reference.
YouTube
Podcast
IGTV
You do not need to be on Instagram to watch IGTV. Over the summer, I started doing informal live window restoration sessions on Saturdays, and I saved these videos on IGTV. They are super low-key, and during each one, I interact with the viewers to answer questions and offer suggestions.
Informal Sessions:
- Removing a sash for restoration: Part I
- Removing a sash for restoration: Part II
- Weatherstripping & Sash Windows
- Rot, Drainage, & Rot Repairs
- Anatomy of a sash window + casement window restoration tips
- Wavy Glass: Why So Wavy?
- Glazing in Situ – Glazing a window in place
- Detail Scraping – paint removal tips and tools
Structured Process Videos:
- Dismantling a sash to make repairs (part I)
- Putting a Window Sash Back Together (part II)
- Cutting Glass (blooper reel! I have another glass video coming soon.)
- Tips for Removing Glazing Putty
Blog Posts
There are four more months left in 2020, and I plan to make the most of them. Currently, I am on track to reinstall about four or five more windows before the year ends. Once the weather turns cold and snowy, I’m going to turn my attention to building interior storm windows.
Have you been following along with the Year-of-the-Window? If there is a glaring hole in my resources, please comment below, and I will work on something for you.


6 Comments
Vanessa
Progress is progress, well done Stacy.
Stacy
Thank you, Vanessa!
Stephanie
Hi Stacy! I follow you on Instagram and only today realized you have an actual blog. I probably should read profiles more often. Anyway, I wanted to say thank you for the effort you put in to pass along information and teach others.. I’ve been following your window restoration and it’s given me the confidence to give my 1930s steel windows an overhaul this winter. I live in Phoenix, Arizona so taking apart a window is definitely not a summer project. ?
Stacy
Hi Stephanie! Thanks for taking a side trip to the blog. 🙂 Also, thank you so much for your kind words. I am glad that what I have taught is helpful. Good luck with your steel windows. You and I are on opposite schedules. Where I live, window work is not for winter. LOL
Peggy
Hi Stacy. Love your posts and love the podcast. We are restoring a 1920s Arts and Crafts bungalow and slowly working our way through repairing the original windows. Just had a question about the picture which shows the basement window, under the porch, which you are restoring. The downspout alongside the porch seems to end several feet off the ground. Doesn’t that create a problem with water splashing onto the side of the house and the porch? I am 100% on board with the sandwich theory of old house restoration which emphasizes making sure roof and foundation are stable, so tend to be OCD about water splashing or collecting near the house.
Stacy
Hi Peggy, I am so glad you enjoy the blog and the podcast. 🙂 Thank you for the support. Also, bungalows are one of my favorite styles of old houses. The photo in question was taken mid-construction in 2017. I removed that portion of the downspout to make it easier to work. The rest of the downspout and an expandable extender are currently in place.